
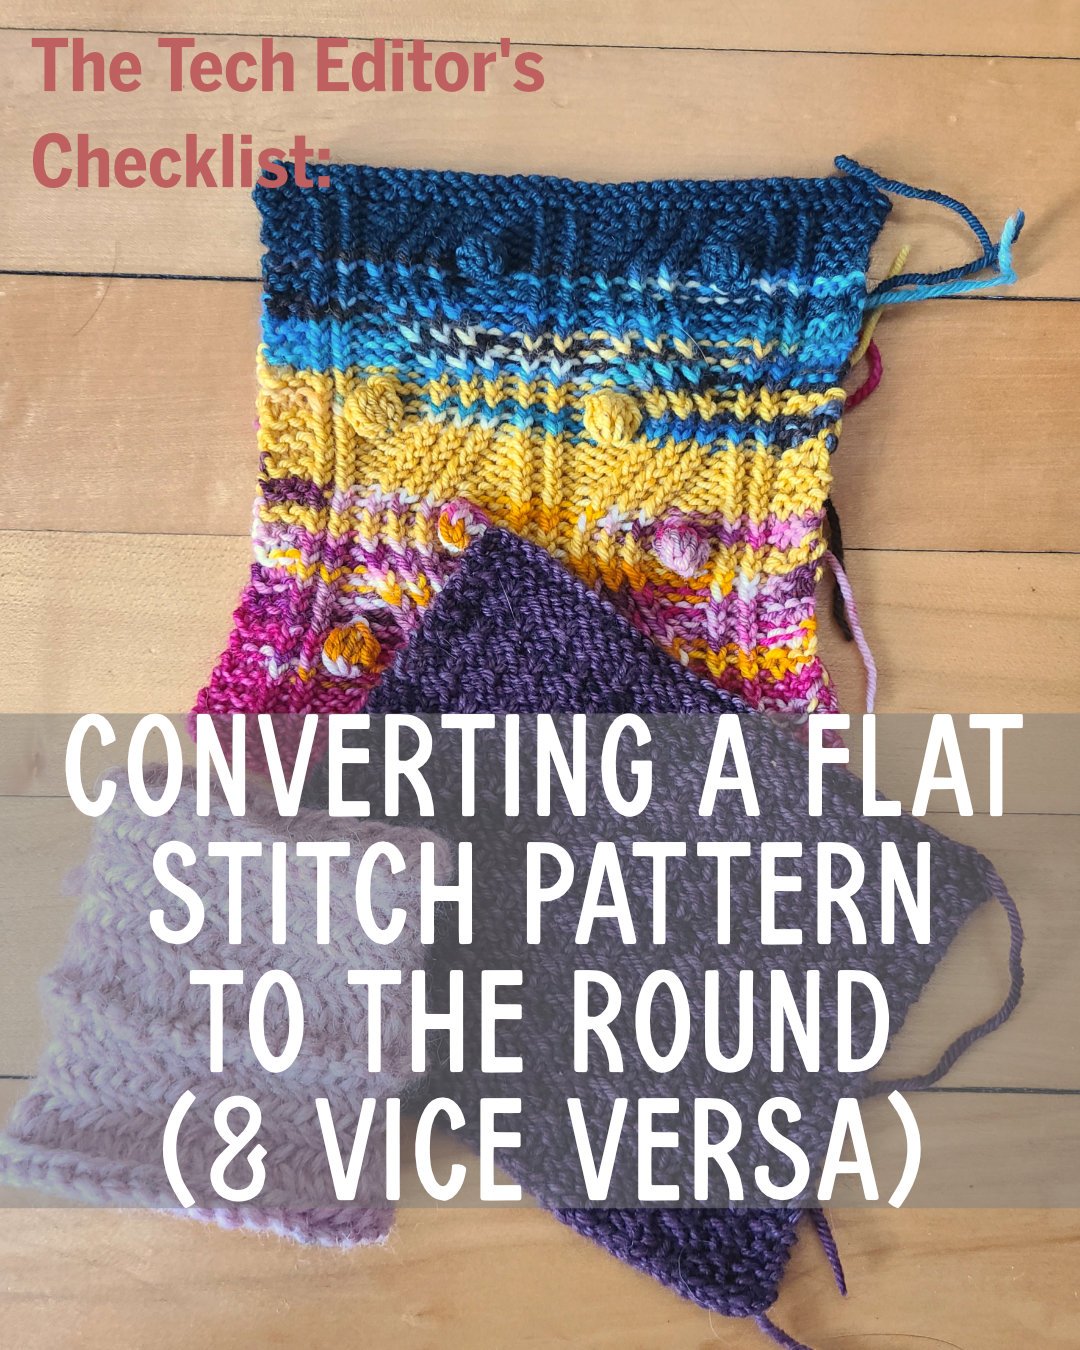
Converting a Flat Stitch Pattern into the Round (and Vice Versa)
In this series we do a deep dive into items I check for in every pattern I edit, the most common issues I see, and how to correct for them.
Scenario A: You’ve found a gorgeous stitch pattern in a stitch pattern glossary or another knitting pattern, and you want to use it in a pattern of your own design. But the pattern is written for a hat in the round and you want to make a blanket that would be worked flat.
Scenario B: You love this cowl pattern you’ve seen on social media but you notice it’s worked flat and seamed. That seems unnecessary to you – but it shouldn’t be too hard to convert the pattern to work it fully in the round, right?
These are just two examples of why a designer or a maker might want to convert a stitch pattern from being worked flat into the round or vice versa. As a tech editor, I’ve actually helped clients do this! However, this isn’t always as easy as it seems. The tips I cover in this post will help you avoid common pitfalls when converting between these two knitting methods.
My Two-Step Conversion Testing Process
Yes, you can just start knitting away and see how it comes out, but when I’m converting a stitch pattern for a client or checking their conversion, I recommend these two things:
Write it out both ways. If I don’t already have a version of the stitch pattern written for the method I’m converting to, I write it out myself. If I do have both versions (some stitch glossaries do already include both flat and in the round instructions), I take a really close look at both sets of instructions.
Test swatch the full method. This is not a gauge swatch, it’s a method swatch – you need to test enough stitches and rows to get at least 3 to 5 repeats of the entire stitch pattern in your test with edges that resemble the exact edges in your pattern. And yes, this means if you’re converting a stitch pattern to work in the round you need to do a full in the round swatch WITH the join – see point two below! You absolutely can just start a full sample if you like, especially if it’s something relatively small, but if it looks wrong you might need to start over.
I usually don’t knit the method swatch myself (unless I’m working on a personal project), but if I spot things during the writing out stage that might cause problems I will recommend that the designer test swatch first so I don’t edit the entire pattern for a stitch pattern that ends up getting changed again later.
What to look for when converting patterns
While I’m doing the two steps above, I look for any place where the converted instructions might need to be tweaked so the stitch pattern looks the same, including:
Do there need to be changes in how the pattern instructions read? Obviously, if the pattern has stockinette rows in it, then in the flat you will have knit rows on the RS and purl rows on the WS, and in the round these will all be knit RS rounds. For more elaborate patterns with increases and decreases, that happen on a WS row in the flat (for example a k2tog, YO), you will need to decide if the lean of the increase or decrease is important to the look of the pattern – if you need a right leaning decrease, on the WS you will need a SSP, not a p2tog.
There may also be times when you need to alter the row certain stitches happen on. I recently worked on a pattern using a tuck stitch in the round. The key part of that pattern happened on the 6th round, where you knit the current stitch and a stitch four rows directly below it together to make the tuck. If that pattern had been knit flat as written, the 6th round would have been a WS row and the tuck would have happened on the wrong side, making it look very different. Translating that stitch pattern into the flat would have required making sure the tuck stitch happened on a RS row; this could have been fixed either by starting the knitting on a WS purl row but keeping the tuck stitch in row 6 or by altering the order (instead of working 5 rows stockinette and the 6th row tuck stitch, work 4 rows stockinette, the 5th row tuck stitch, and then one additional stockinette row as the repeat – the tuck stitches would remain 5 rows apart so the spacing would look the same).
Are edge stitches needed? If you have a flat pattern with stockinette stitches at the edge, for example, it may start curling in on itself. If the edge of that piece won’t be seamed to something else or have an additional edging applied (such as applied i-cord on a shawl), you might need to add a small column of garter stitch to keep the edge flat. If you’re working in the round, the default is to remove any edge stitches to keep the pattern continuous — but that’s not always the case.
I once helped a client convert an older cowl pattern that was knit flat and seamed into one knit in the round. However, the pattern was in herringbone stitch. Mathematically it worked to translate it into a seamless pattern in the round and it seemed to work in a very brief test swatch (without a join, just doing the usual “pass the yarn around the back” style of round swatch). However when a sample was being knit we discovered that the join threw the diagonal herringbone pattern out of alignment and made it look very messy. We then tried putting a knit stitch at the end of each round to accommodate the slight jog between rows – this was much neater and less noticeable than trying to make the pattern seamless in the round, but the designer didn’t love it and ended up writing a new pattern that didn’t even use herringbone stitch! That’s why I now advise to test these types of conversions in a full round – you can’t always tell what’s happening at that join without working the join!
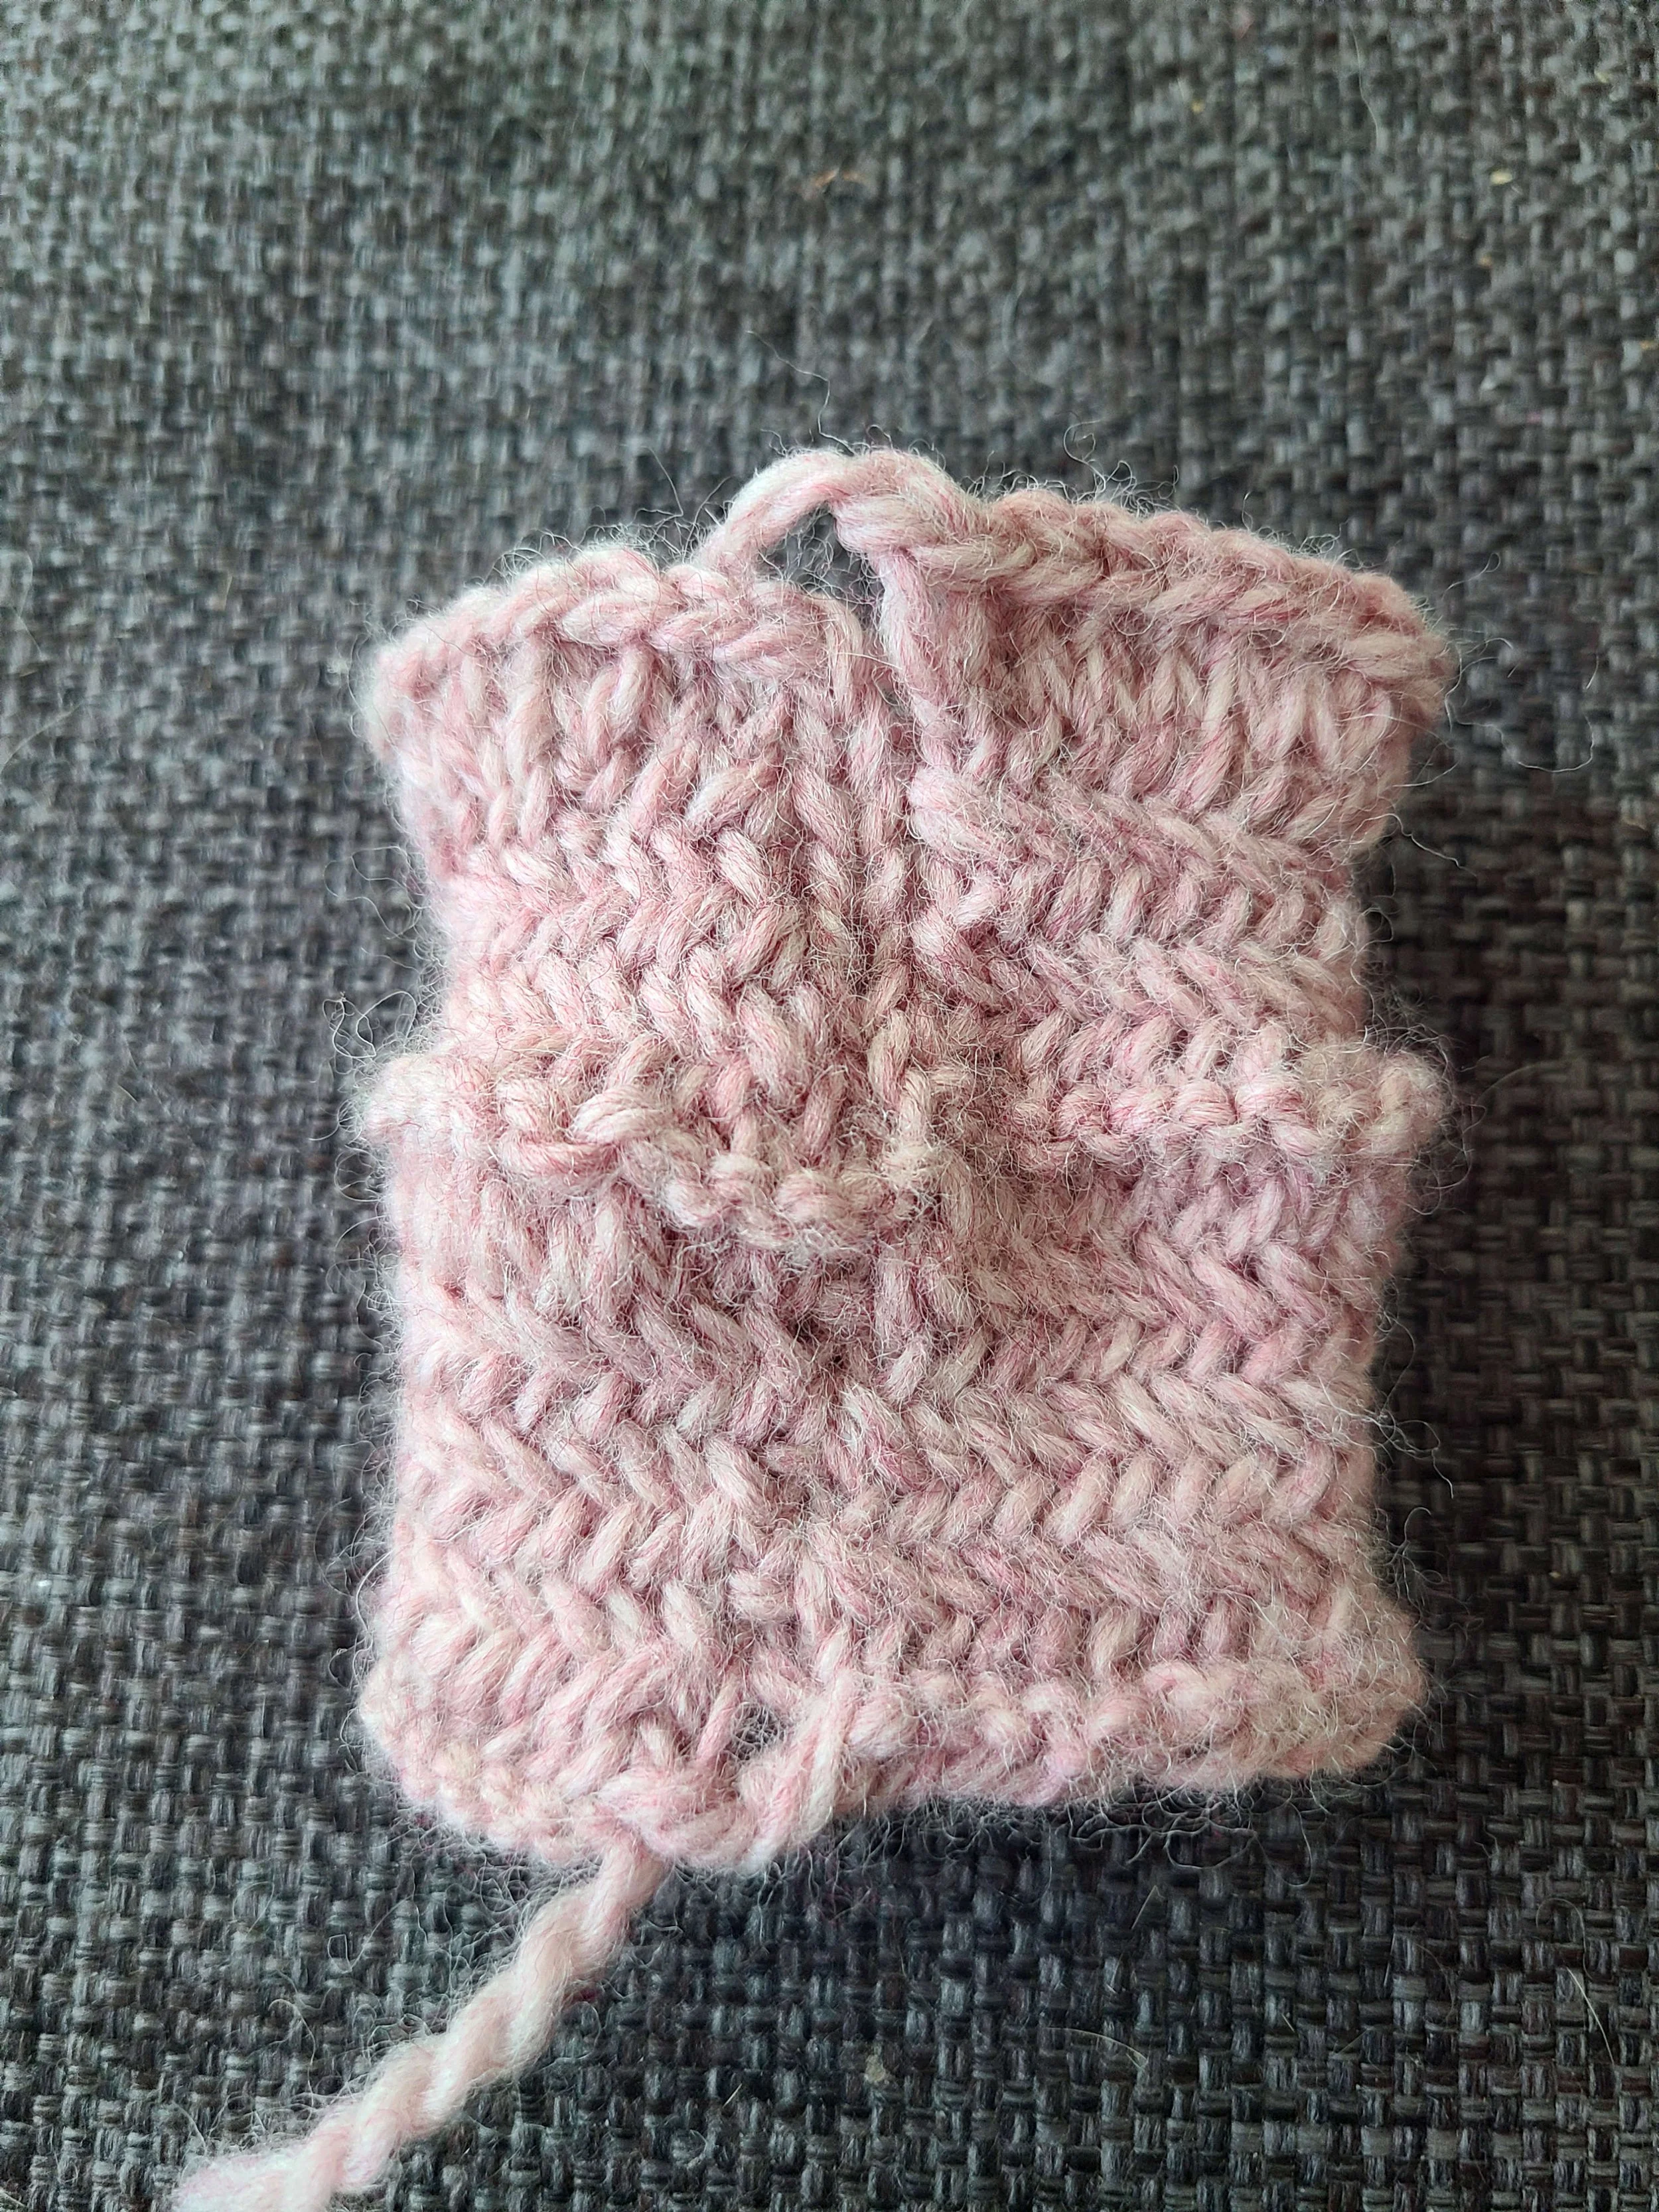
Below the garter stitch ridge is the very messy join from knitting herringbone stitch continuously. Above the garter stitch is the neater, but very noticeable, join created by adding a knit stitch at the end of each round.
Brioche, double knit, and other “reversible” knitting can be extra tricky conversions because you have to think about how both sides of the fabric are affected. I’m currently knitting a pair of Synthesia socks (Ravelry link), which have double knitting across the top of the foot (they’re designed to be reversible). This is the first time I’ve worked double knitting in the round and it’s quite a bit more complicated than working it flat. Since double knitting has no “wrong side” but instead has two layers of knitting with the right sides facing outwards, when you work flat, you are simply knitting the front facing stitches and slipping the reverse facing stitches on both sides. But working in the round, you never have the reverse side facing you. Instead, you knit and slip the outward facing stitches, slip all the stitches back to the beginning of the double knit section (since on this sock the double knitting doesn’t happen on the sole) and then slip and purl the inward facing stitches. It’s a lovely effect but it adds enough extra steps that I see why we don’t have many double knitted sock patterns!
Oddly enough two-color brioche, which in the flat is knit similar to double knitting in the round (brk and slipyo the first color, slide the stitches back to the beginning, slipyo and brp the second color) actually gets a bit simpler in the round. You don’t have to remember whether you’re turning or not turning the row because you always come back to the beginning and you also don’t have to change the stitch pattern on the reverse side of the garment; where in the flat the main color is brk/slipyo on the right side but brp/slipyo on the wrong side, in the round the main color is always brk and the contrast color is always brp. (This is why I often recommend that my knitting friends interested in trying brioche start with a hat; you can get familiar with the technique without having to keep track of which stitch gets worked on each side.)
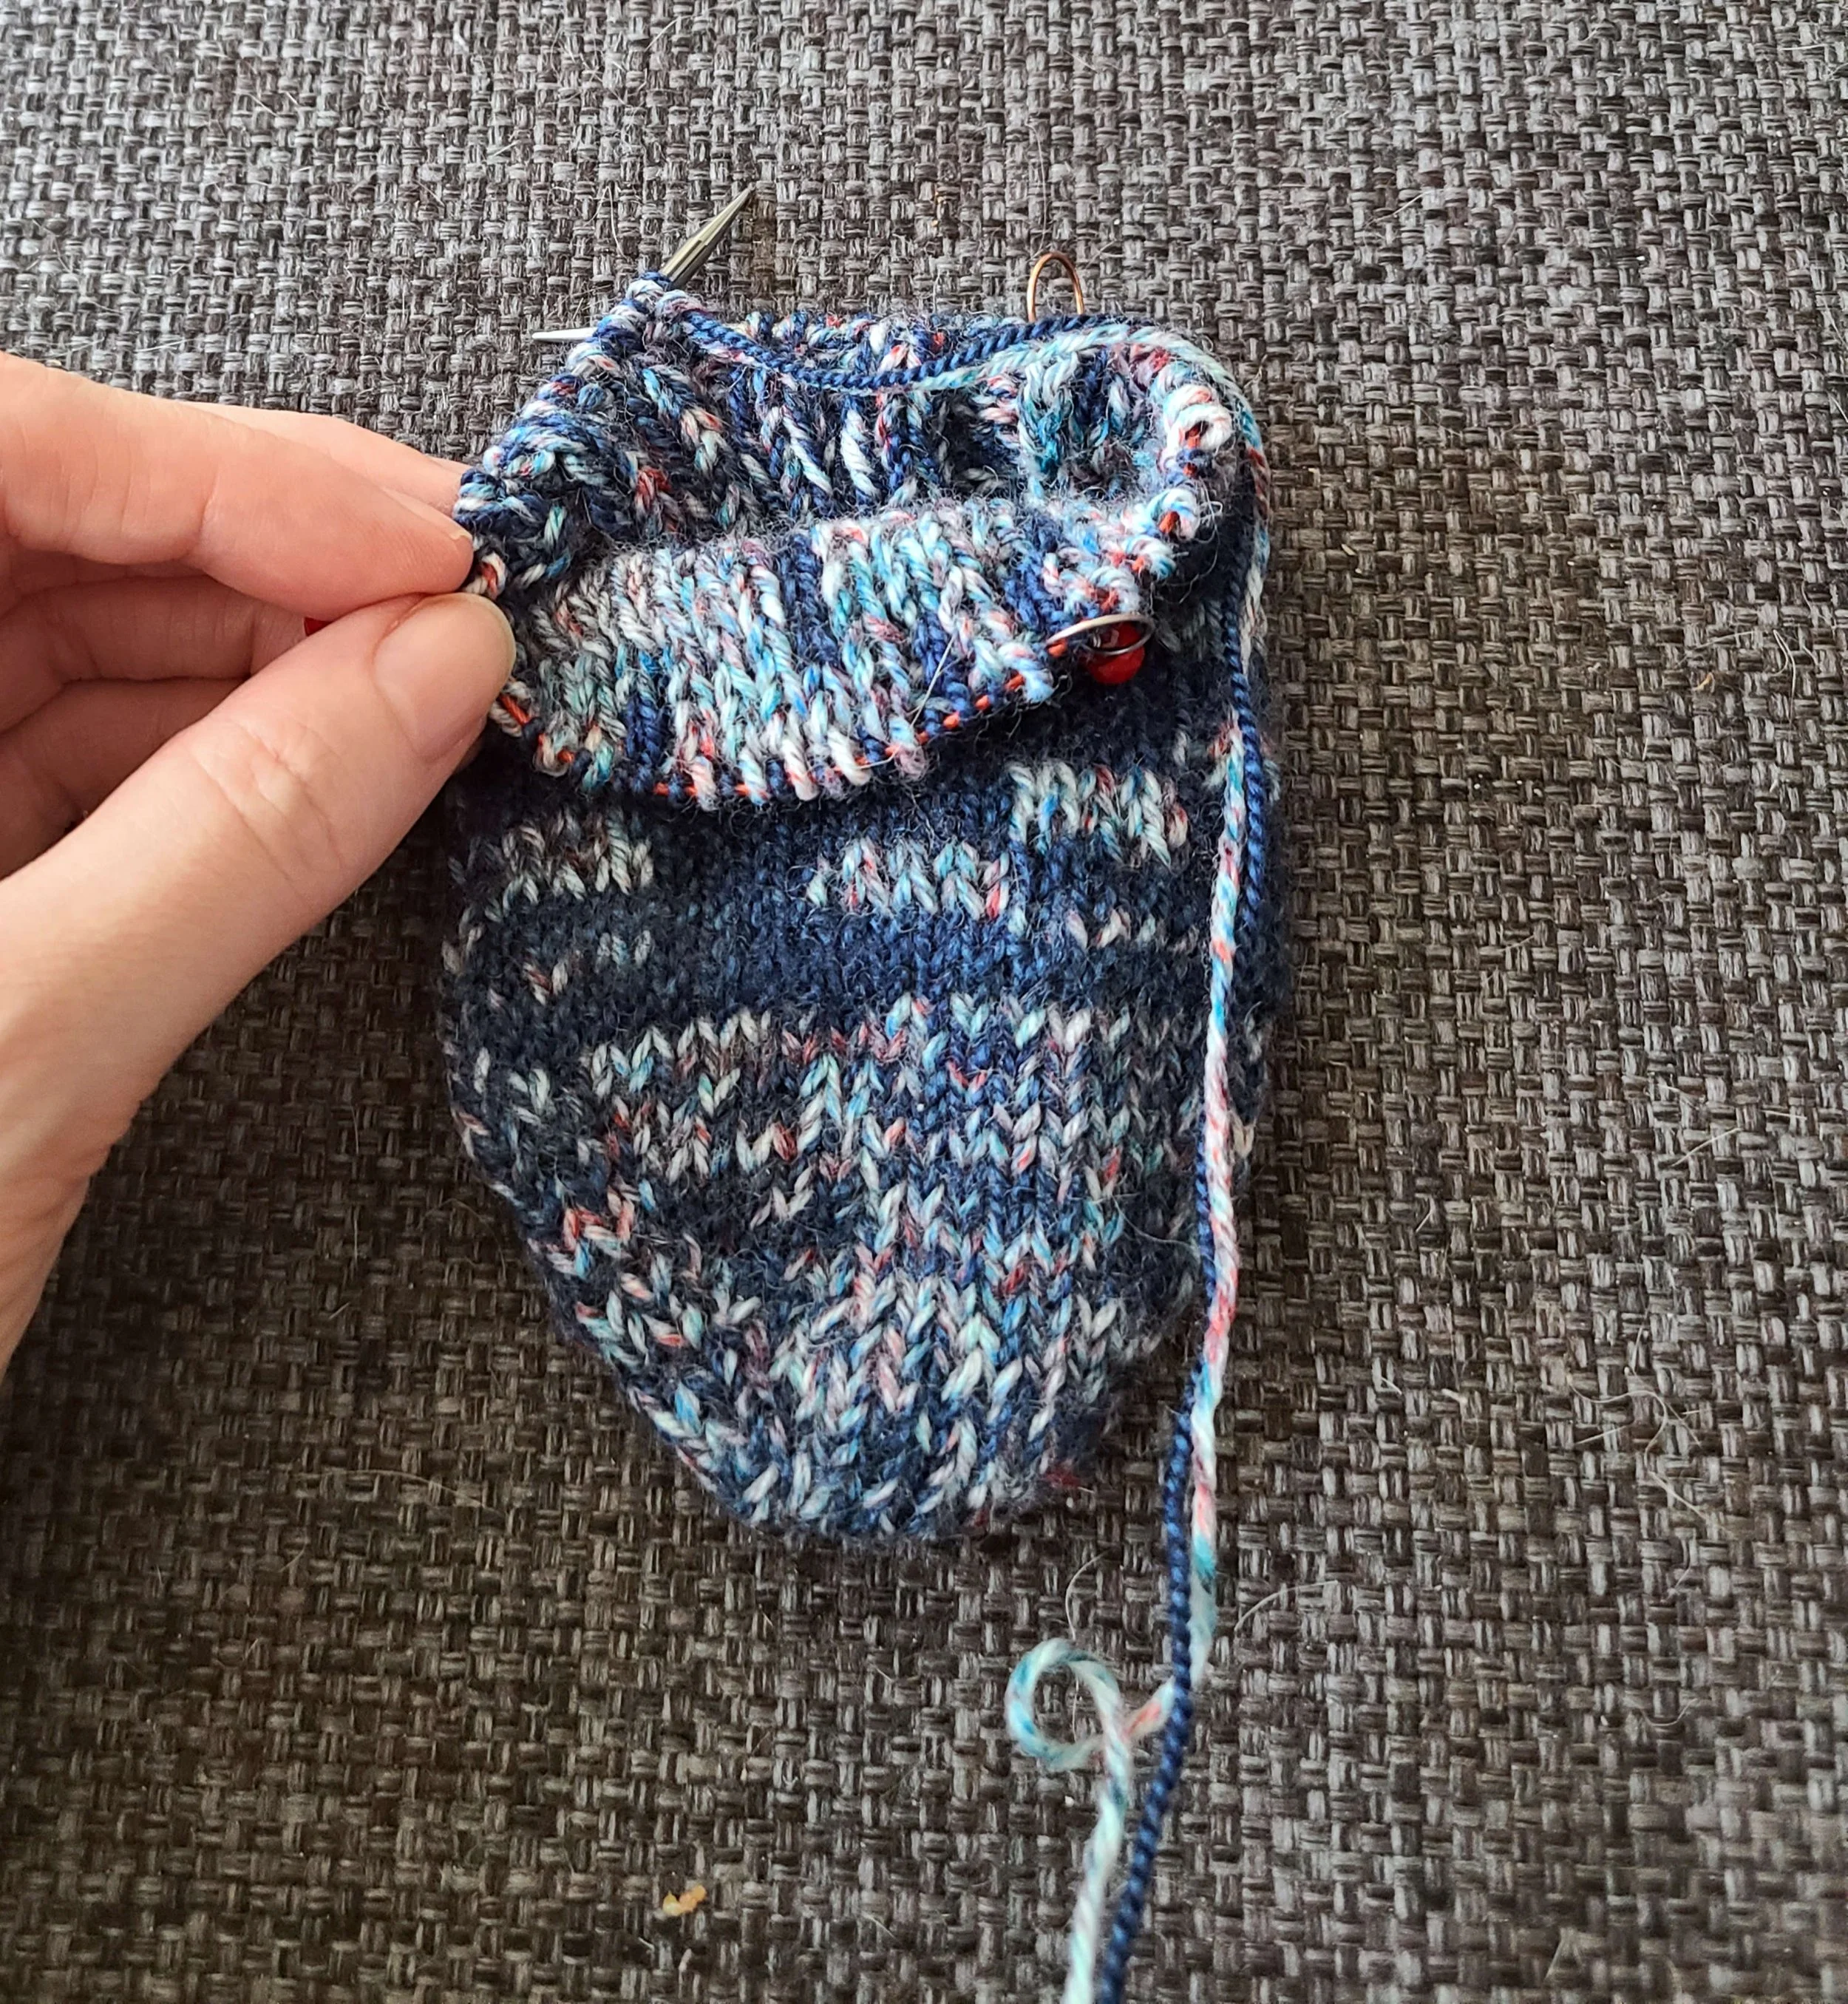
You can see here the knit stitches on both inside and outside of the sock.
Converting a stitch pattern from flat to in the round or vice versa is rarely completely impossible, but as I hope I’ve demonstrated here, sometimes you might have to make some tweaks or design compromises to make it both look the way you want and be feasible to knit.
Have you ever tried to convert a stitch pattern from knit flat to in the round or vice versa? Tell me about it in the comments?


I’m Whitney, a tech editor, graphic designer, and lifelong crafter. Join me for an exploration of my latest knitting, crochet, sewing, and upcycling projects, tips on knitting technique, editing tips for knitting designers, and more!