
The FOlio: My Knit Christmas Decorations
In the FOlio, I reflect on a finished knitting object and what the process of knitting it taught me.
Pattern 1 : Festive Woodland Friends (Ravelry link)
Designer: Amanda Berry for Simply Knitting magazine
Yarn Used : Paintbox Yarns Simply DK Racing Green, Royal Blue, Light Grey and Valley Yarns Haydenville DK White, plus scrap yarn (mostly Knit Picks Palette held double) for orange, dark brown, tan, red, and yellow.
Pattern 2 : Welcome Home Wreath (Ravelry link)
Designer: Nicola Valiji for Simply Knitting magazine
Yarn Used : Haydenville DK in Sage, Light Grey, and White, Simply DK in Racing Green, Grass Green, and Royal Blue
Knit from : October to December 2025
Lesson: Knitted Christmas decor takes some planning to finish on time, but it’s worth it.
I love knitting toys. I love editing toys. I have a magazine client, Simply Knitting, that sends me a lot of adorable toys and cute house décor to edit, but it wasn’t until their Christmas supplement showed up last year that I found myself with a couple of patterns I felt compelled to knit myself. Both patterns were a perfect match to a few holiday décor items I’d been thinking about making for a few years – I wanted a cute but durable wreath for our front door as well as knitted ornaments, in a different style from the traditional ornament shapes I’d already made in felt (from a Purl Soho pattern).
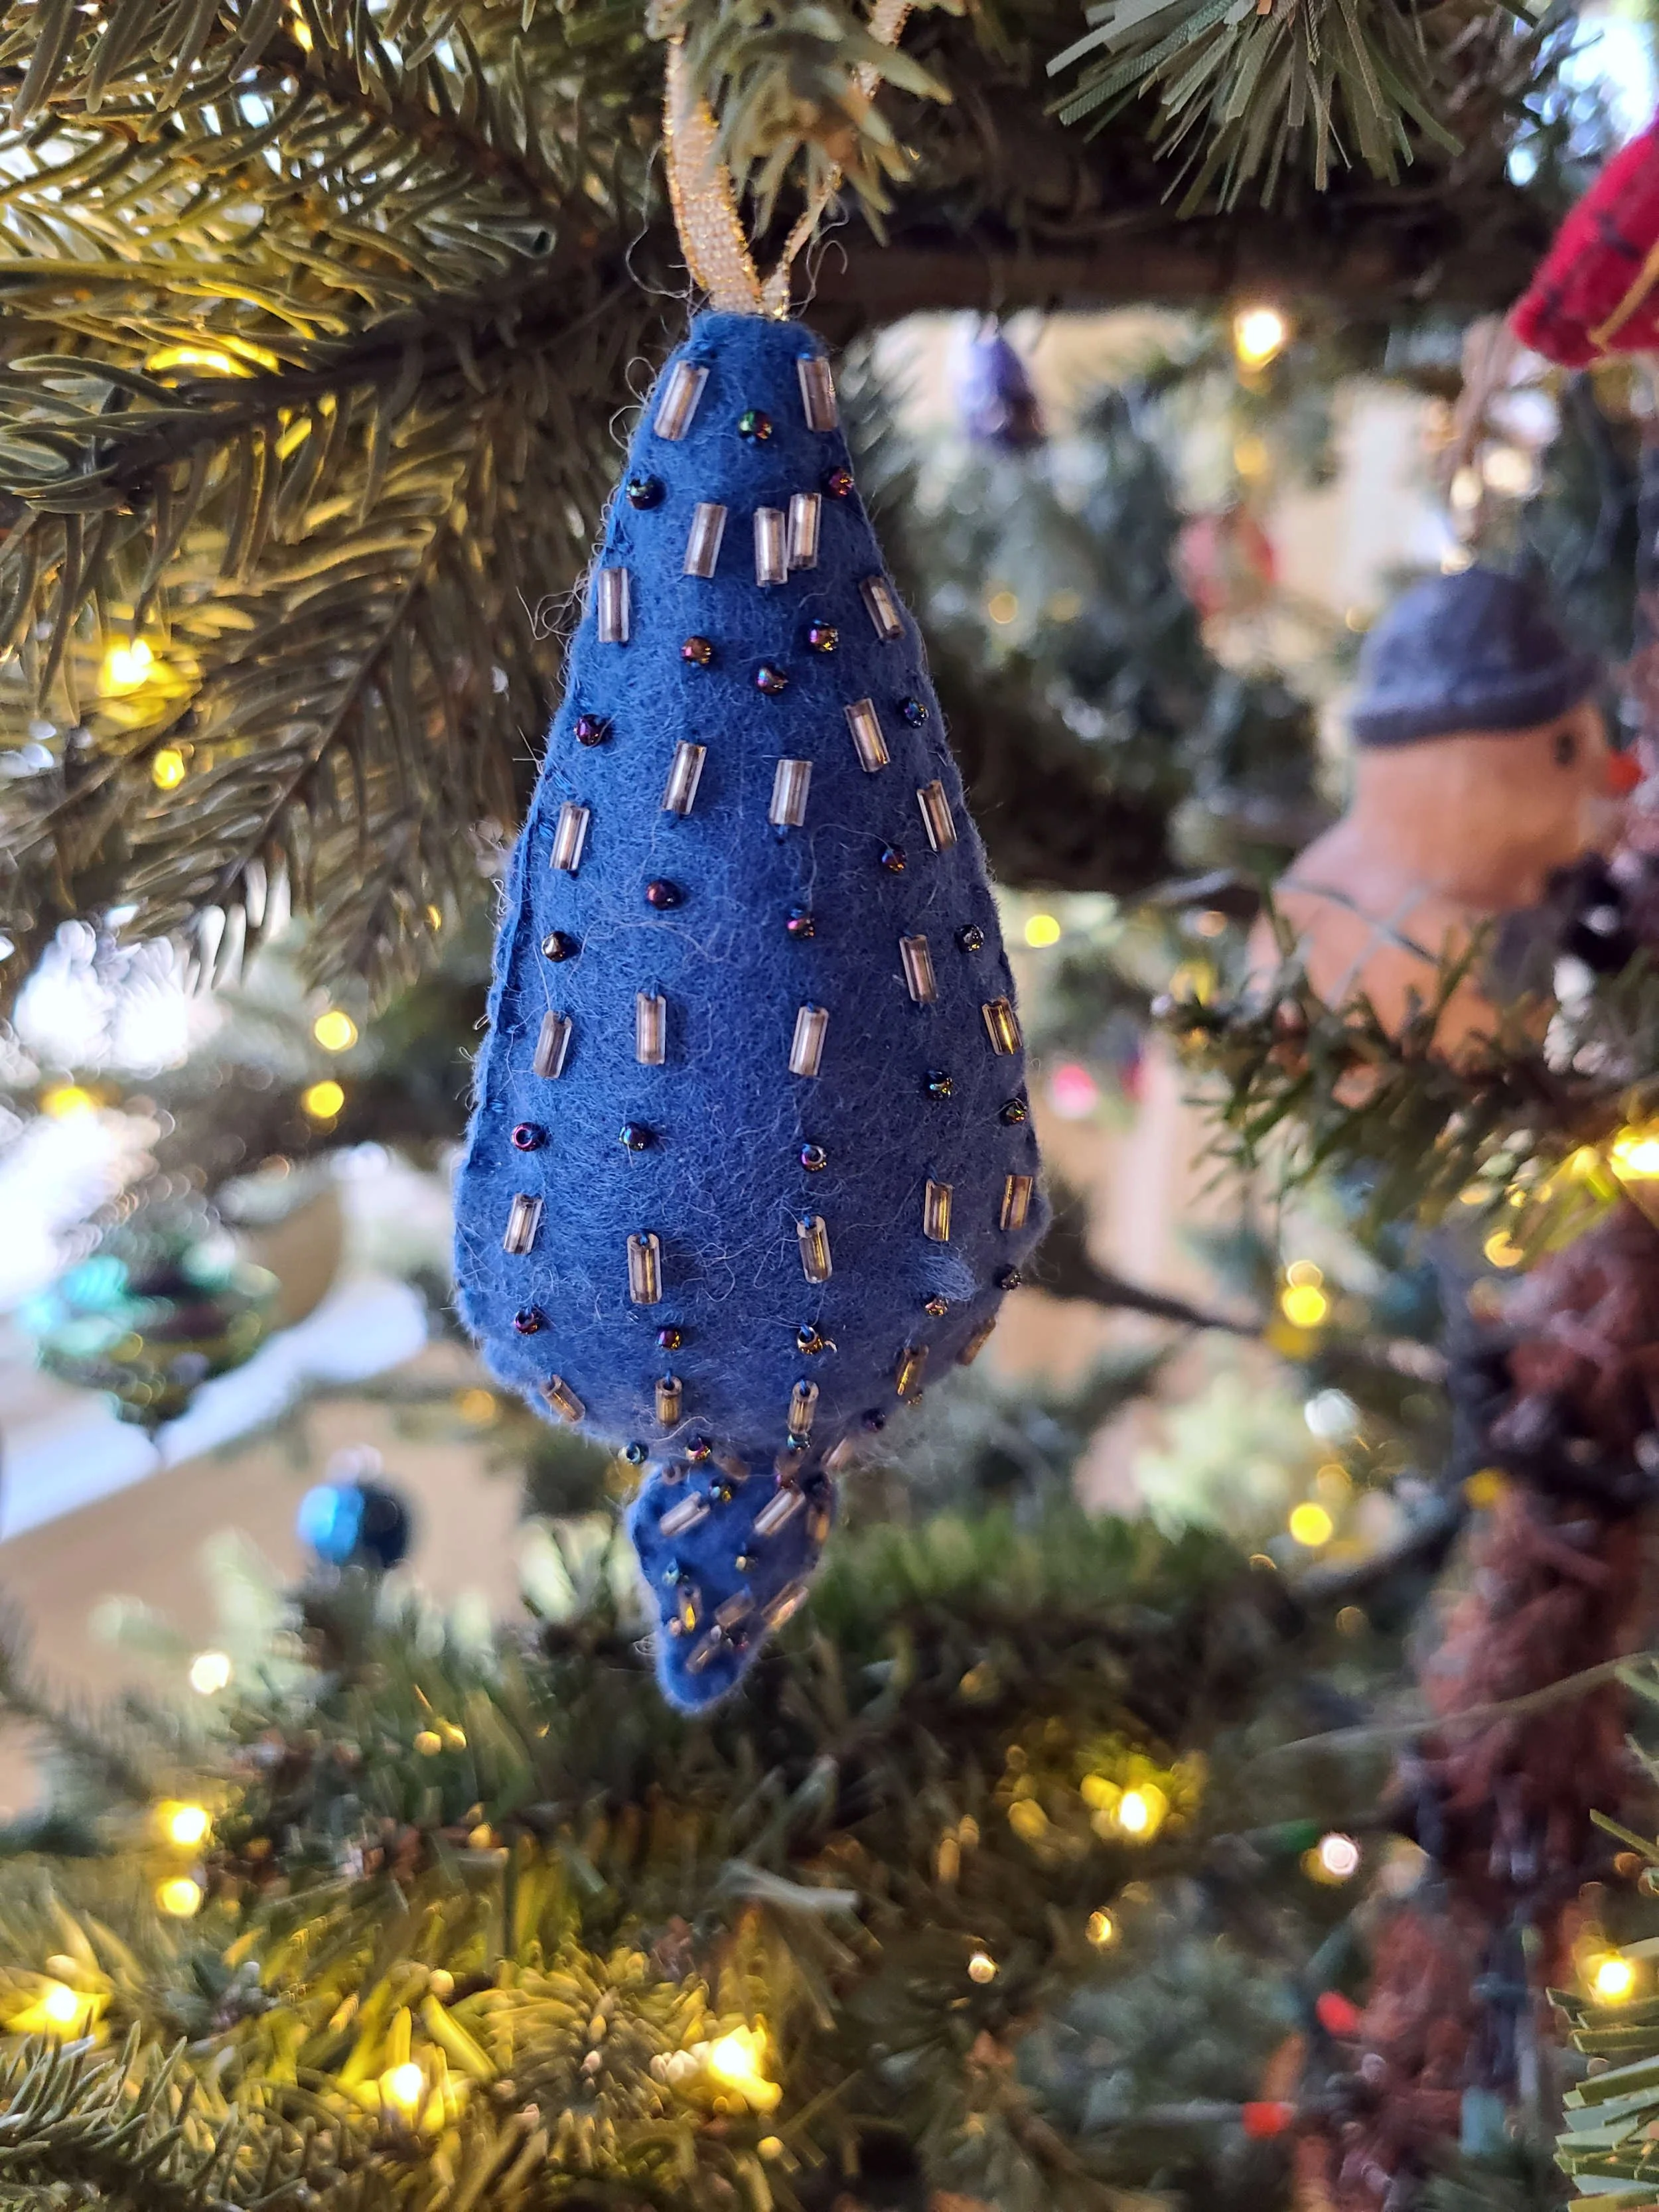
With a bunch of classic ornament shapes on our tree, I was looking for something a little more whimsical.]
I was able to start collecting supplies a little early since I’d already seen a pre-press version of the pattern during my edit, and I lucked into WEBS’ end of summer clearance sale. Although I could have knit the entire ornament set from my stash yarn, I don’t knit with shades of green or DK weight very often, so I knew I would have to buy yarn for the wreath. (I also preferred acrylic for the wreath just in case it fell onto our front porch, which spends most winters dusted with ice melting salt.) I also needed to buy a wreath form, which I grabbed from a local Michael’s. I looked into purchasing the safety eyes called for in the pattern, but they were a very small size not readily available in the US (Simply Knitting is published in the UK) – luckily I’ve knit lots of toys for babies and I’m fairly practiced at embroidering eyes on in lieu of buttons, so I just decided I’d do that instead.
When the final pattern was available, I got to work. My library actually subscribes to Simply Knitting through the Libby app so I just checked out the issue, although they are now available individually through Ravelry at the links above.
My best tip for working on tiny toy parts: use DPNs as straight needles! I find it really annoying to work a tiny amount of stitches on a standard circular or straight needle – for me using a pair of 4 to 6 inch DPNS is the perfect size for making tiny things. I used them for the tree parts on the wreath as well.
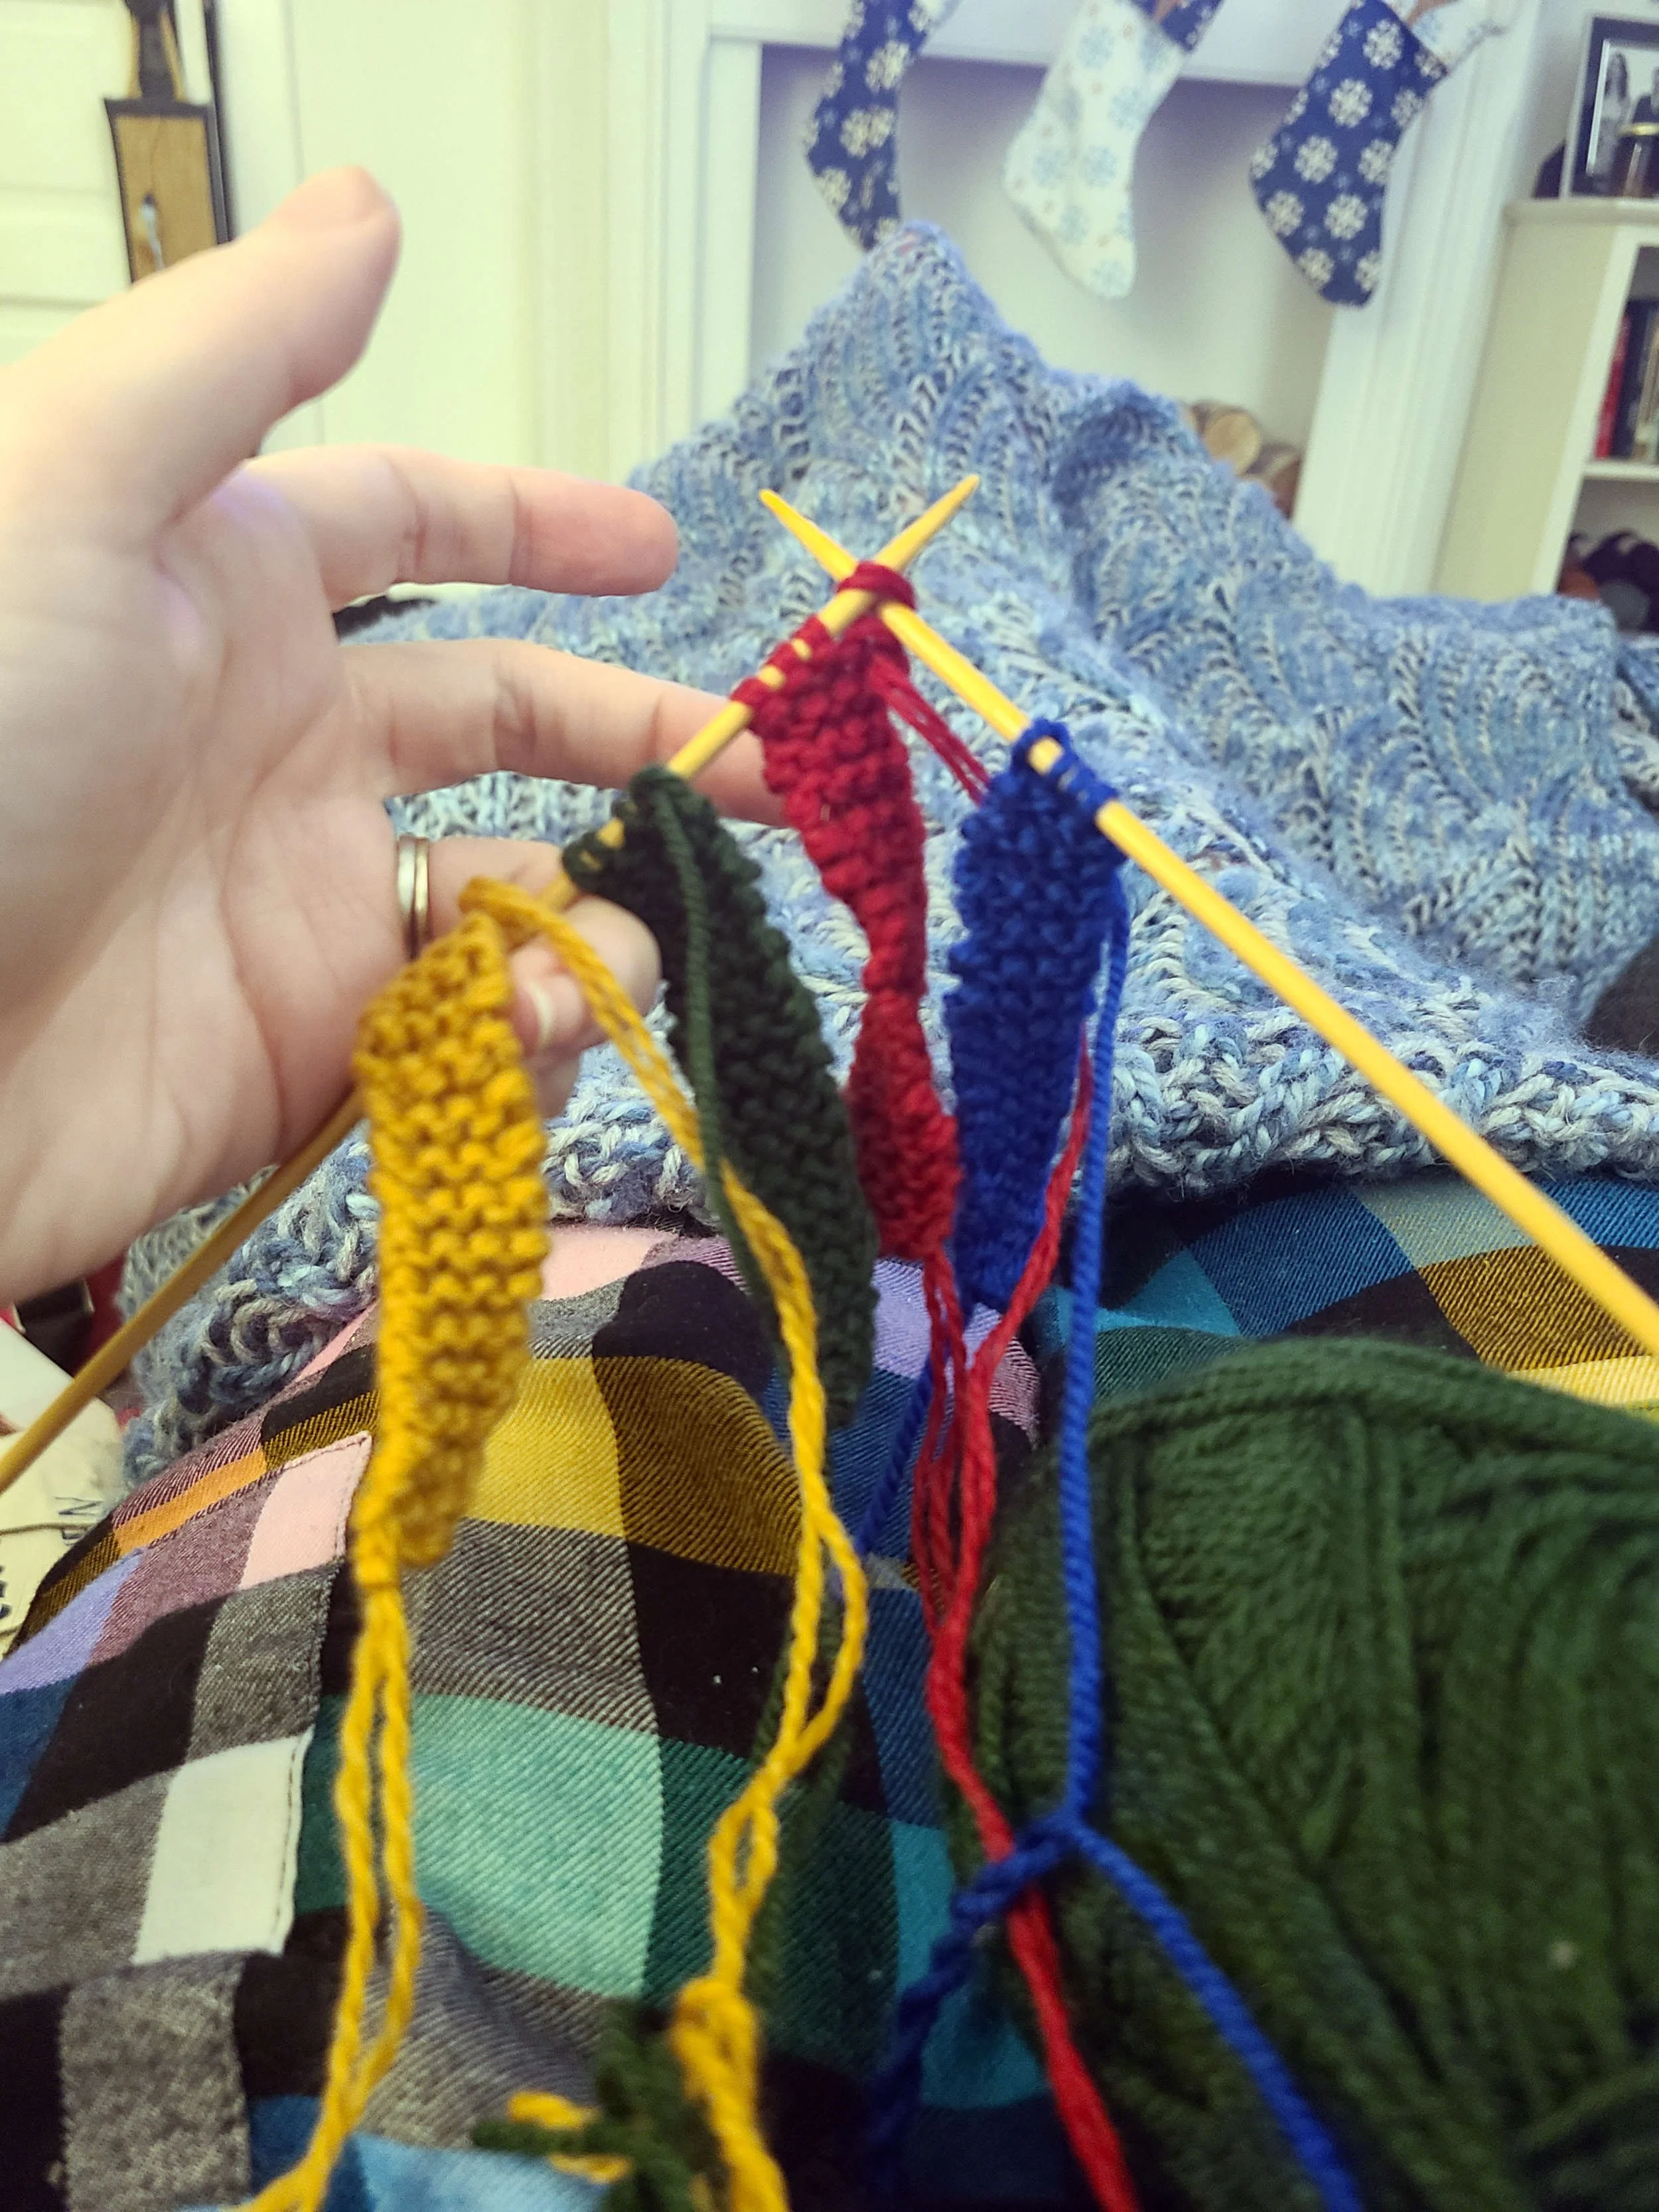
Yes, I knit all four animal scarves at once - I don’t know if it was faster, but it was a lot less tedious!
I made a few modifications to each pattern:
I altered the colors a bit – my Christmas décor is blue, red, and yellow based so I swapped more blue into the wreath and more of all three of those shades into the animal friends. I had plenty of fingering weight stash yarn in the shades I wanted for the animal friends so I just used that held double when I didn’t have DK weight.
I embroidered the eyes on the animals, as noted above. My method for embroidering eyes on really small stuffed figures is to just go back and forth from one eye to the other, stitching the thread over itself until it’s roughly circular and a size I like. This also helps pull the head in slightly at the eyes so it creates more of an eye socket shape.
I also embroidered nostrils on the reindeer. There weren’t nostrils in the pattern, but I just felt like the nose looked incomplete. Multiple people have told me it kind of looks like a moose now, but that’s okay.
I wanted the animals’ clothes to be swappable and removable. This meant I needed to put a drawstring waist on all the pants (they didn’t have a real waistline, which wouldn’t have been a problem if you’d followed the pattern and tacked the pants onto the animal body). This was really simple; I just wove a piece of yarn in and out around the waist every few stitches and then tied them off in the front. The tie was hidden by the sweater.
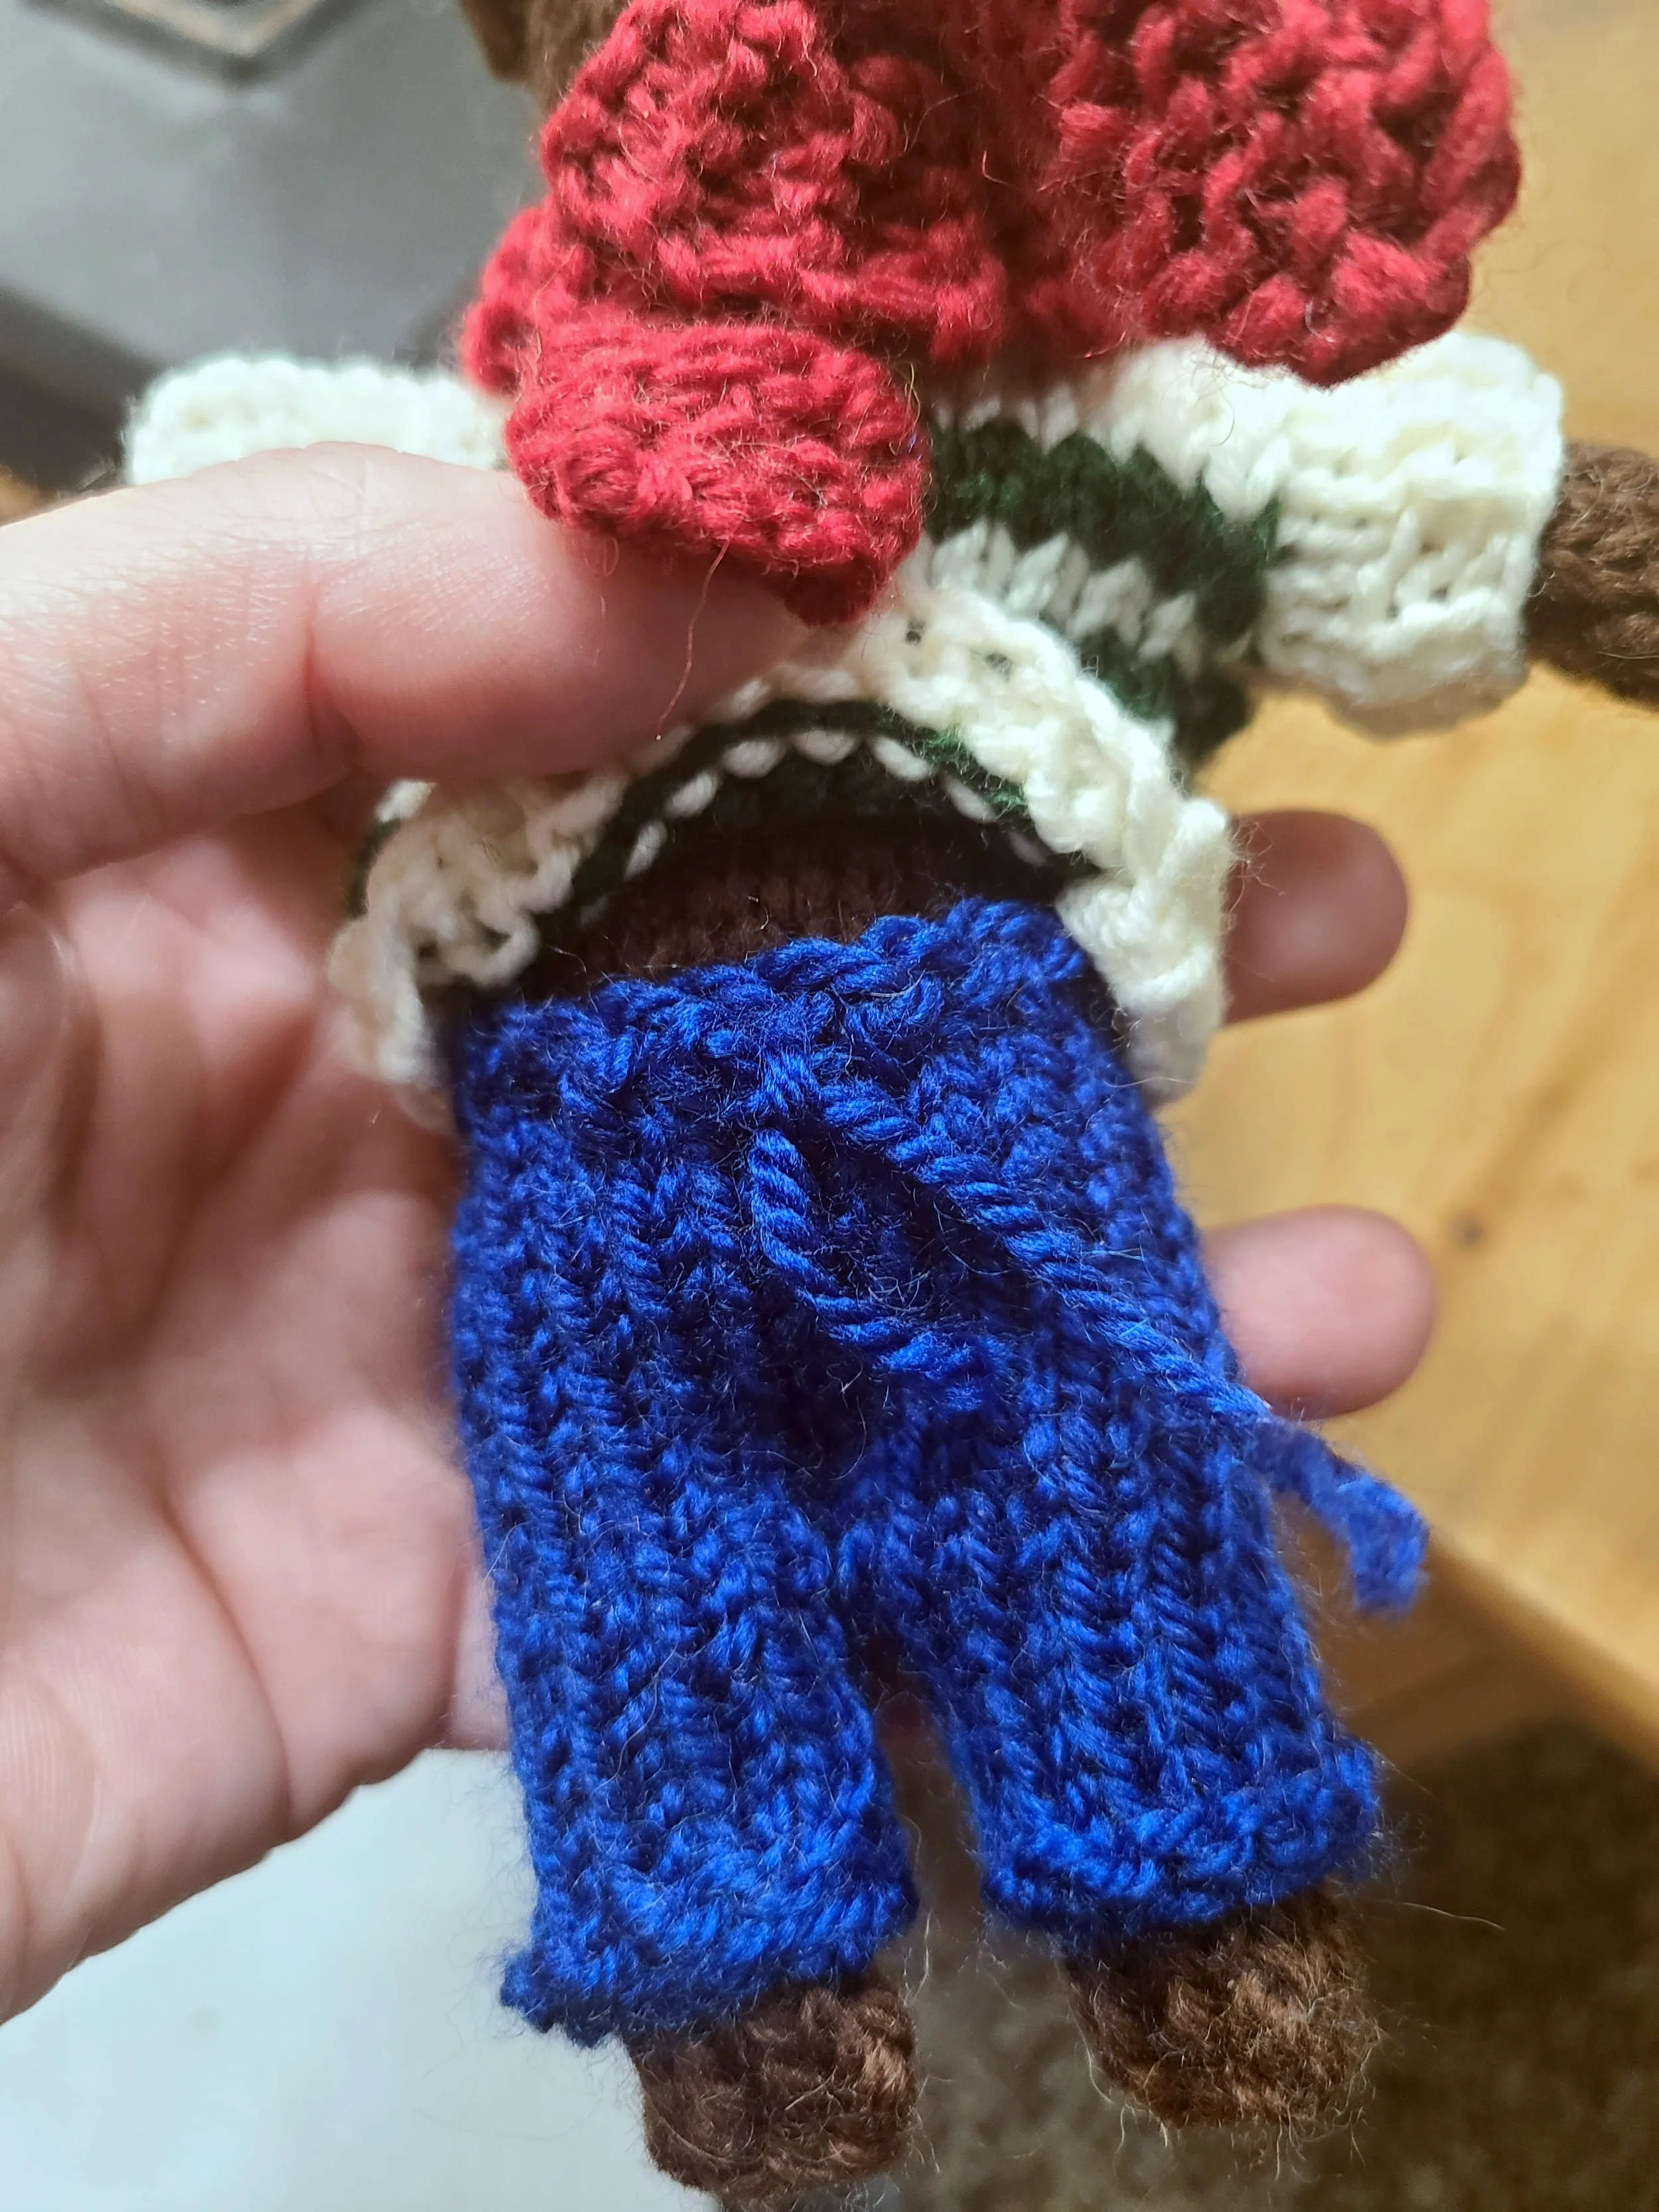
On the wreath, the instructions said to hot glue the trees to the wreath, but because my wreath was going to be hanging in the very cold Chicago winter, I opted to sew the trees on with yarn (I don’t know for sure if hot glue will stop adhering in below freezing temperatures, but I’ve seen it happen with other types of glue). This was actually pretty easy to do – the cover for the wreath form had enough give that you could easily get a yarn needle underneath.
I also crocheted a strap for the wreath instead of using a ribbon. (just a few stitches of double crochet until I had a long enough piece).
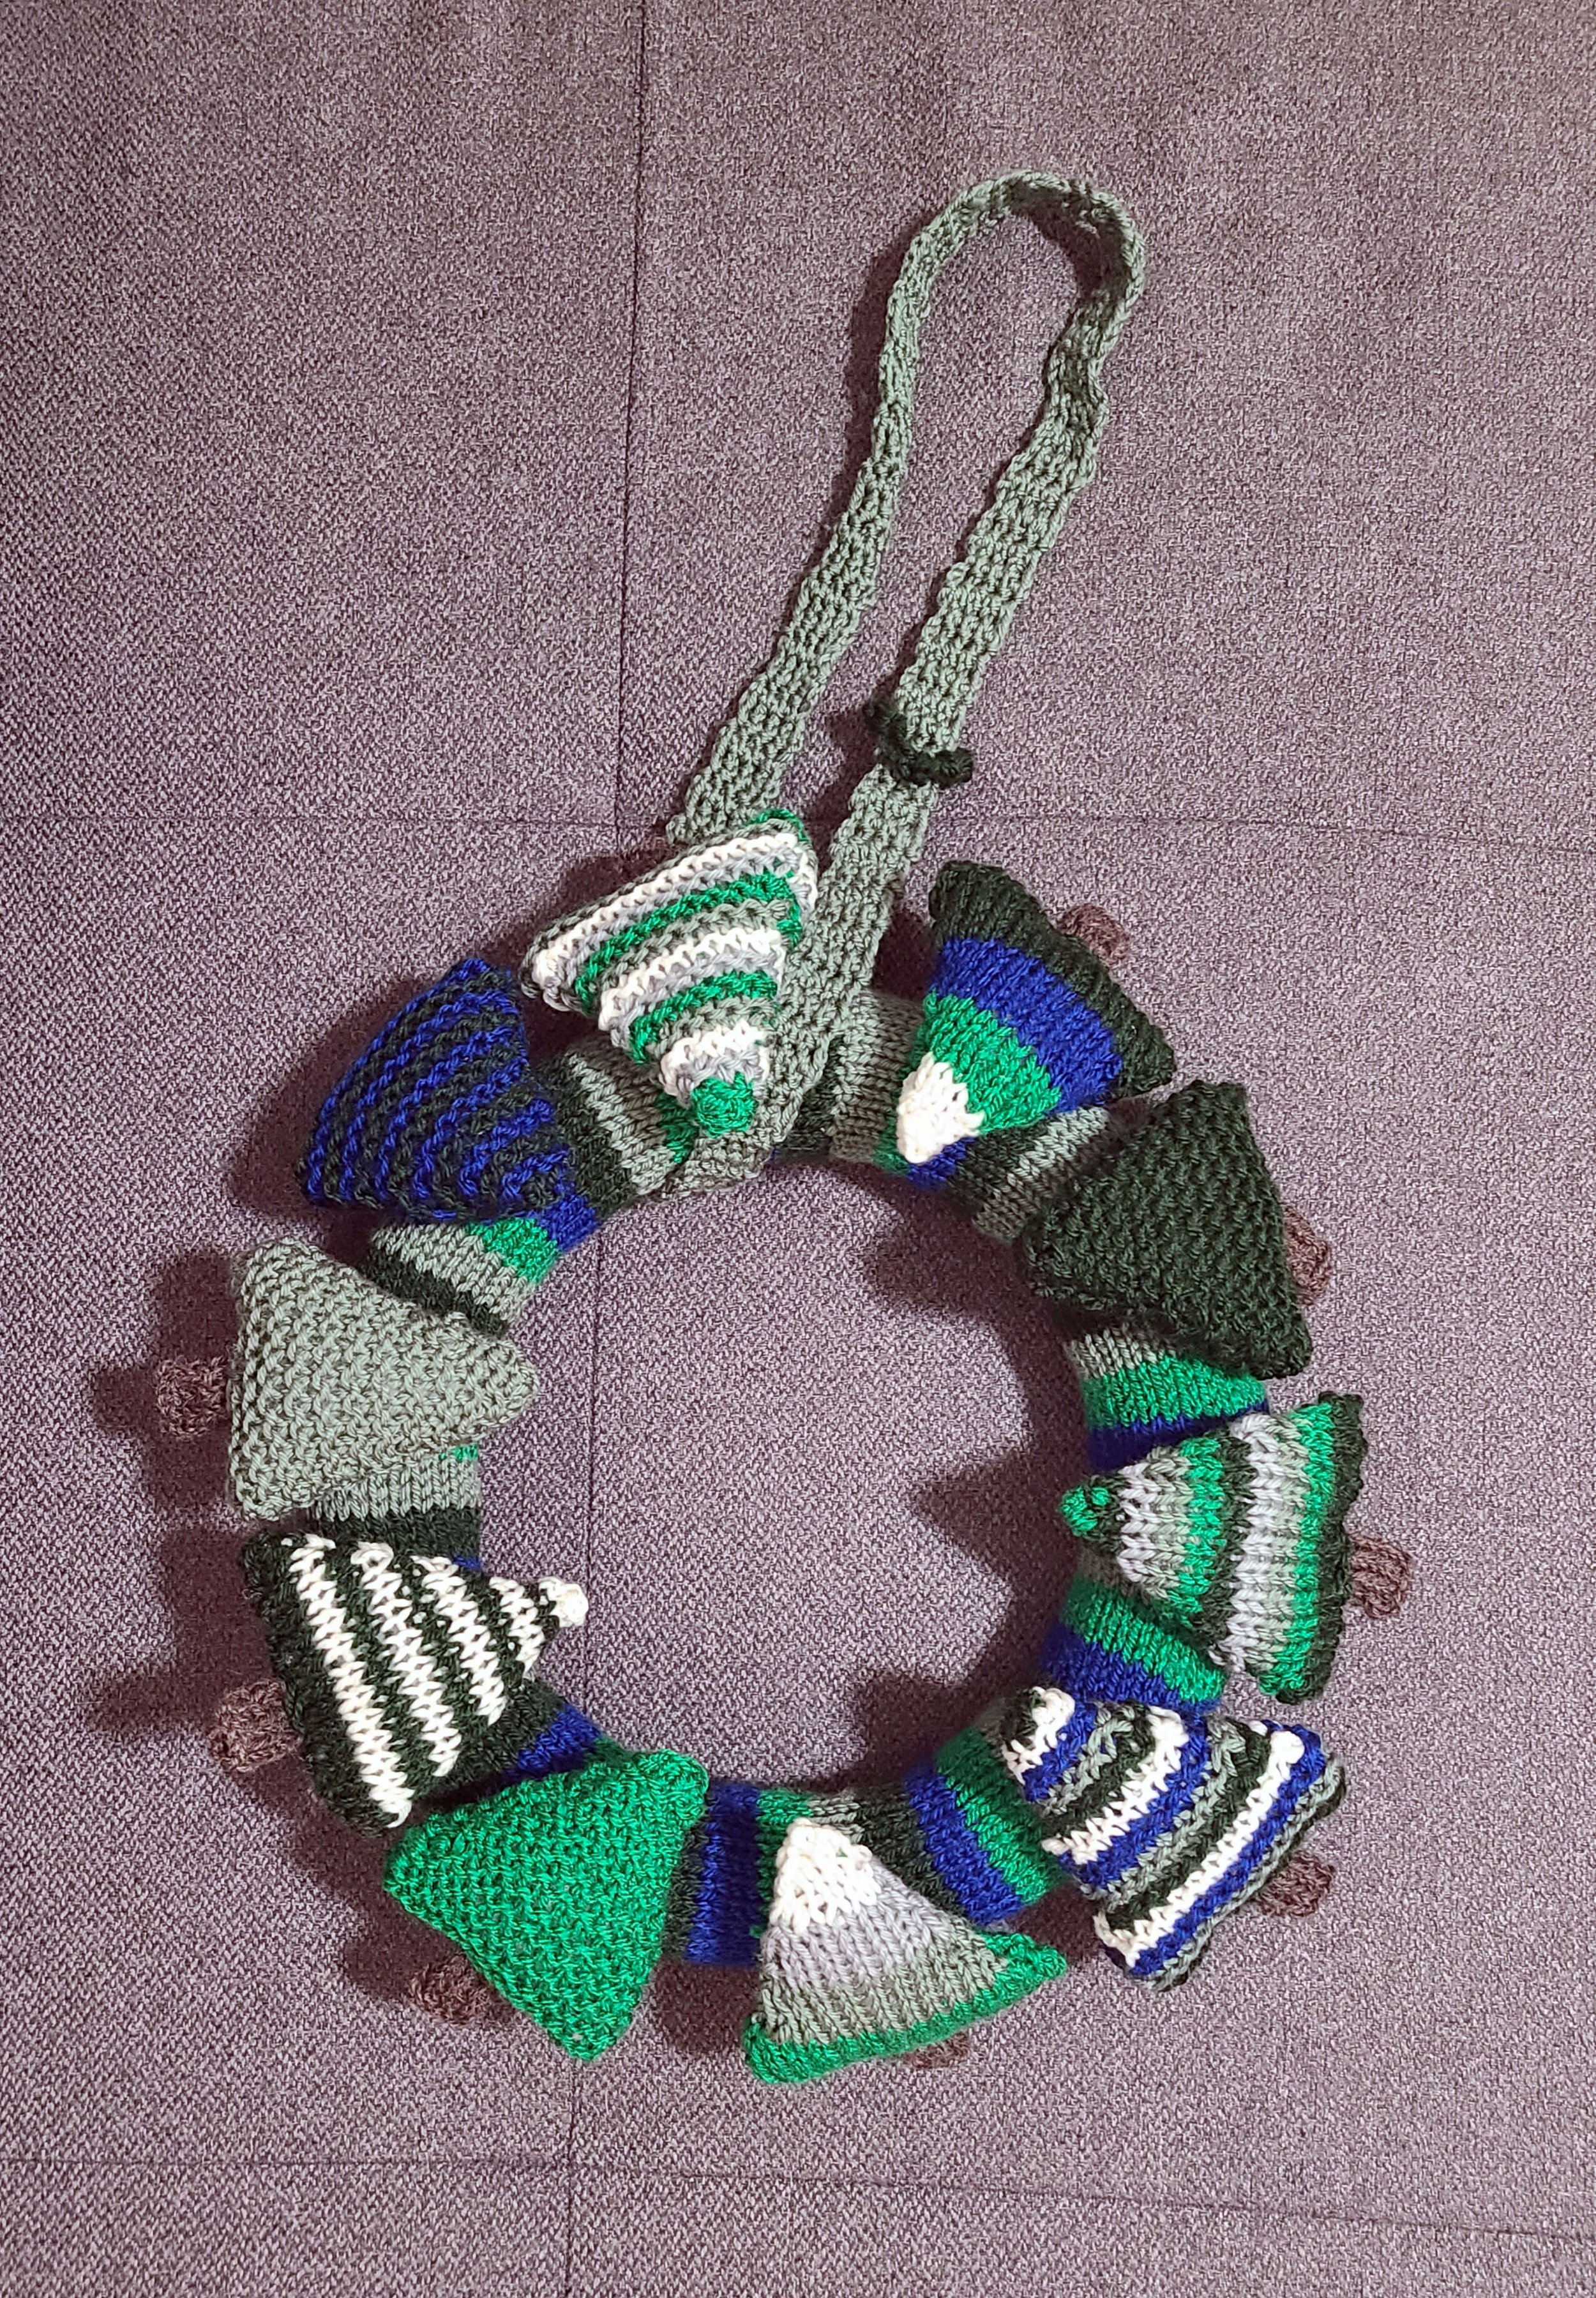
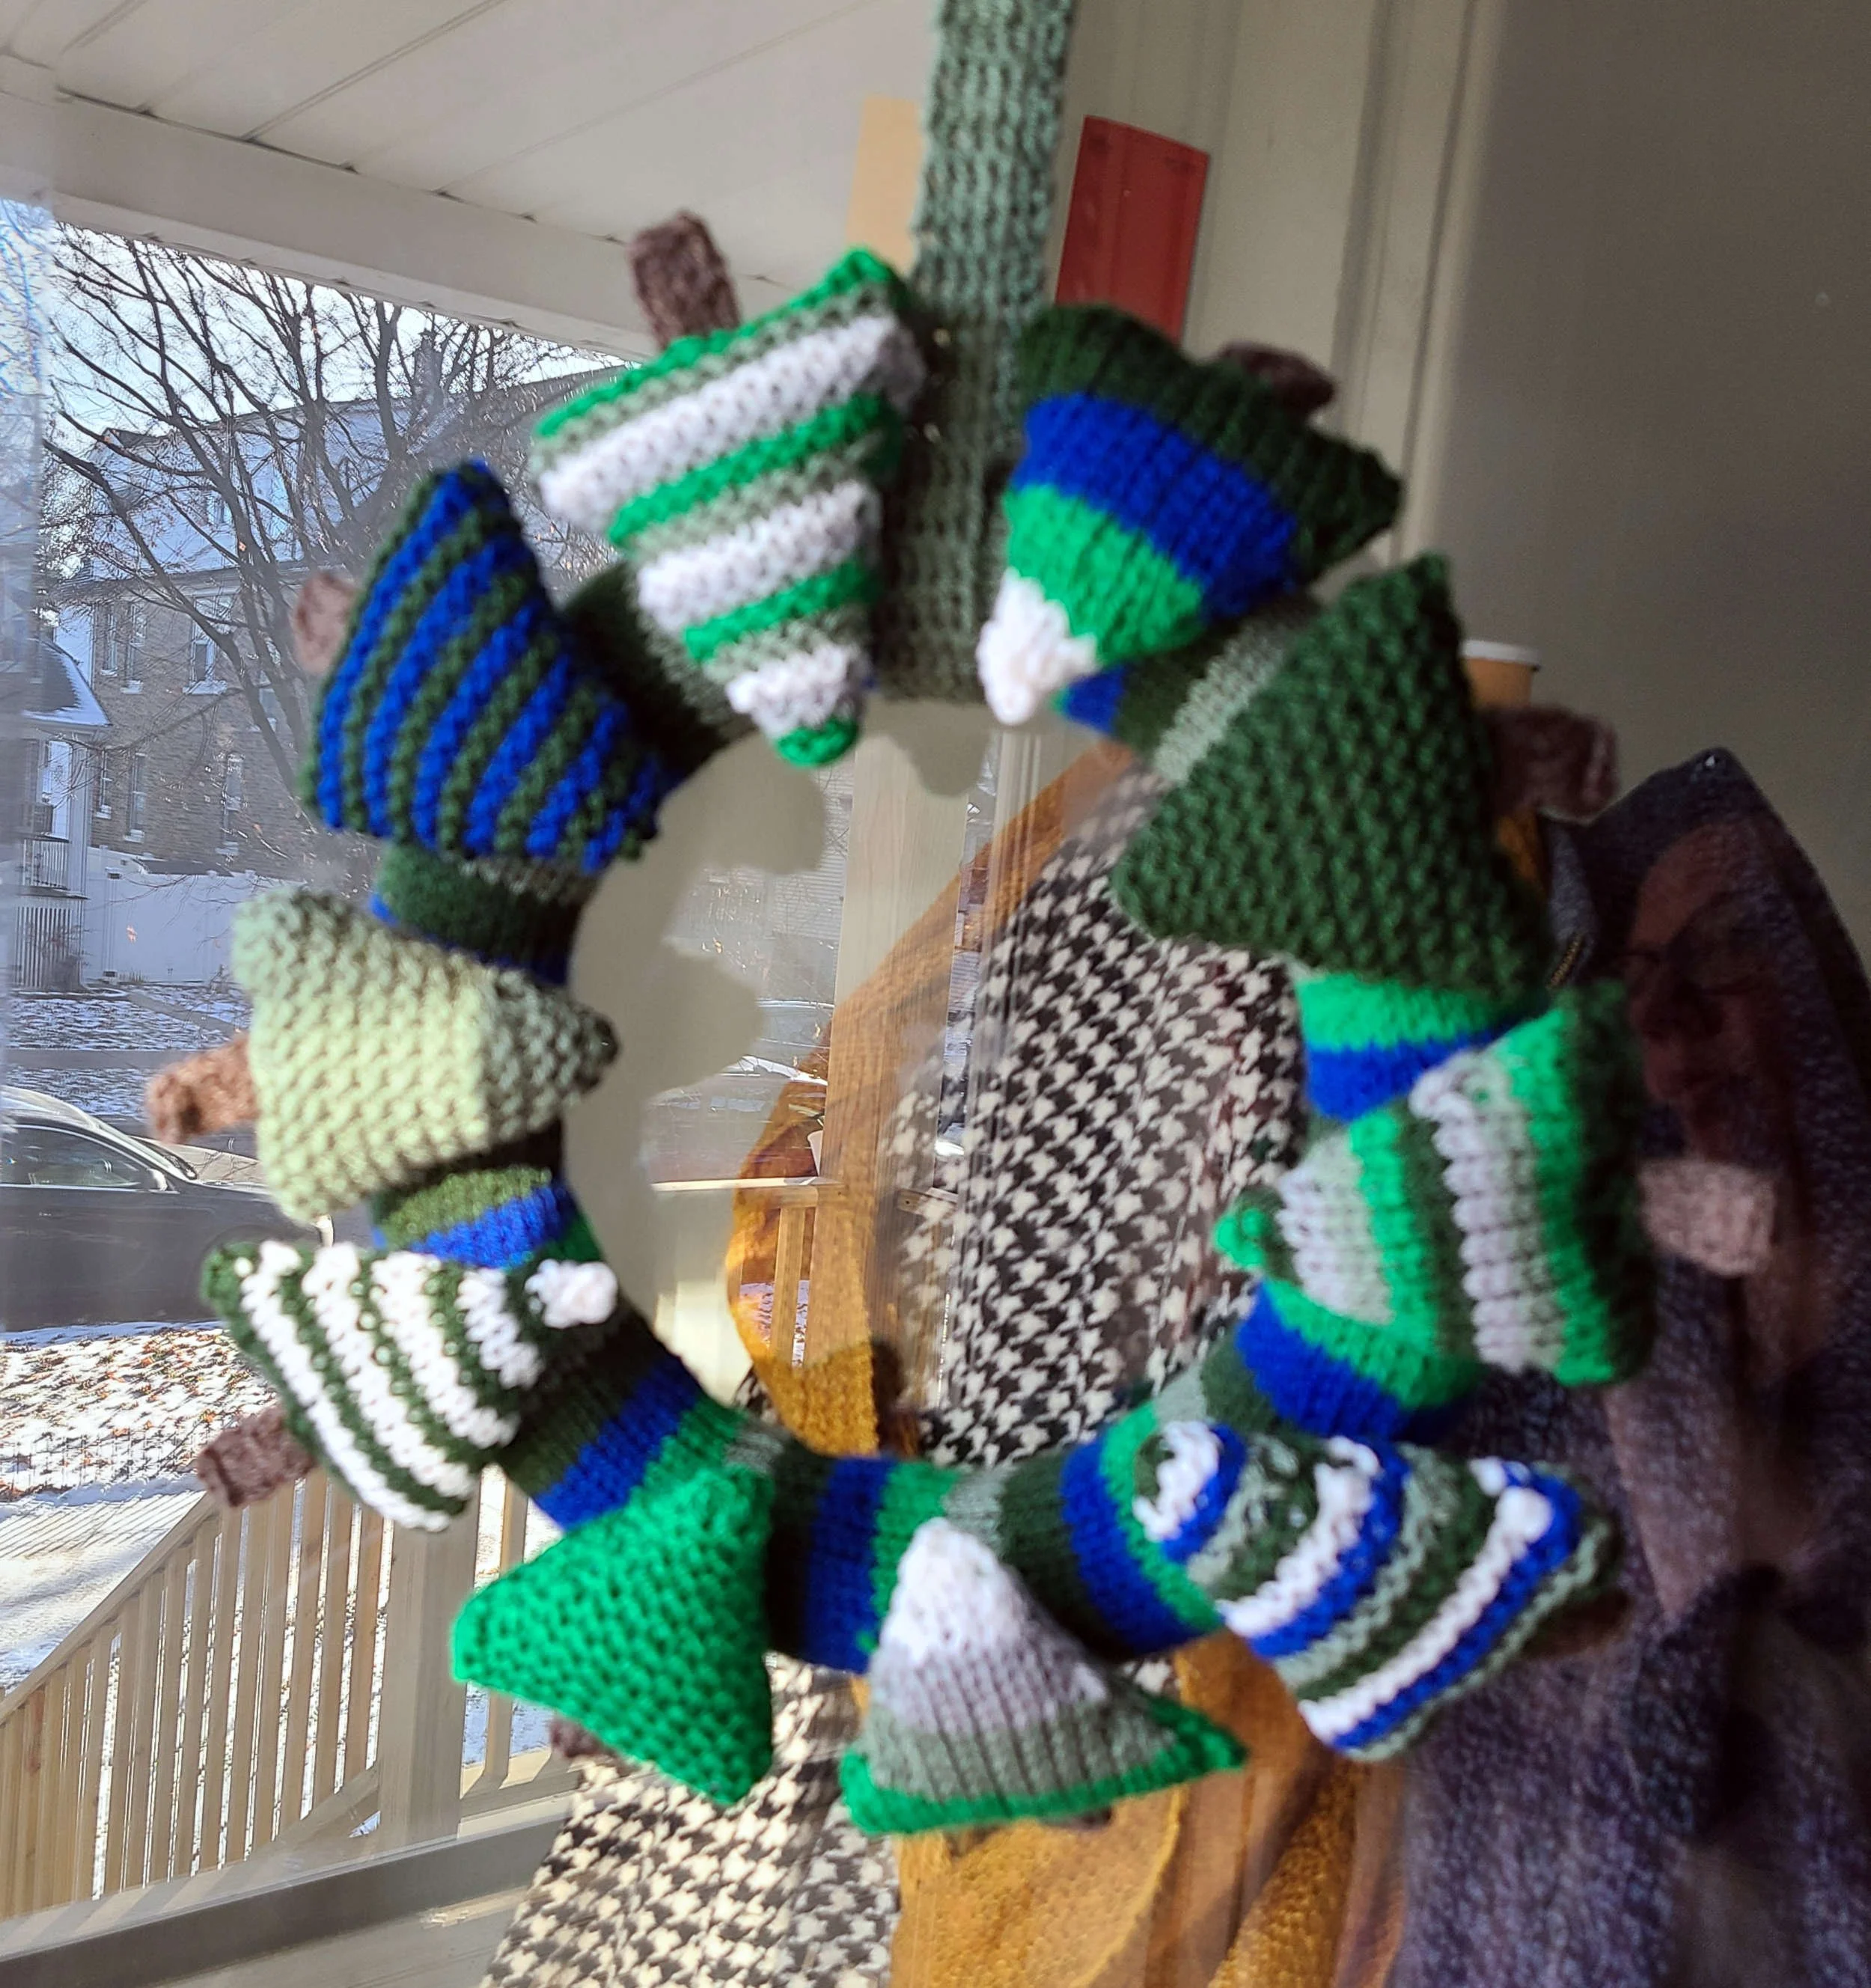
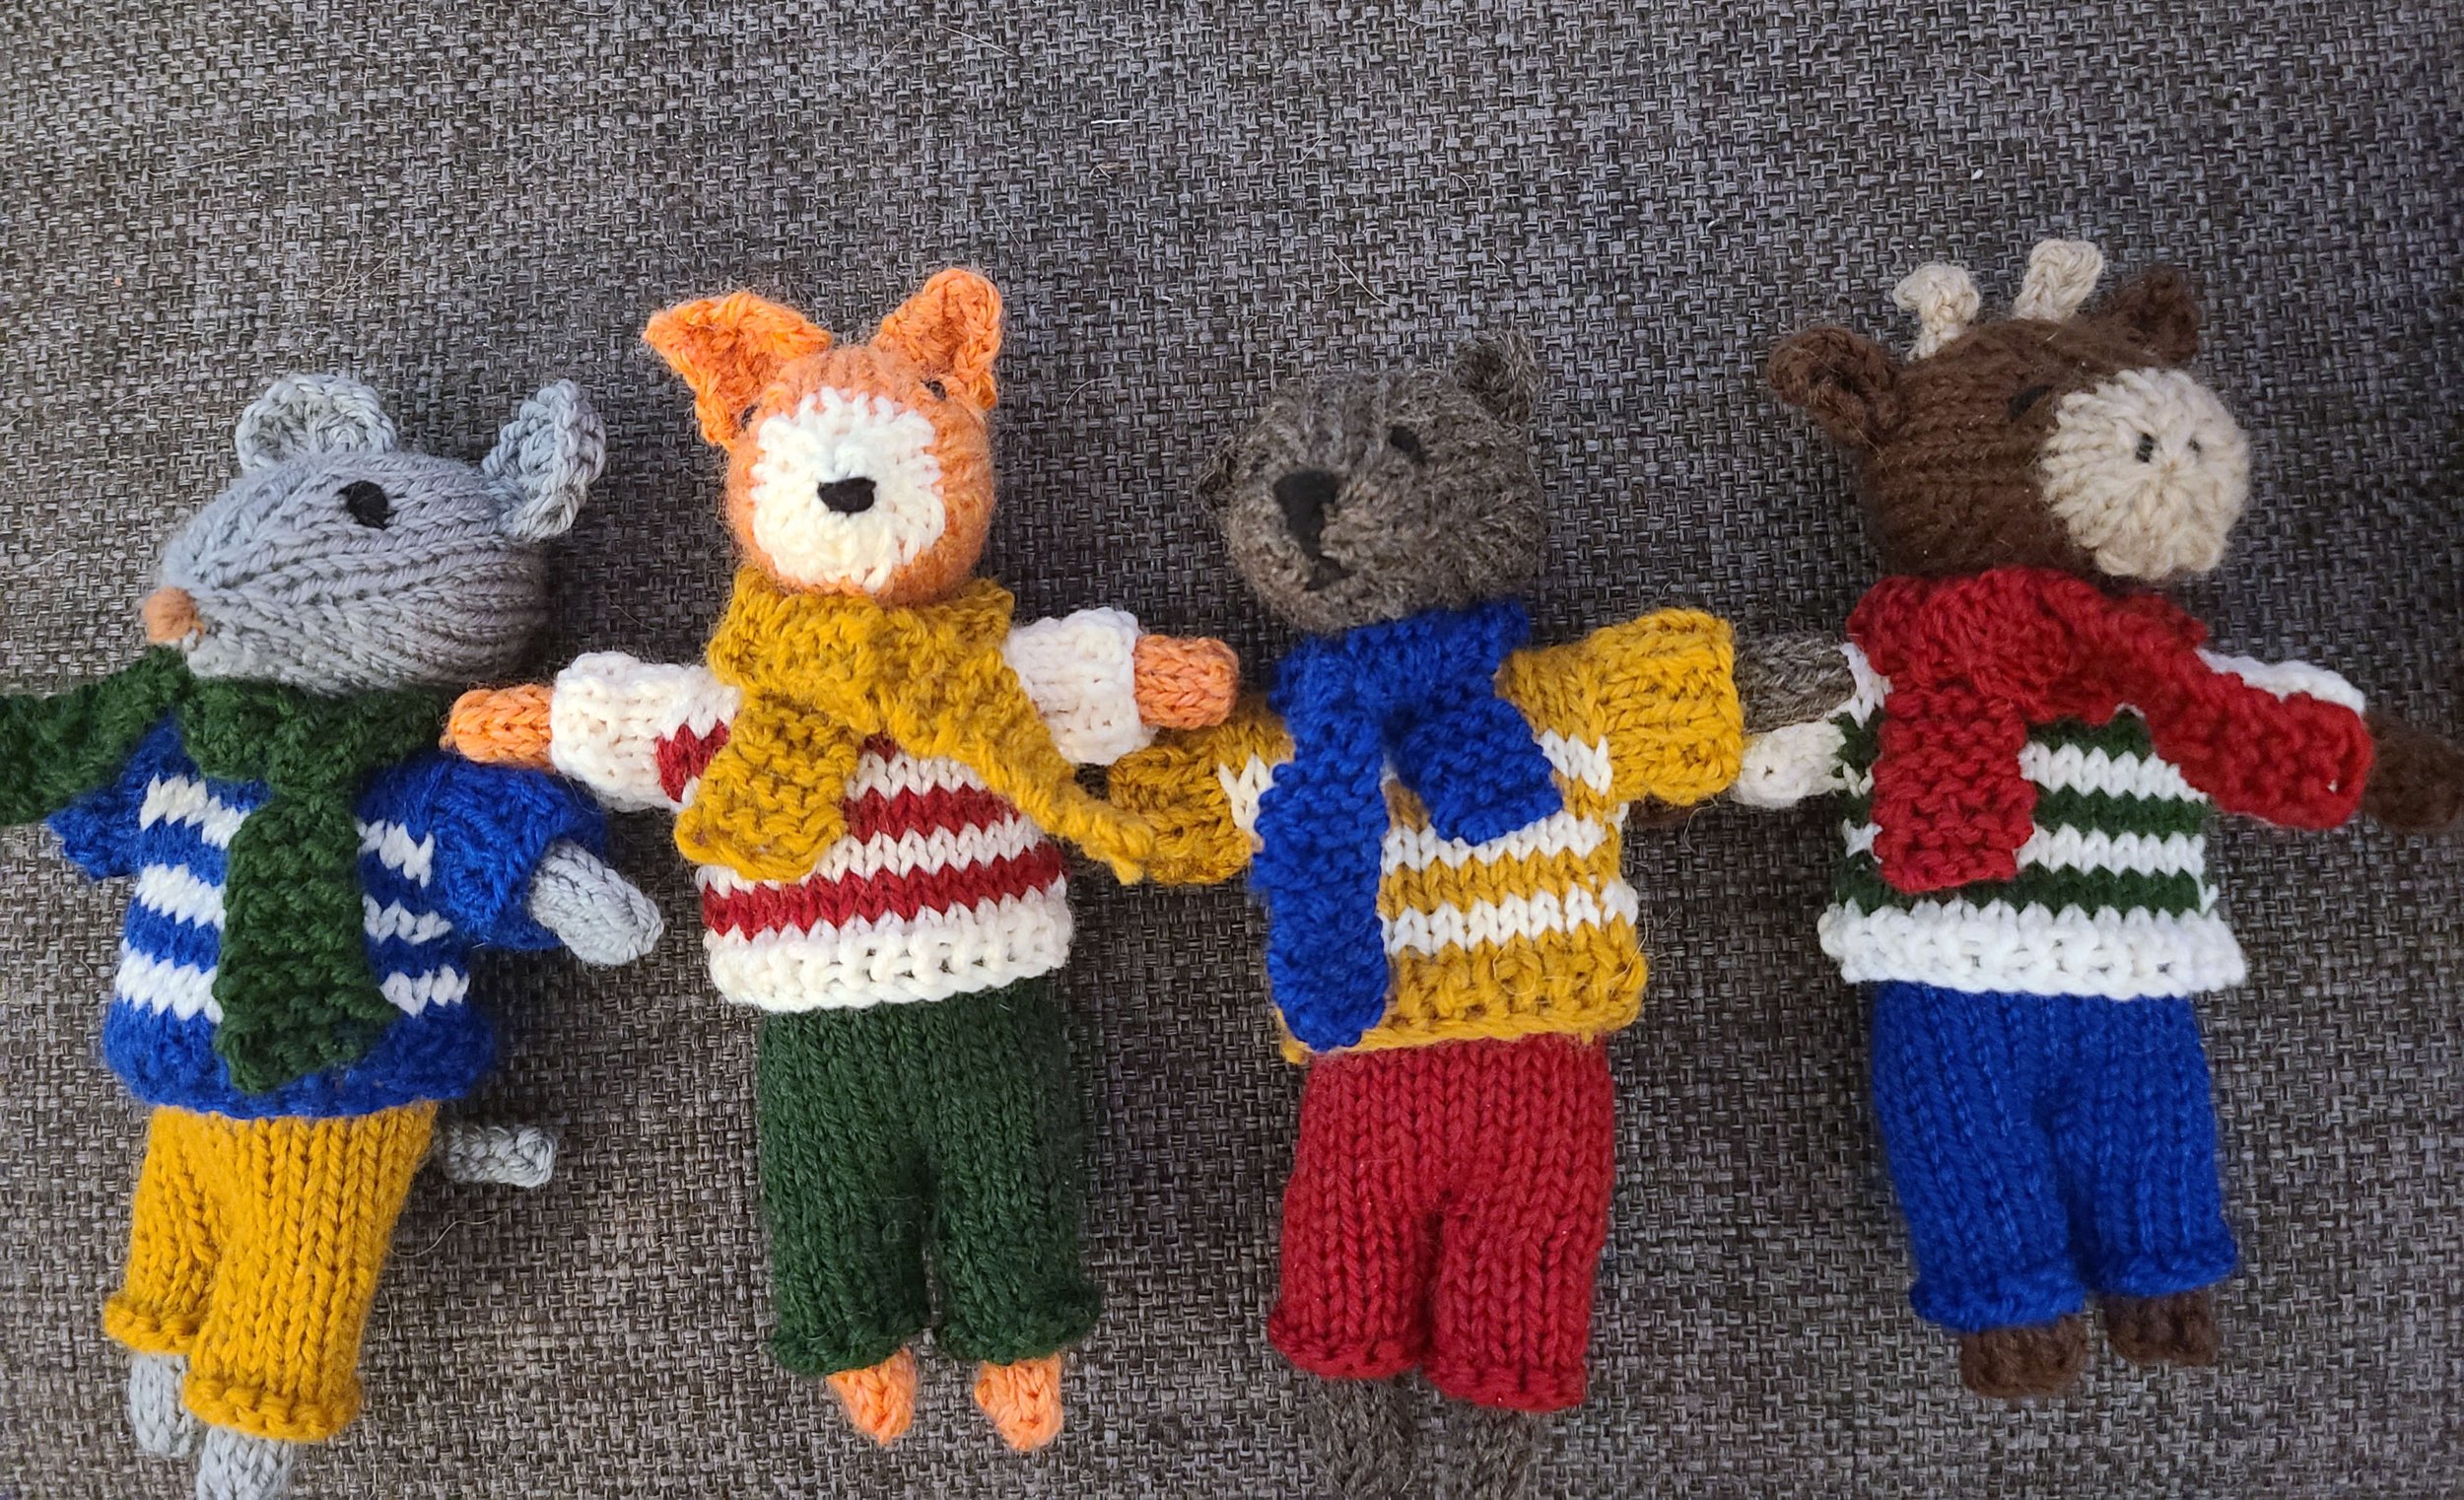
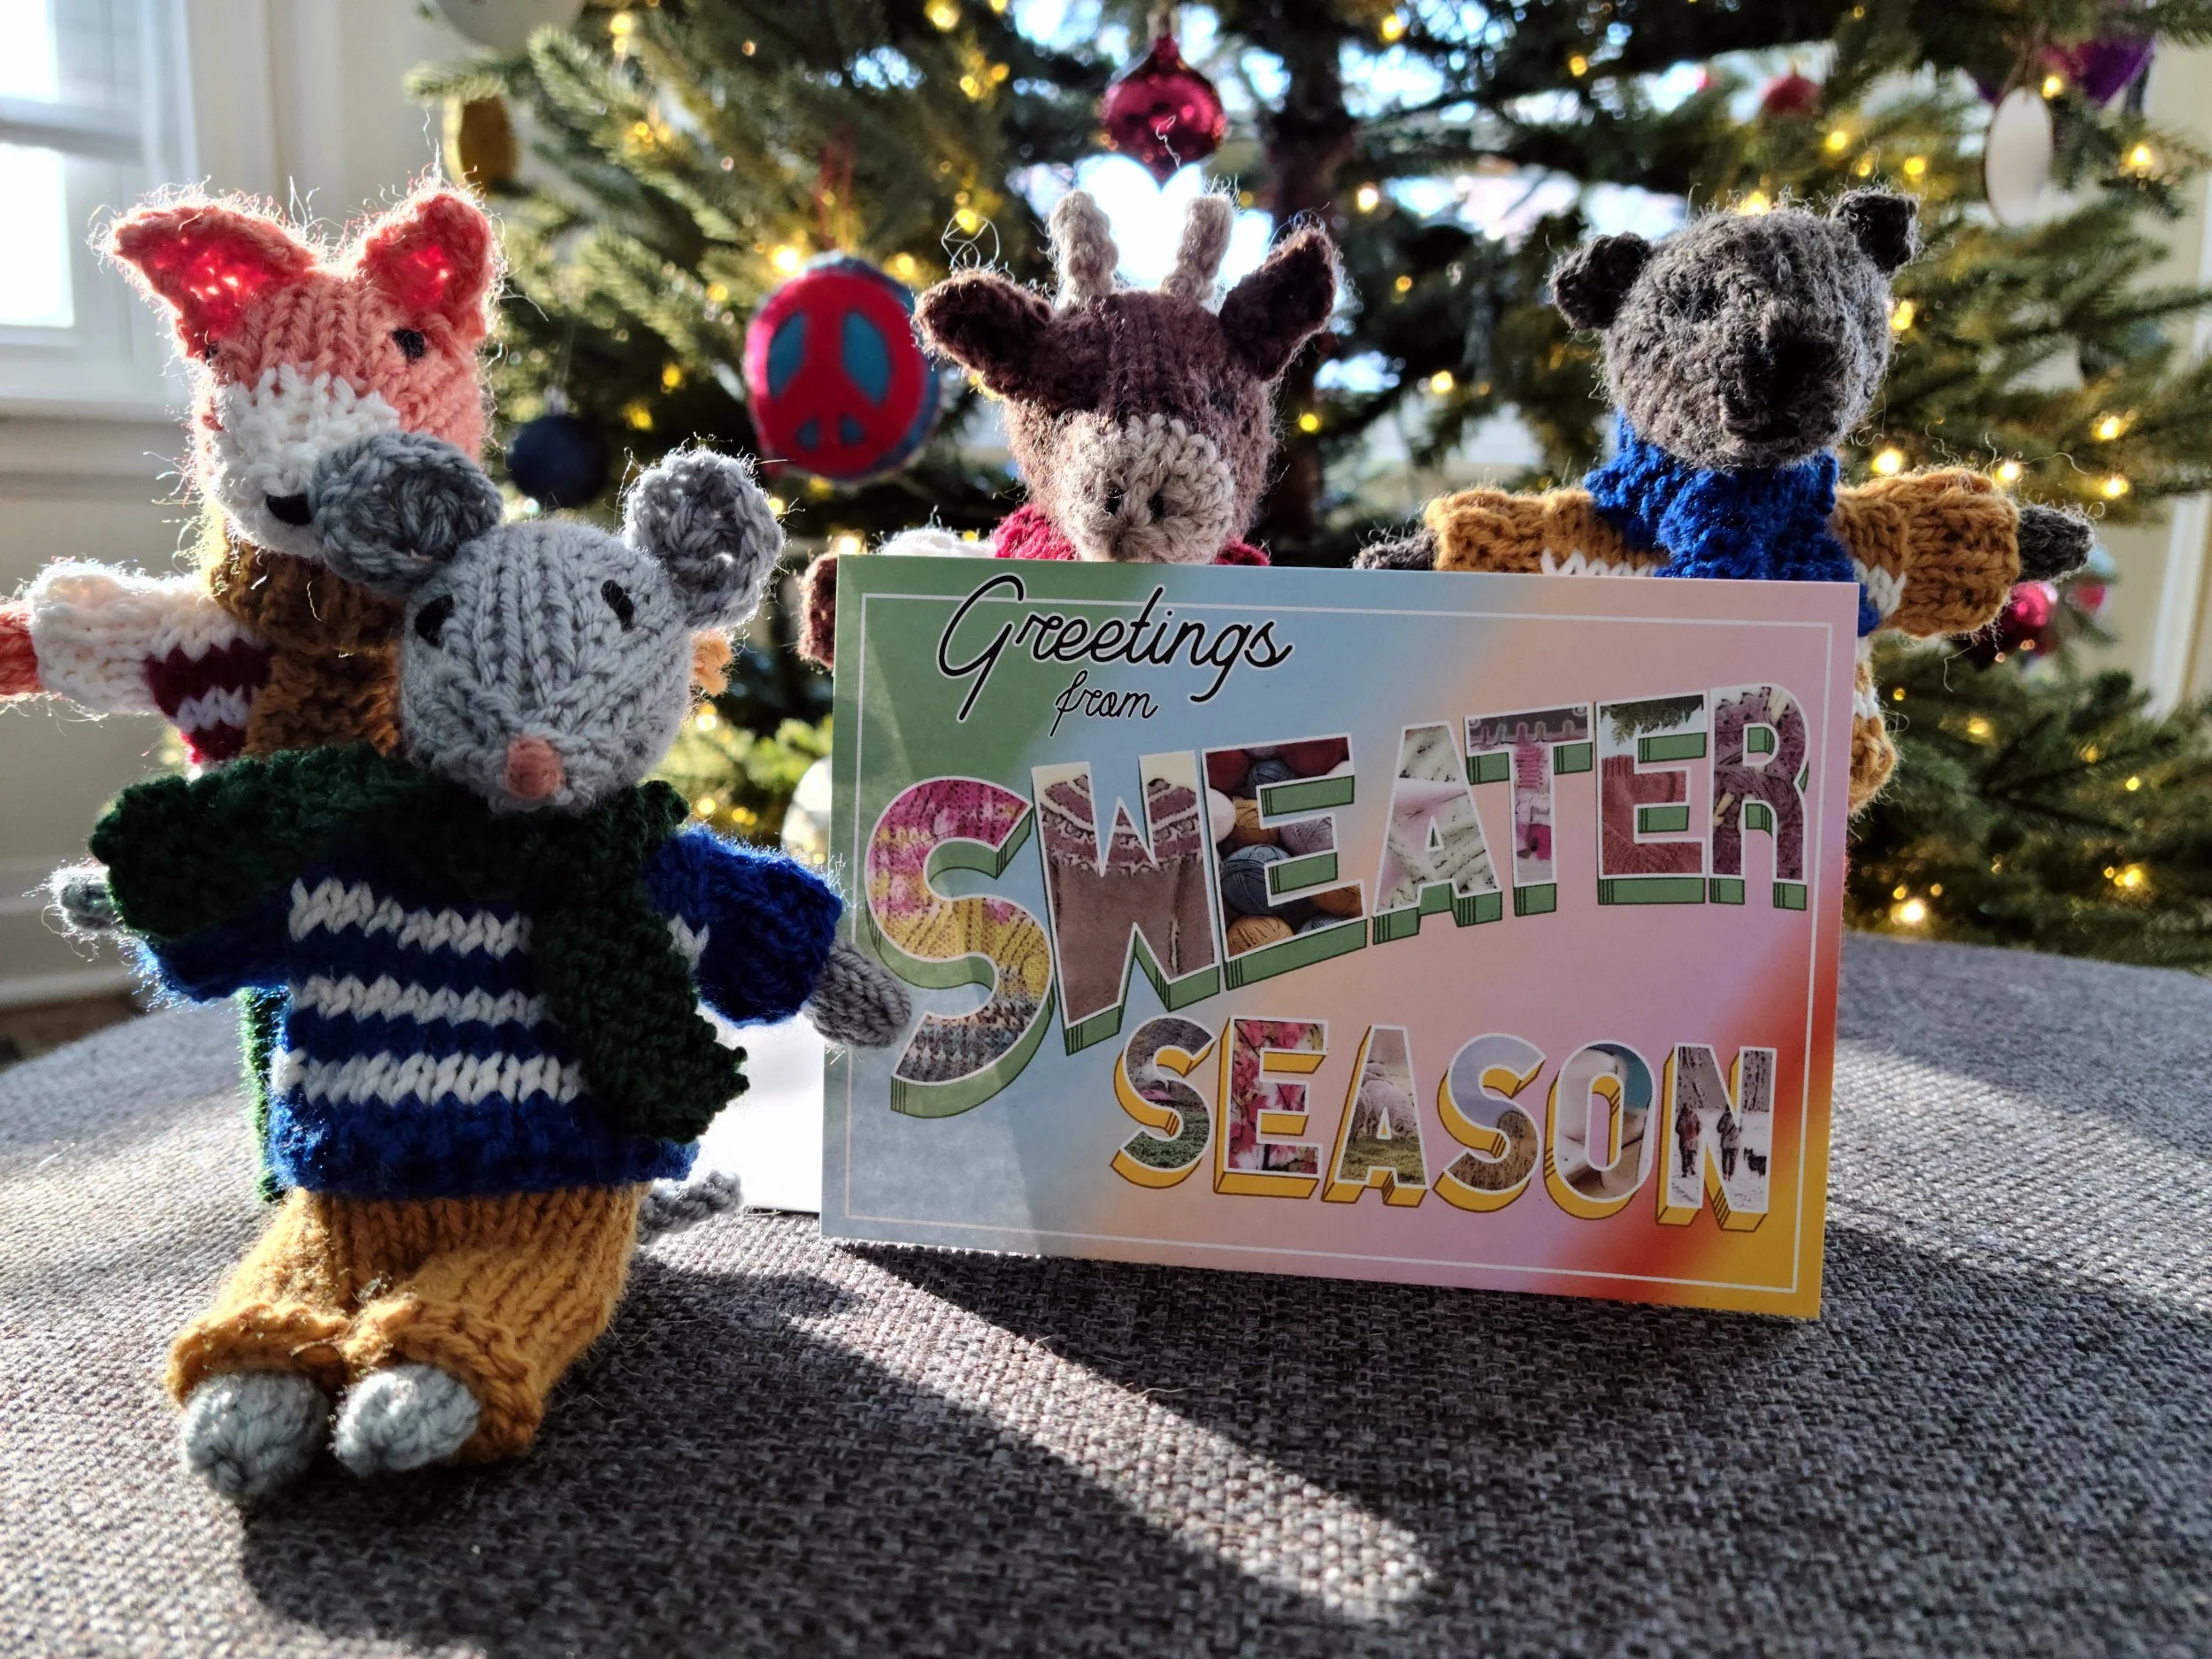
Somehow these were the first holiday décor I’ve actually knit! Knit holiday décor does require a little more advance planning than many of my holiday crafts – these were quick projects for knit projects but because they had so many parts and took time to assemble they did take me about 6 weeks. However, if you’re looking for something quick and simple I have two new Procrastination Proof Crafts posts coming in the next two weeks – both very simple projects that have decorated my home for over a decade of Christmases!
What kind of holiday décor do you like to DIY? Let me know in the comments!

I’m Whitney, a tech editor, graphic designer, and lifelong crafter. Join me for an exploration of my latest knitting, crochet, sewing, and upcycling projects, tips on knitting technique, editing tips for knitting designers, and more!