
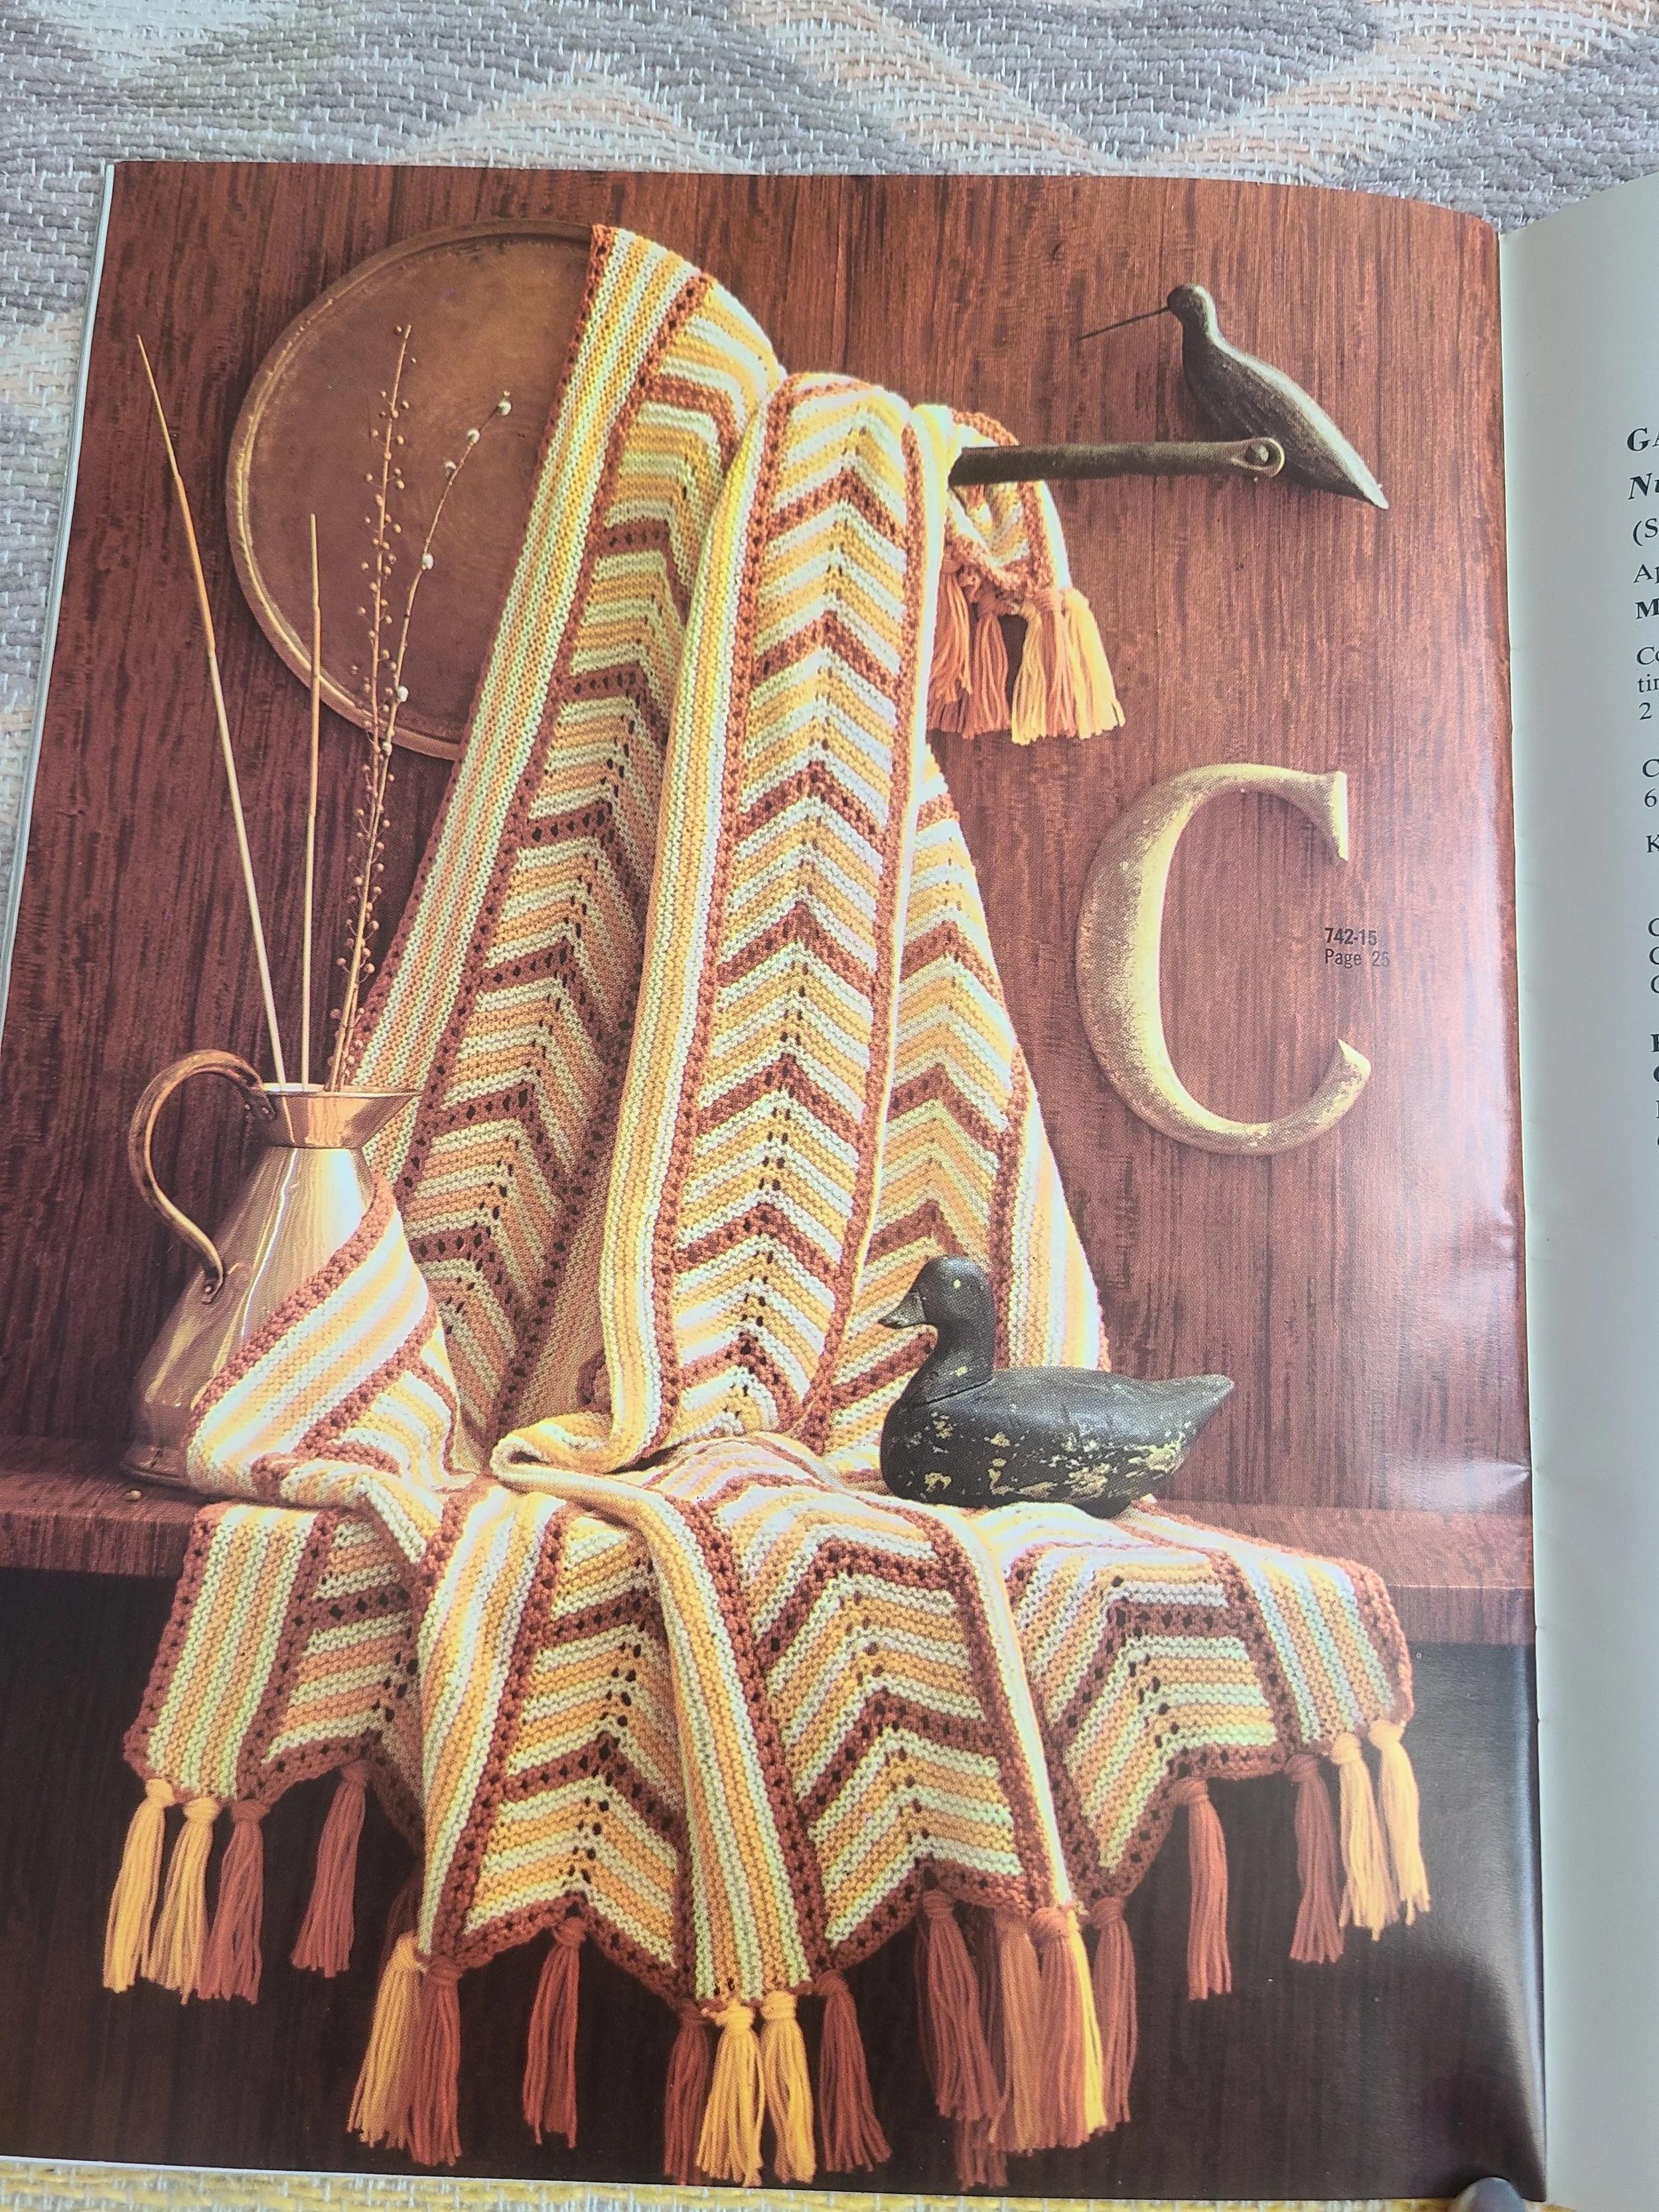
The Vintage Afghan Project Episode 4: My First Crochet Blanket
In this blog series, I chronicle my long-term project of knitting or crocheting every afghan in a vintage Columbia-Minerva Afghans book from 1960.Although the book I am using is out of print, surviving copies are not particularly rare, just search for “Columbia-Minerva Afghans Book 742,” on EBay or Etsy if you’d like to join me on this vintage knitting journey.
So as mentioned in my first post on this blanket , I selected this as my first crochet blanket project (not just from the pattern book, but ever) because the squares looked fairly simple to do. What I failed to take into account was that you have to make ninety-nine of them … and then seam them all together and weave in all those ends. It is by far the most individual pieces of any afghan in the book.
So, yes, finishing the second blanket in the Vintage Afghan Project took a little bit longer than I was anticipating.
Afghan No 2: Two-Tone Block Afghan (No. 742-12)
Knit from: February 2025 through April 2026 (14 months)
Yarn used: Hobbii Amigo (100% acrylic) in Bordeaux (dark purple) and Mauve (light purple)
I should start by confessing a very large mistake I made right at the start of this project that went unnoticed until I started seaming the squares. You see, this project calls for worsted weight yarn, and if you know Hobbii yarn, you may know that Amigo is a DK weight. This was actually my first time using Hobbii and I think what happened is that I picked out Amigo XL yarns (their worsted weight version), took a break to think about it, and by the time I came back I was thinking of it as just Amigo yarn and didn’t realize there was a difference. The fact that I bought WAY too much yarn (I am knitting an entire sweater with the leftover Mauve yarn) is more evidence in support of this theory. I must have calculated the correct number of skeins for Amigo XL, made a note somewhere, and then accidentally bought that number in Amigo which has far more yardage.
So that explains some of the crochet gauge problems I was having, as well as why my stitch texture seemed a lot less “bubbly” than the sample photo.
The good thing is that this blanket was always intended to be a lap blanket for use at my desk and it’s definitely lap blanket size!
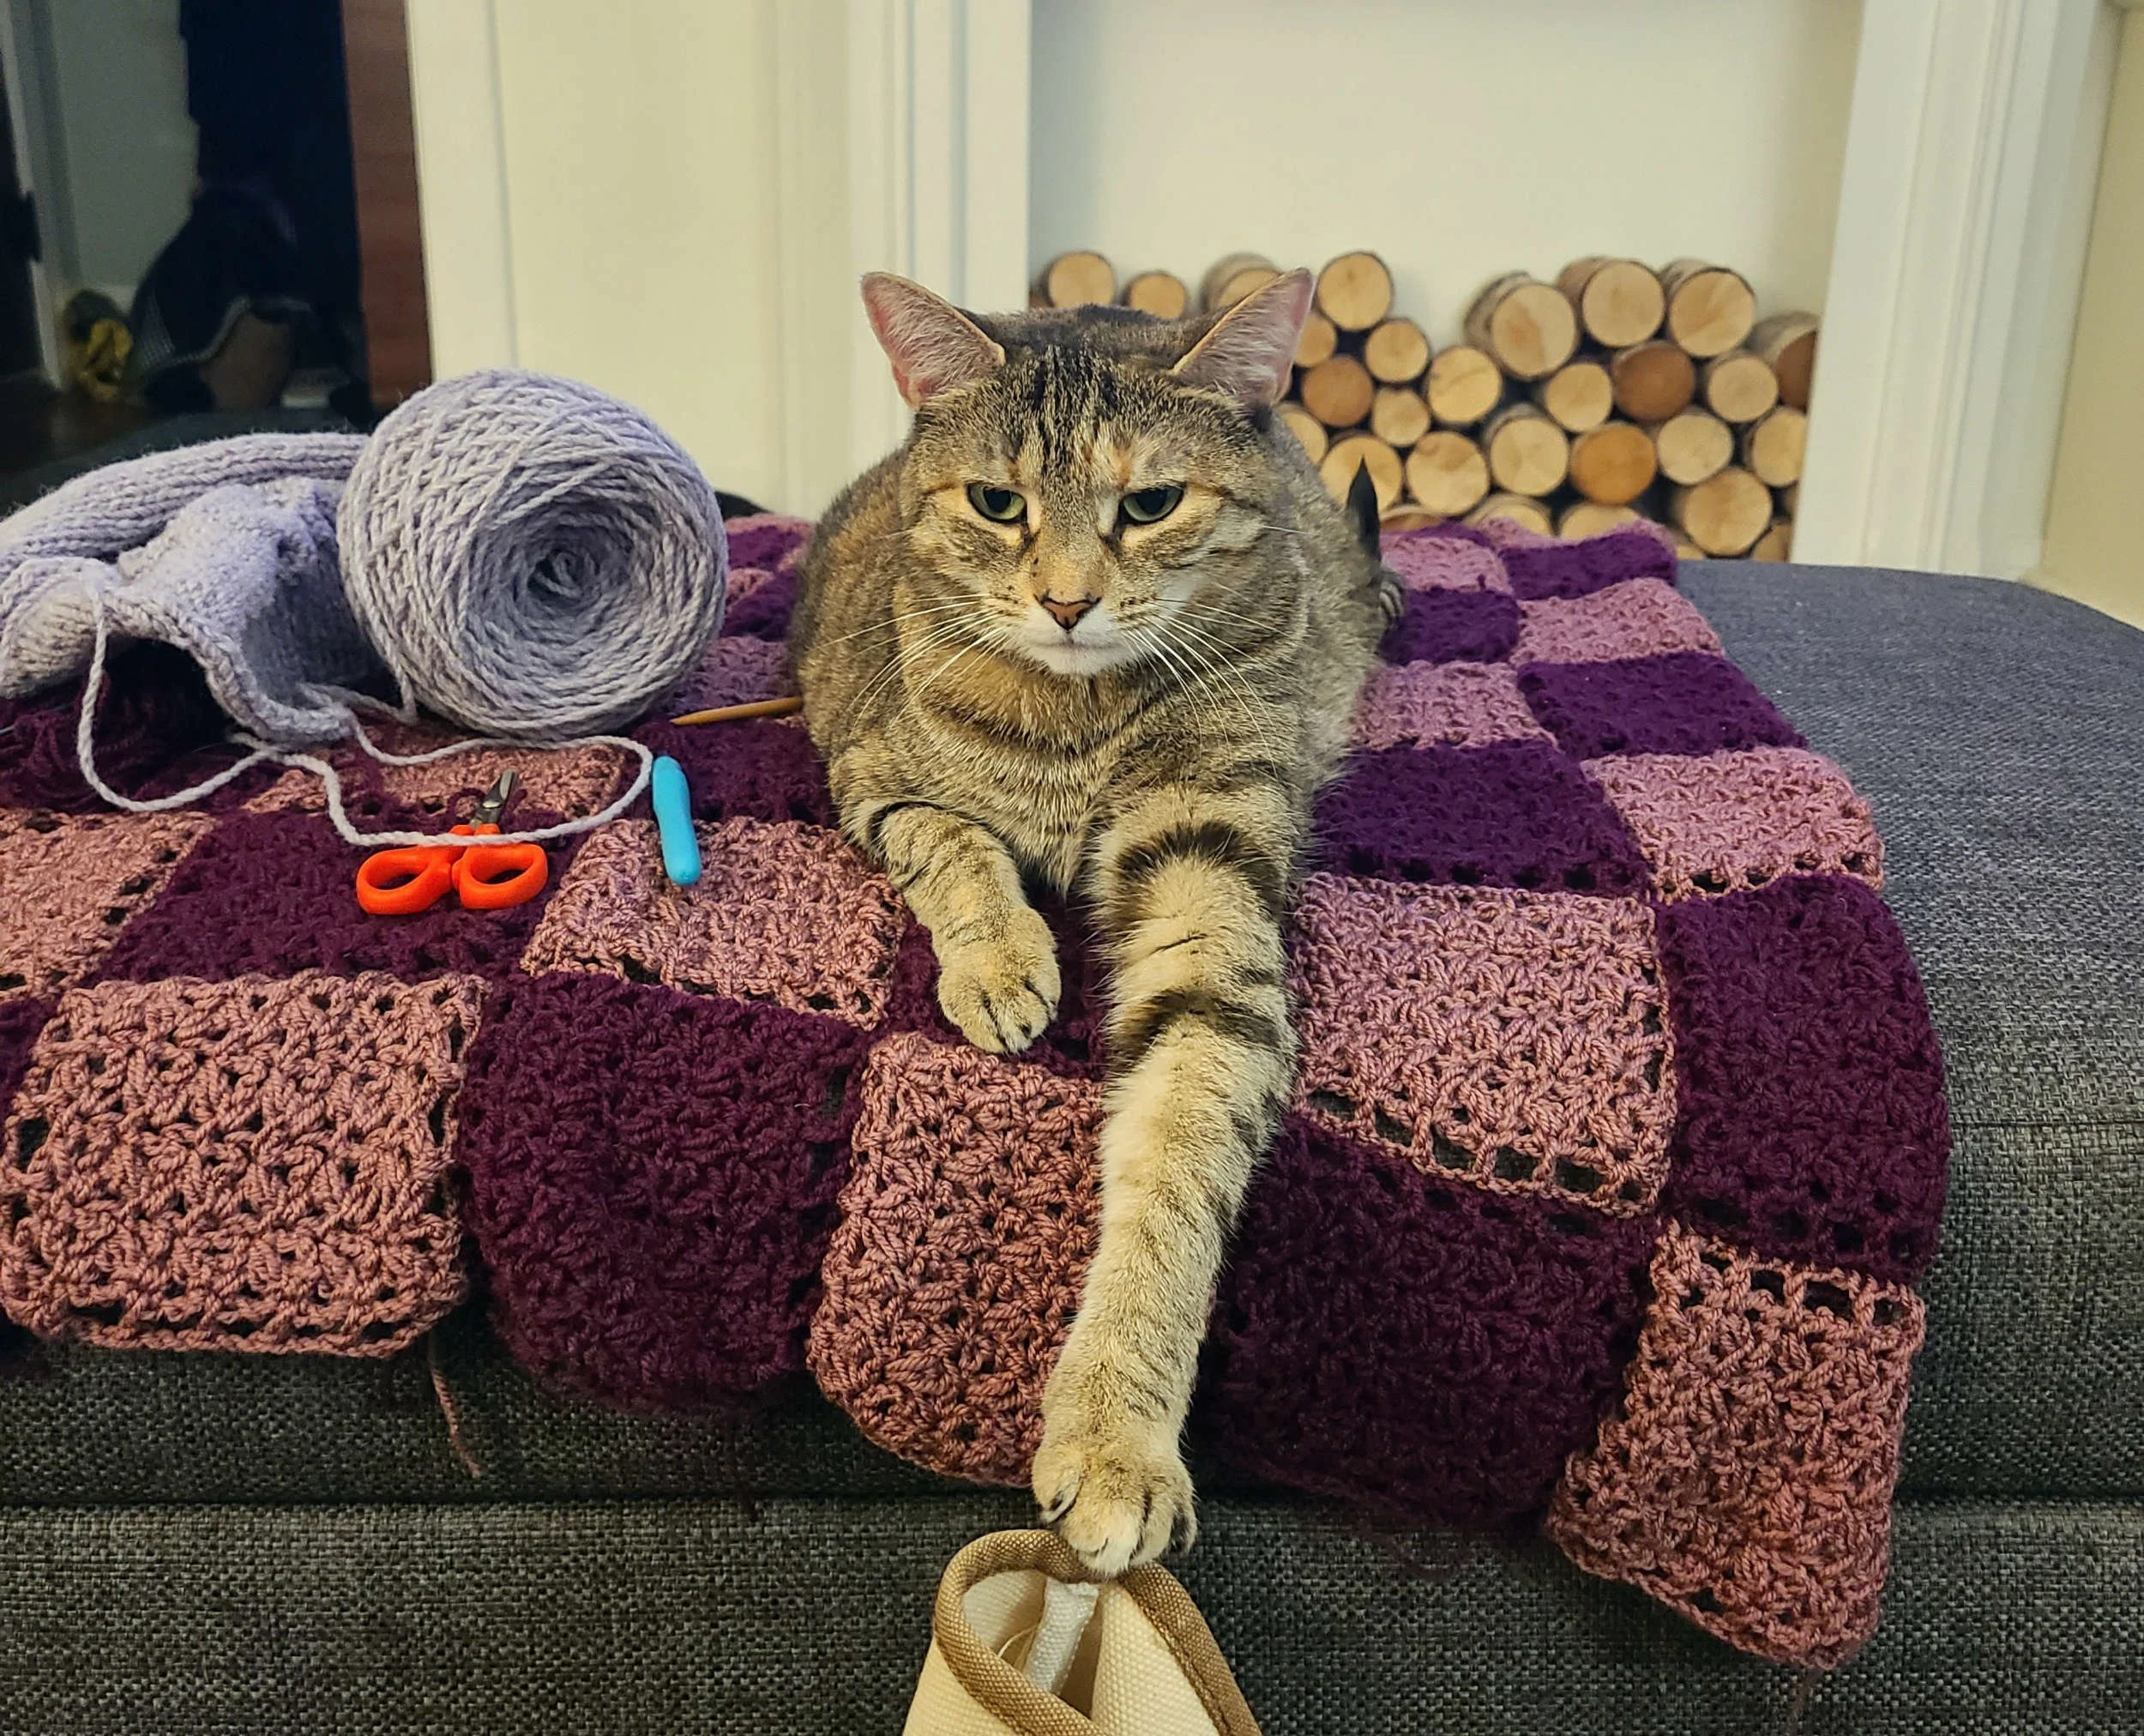
It’s also staff kitty Yuna sized — she loves this one.
I also had to learn how to block and seam crochet squares to finish this project. I made myself a blocking board with a couple of foam blocking mats, with pins set in to make 5 inch squares (I used two mats stacked on top of each other so I could stick the pins in far enough to make them really sturdy). My long actual blocking pins worked the best but I unfortunately have a limited number of them, so I could only make 4 squares, and still had to supplement with regular straight pins.
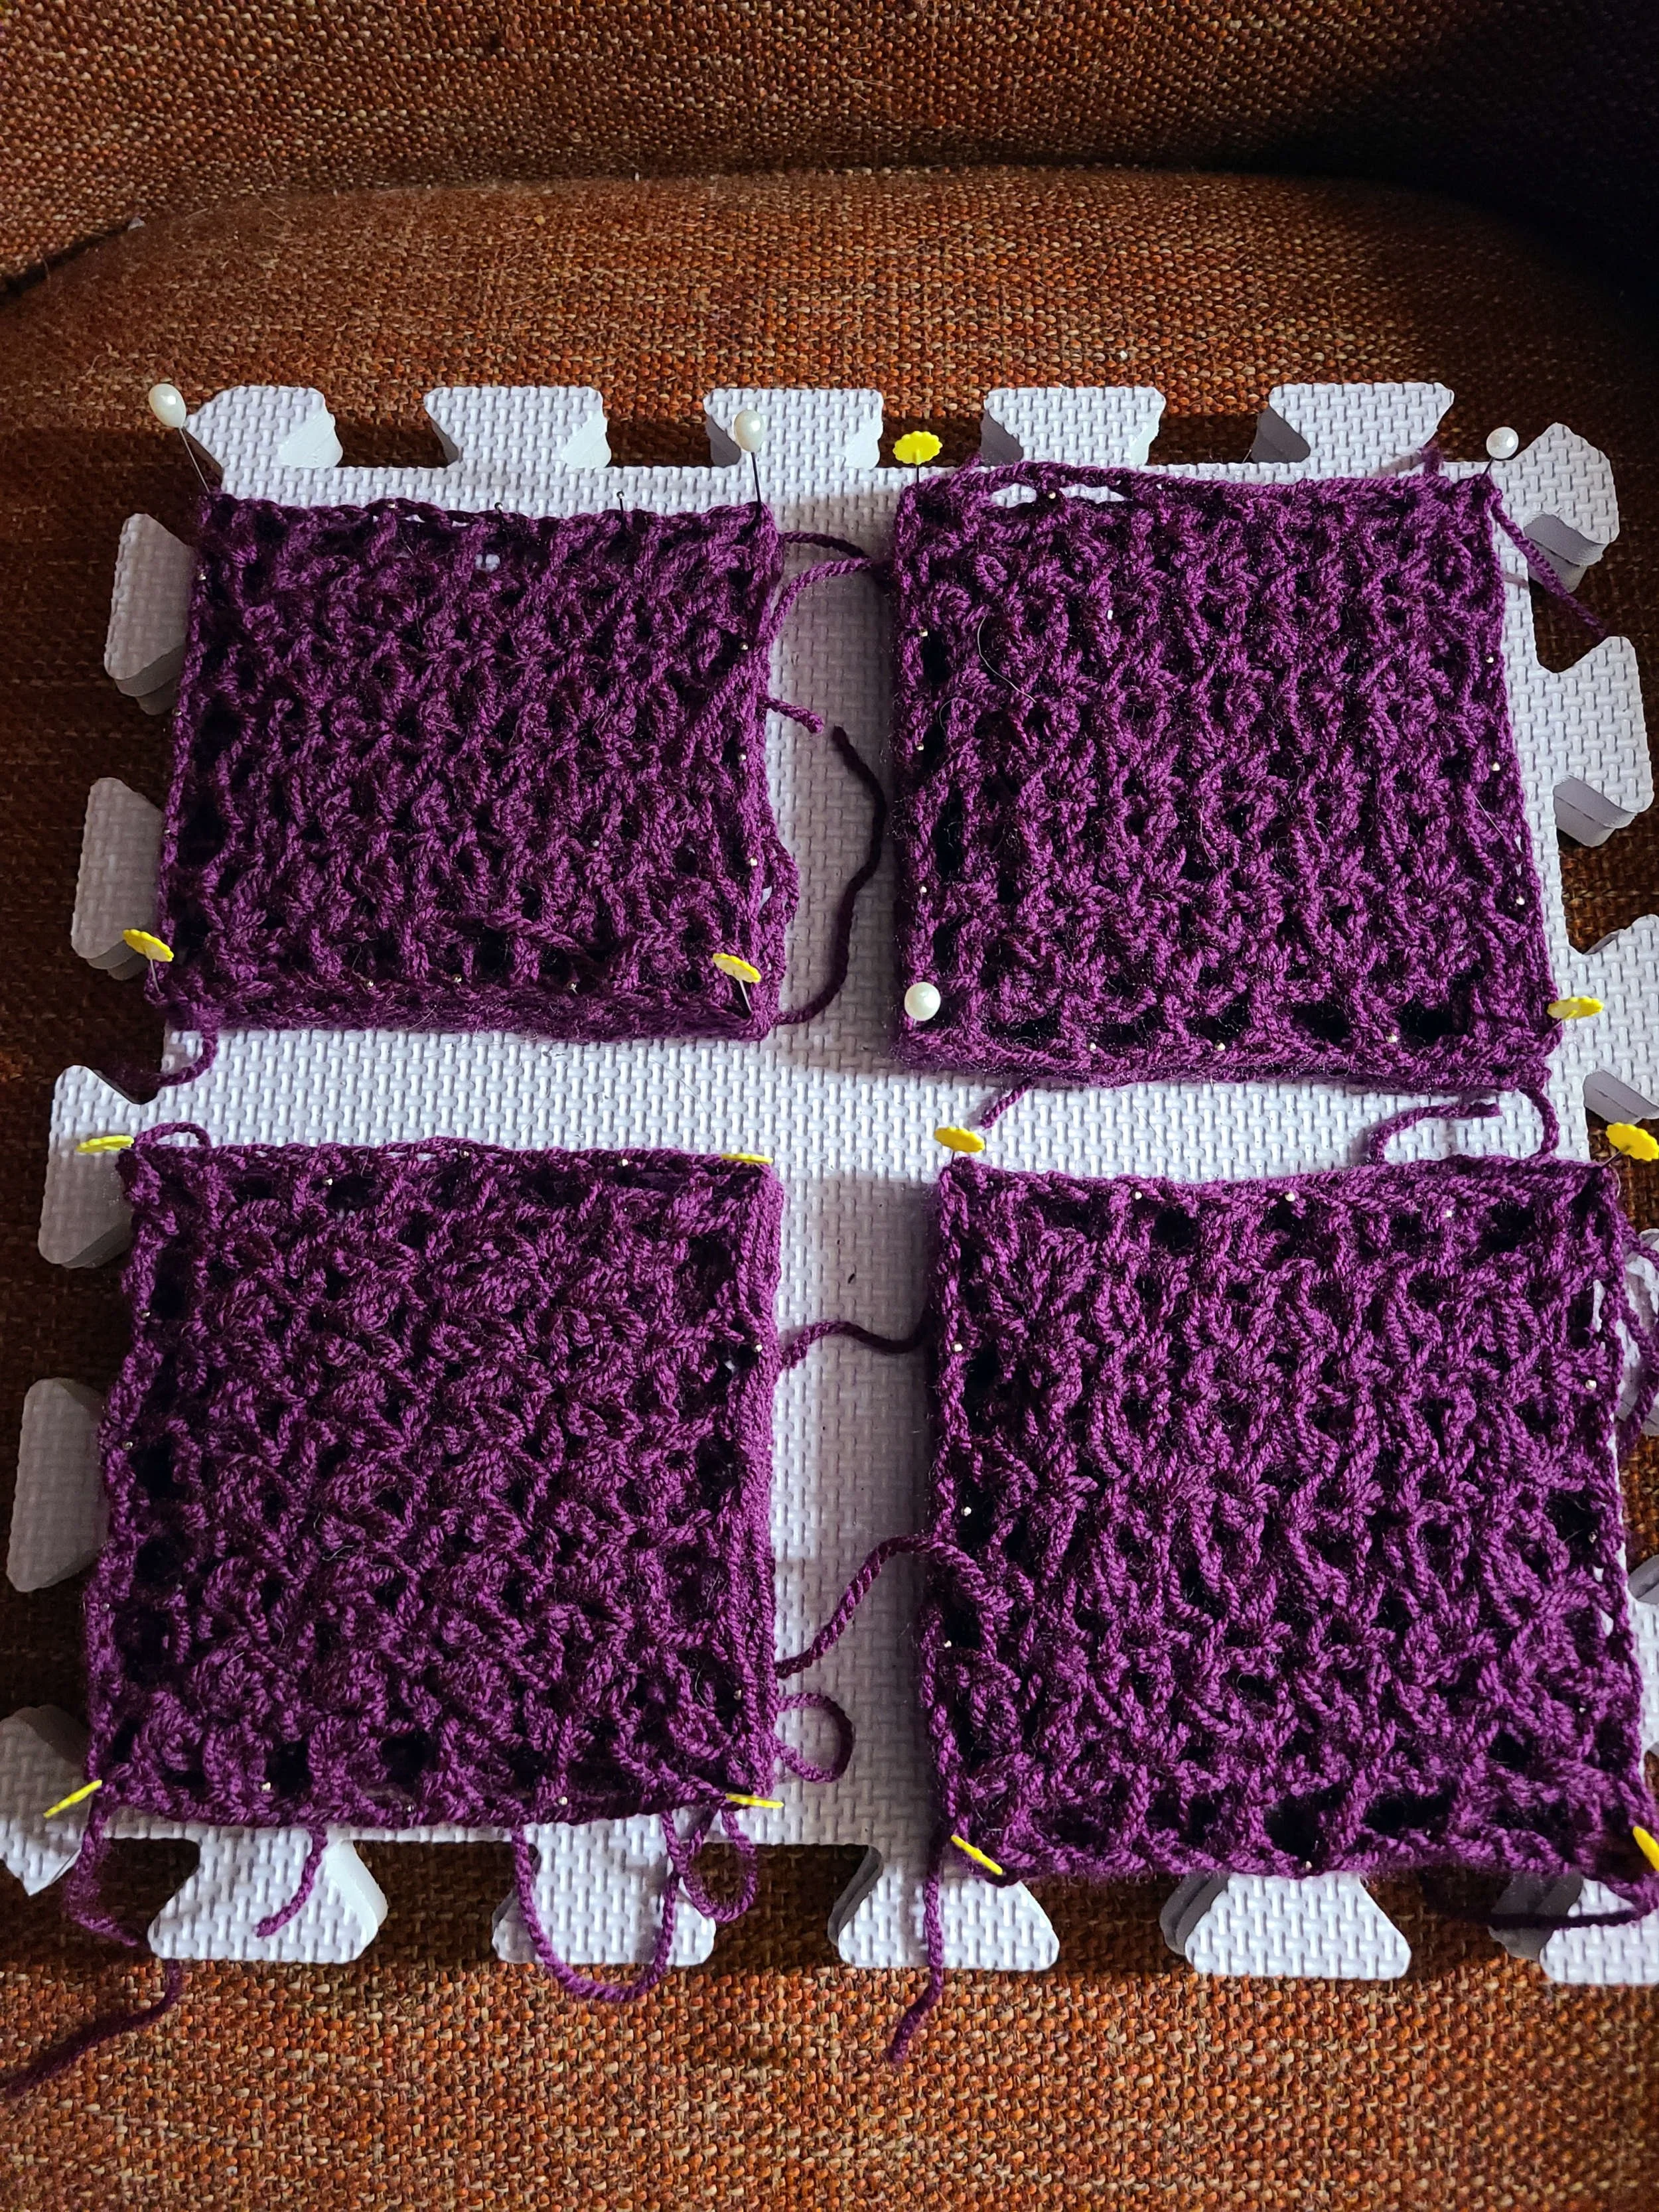
My process for blocking was to put one square on each frame, use my handheld steamer to thoroughly dampen each square, then put another layer of squares on top of those and steam again. I could do 4 layers at a time, so 16 squares each. I found that leaving them to dry for at least a few days got the most lasting results.
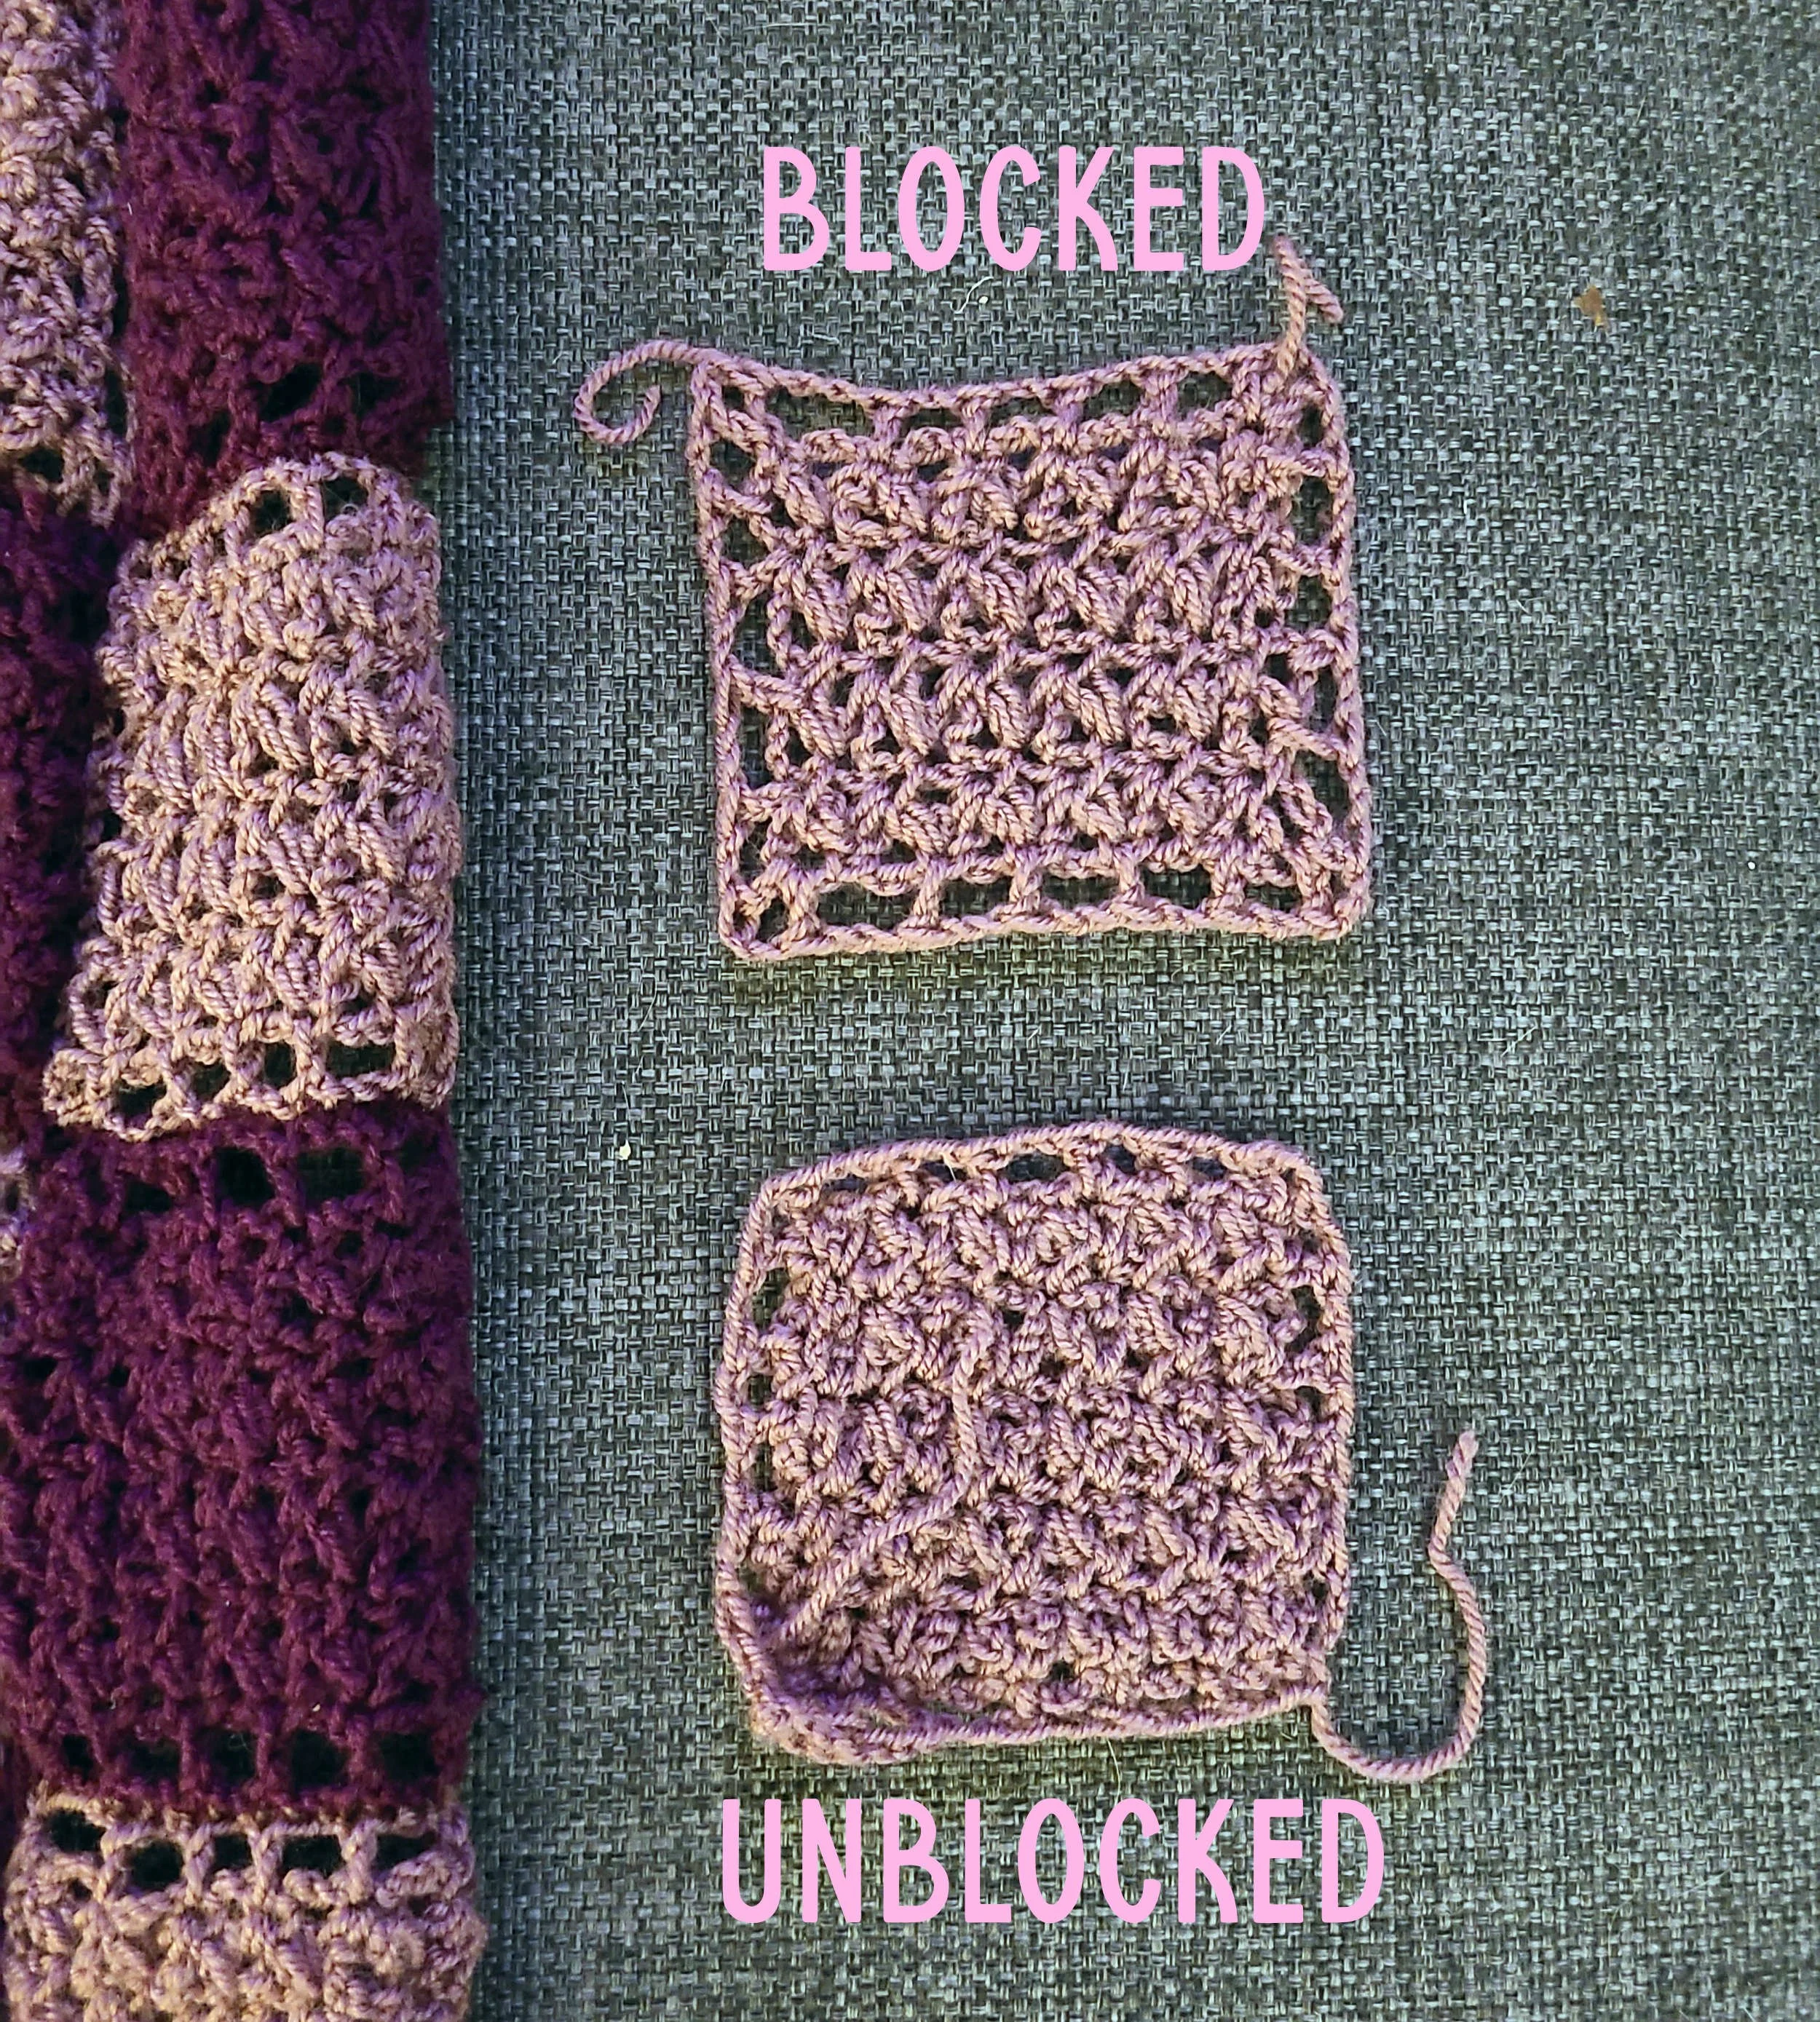
Also, for anyone who doubts that blocking does anything for acrylic yarn, please see my photos below. [PHOTOS]
I got into a rhythm after the first set of blocked squares was done, where I’d take the dry squares off the blocking board, steam block a new set, then set them aside to dry while I seamed the blocked squares together. I seamed individual squares together with a slip stitch seam on the backside of each square in rows of 9 and then attached those rows together.
As someone who had never seamed crochet pieces together before, I really prefer it over seaming knitting! Using a crochet seam (I just used a slip stitch through one loop of each of the squares) means you can work the yarn continuously from the ball instead of having to guess at cutting the right length of yarn for your mattress stitch. Also it’s far easier to weave in ends in crochet, in my opinion – it’s just so much easier to hide the ends invisibly than it is in knitting.
Like the first afghan, I did make a rule for myself that every time I finished adding a row of 9 to the blanket, I stopped to weave in the ends. I knew it would be a lot less annoying if I did this in segments rather than waiting until the end.
For the most part, the border of each square made it easier to match the edges together, however, I did run into a problem with some of my earliest squares. You see, my vintage pattern just gave the pattern for the border and then said “continue around square in this manner, break yarn and fasten.” I didn’t initially realize that because I started with a turning chain in a corner (which was supposed to have 2 dcs in it), I needed to work the second half of the corner (i.e. the second dc and two ch sts) before slip stitching it to the third ch in the 5 ch sts that started the border. This is more of a beginner crocheter mistake than a vintage pattern mistake, really. But because some of those early squares had one funky corner, matching that corner up evenly with other squares wasn’t as easy as the properly finished ones.
But finally, after two months of seaming and end weaving, I made it to the final border (3 rounds of single crochet), and then it was done!
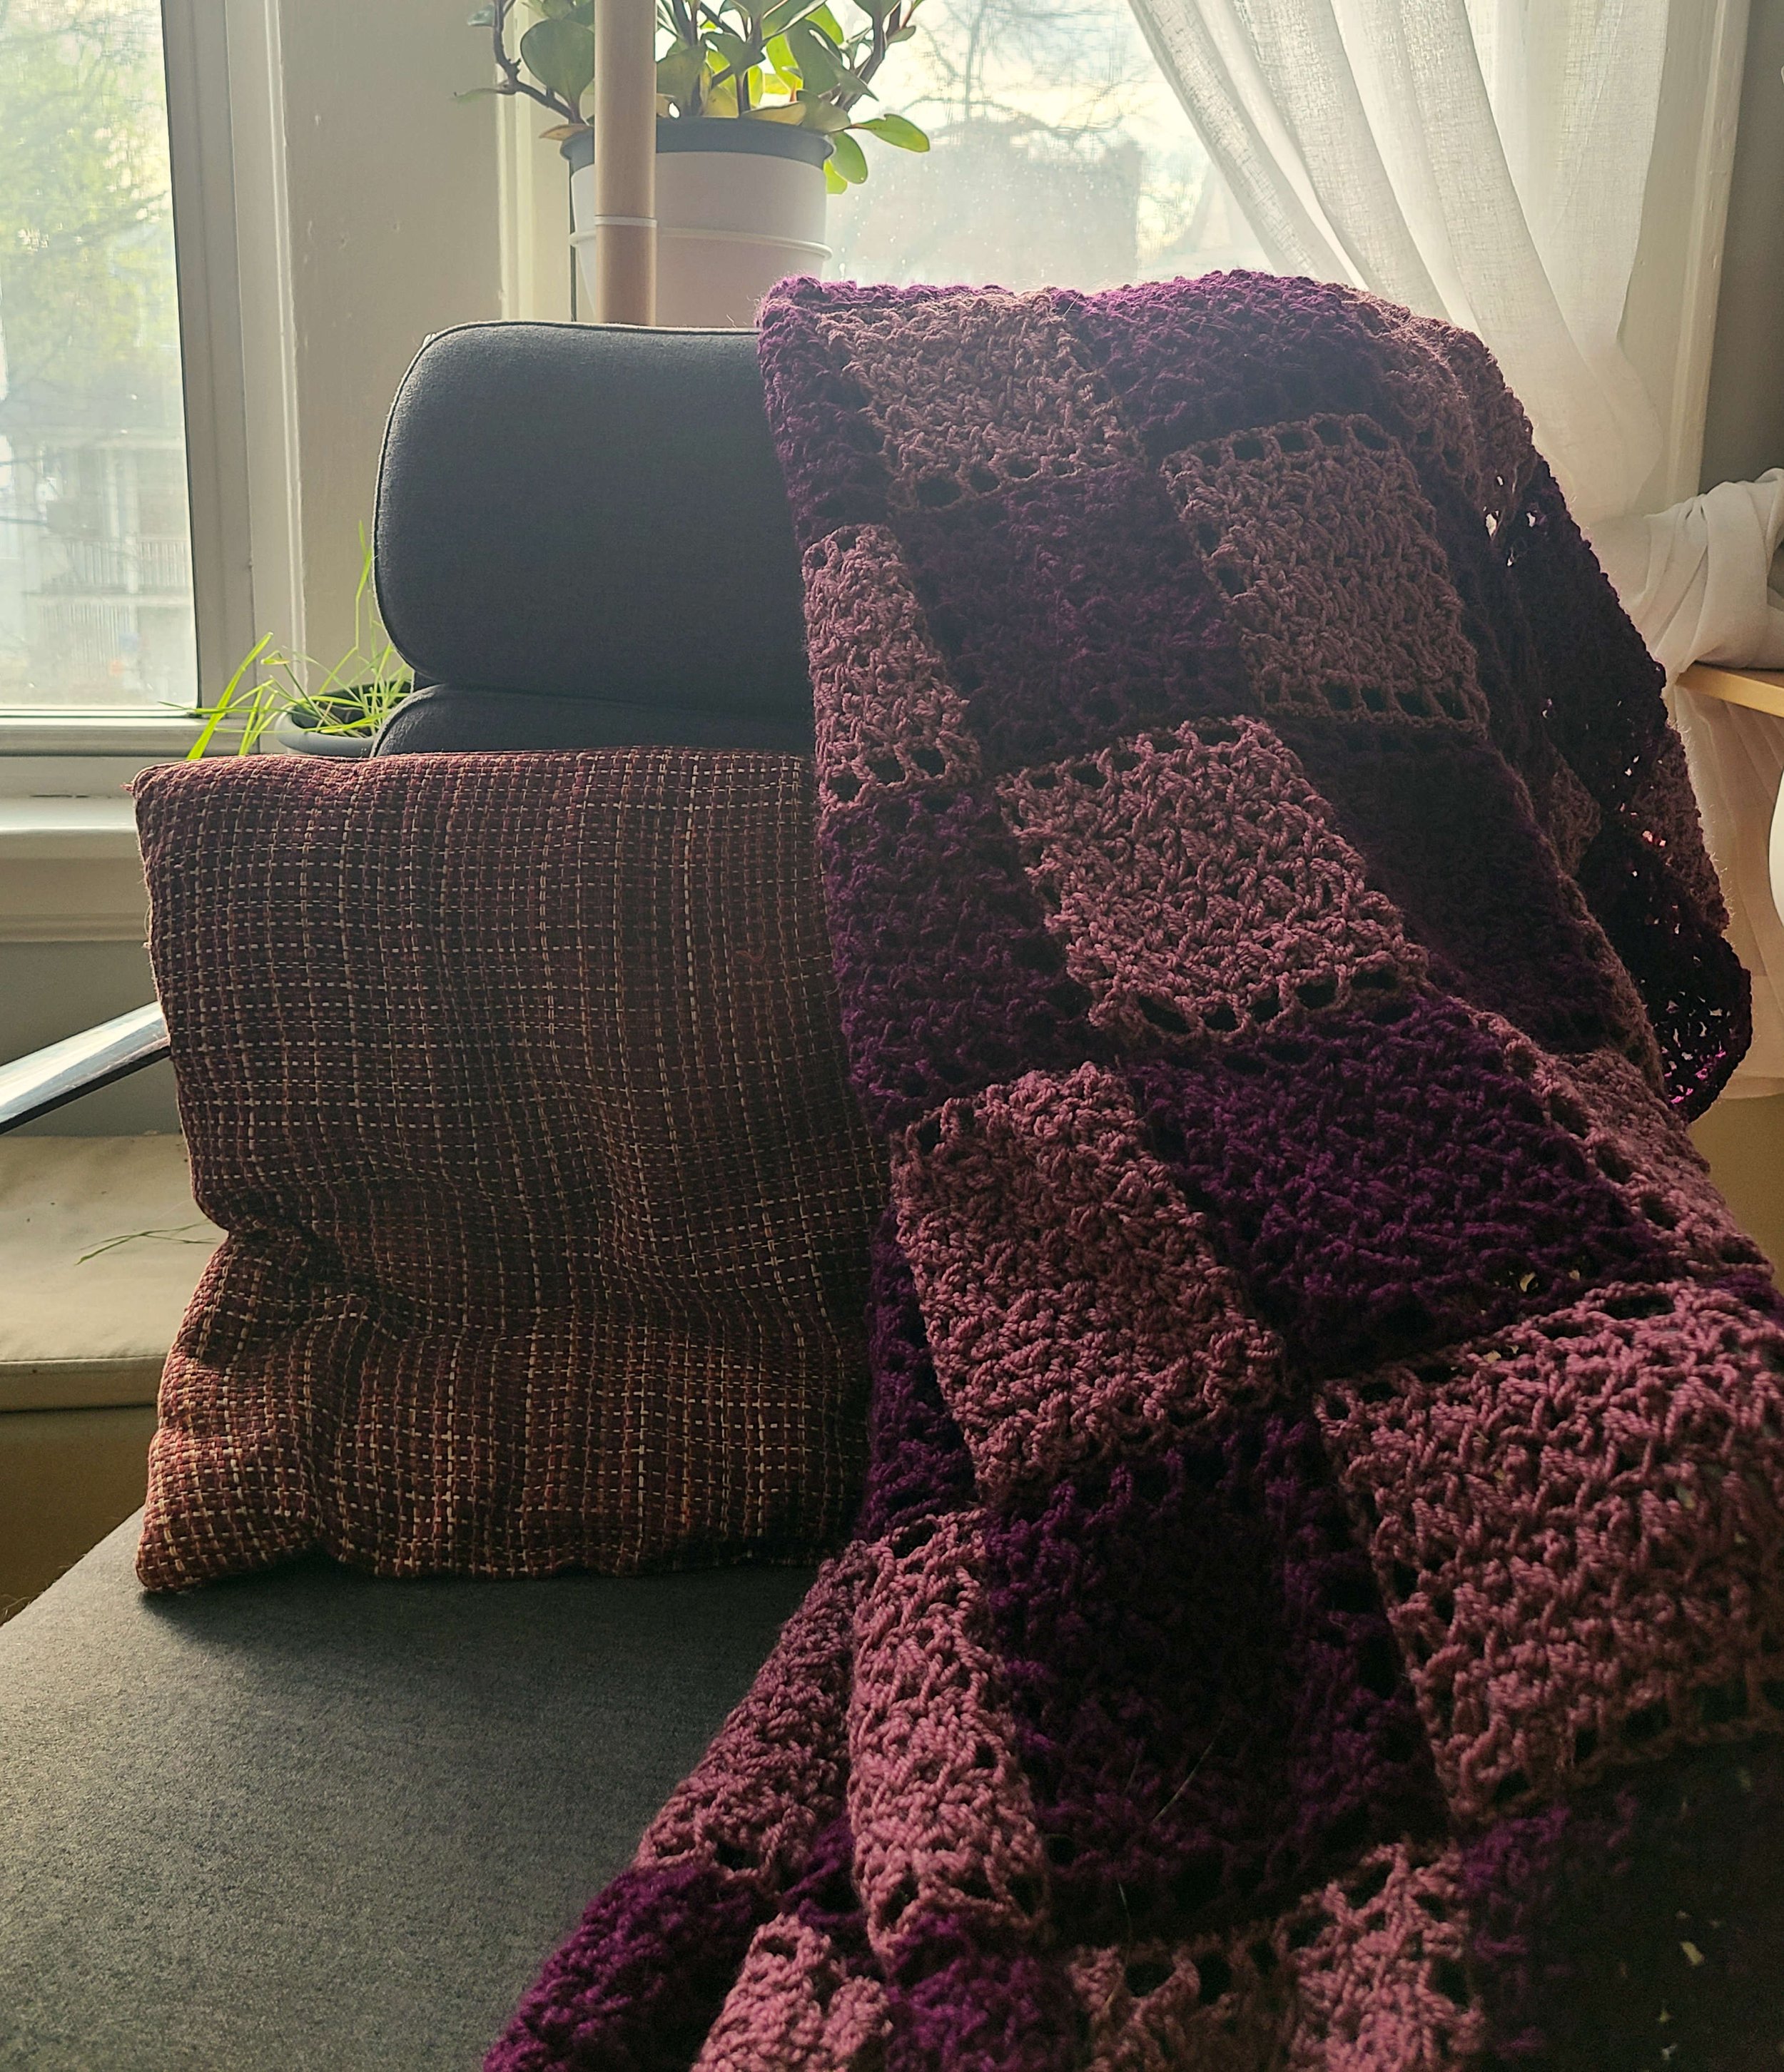
It already matches my desk chair pillow (I didn’t do that on purpose, I just tend to gravitate to this color family).
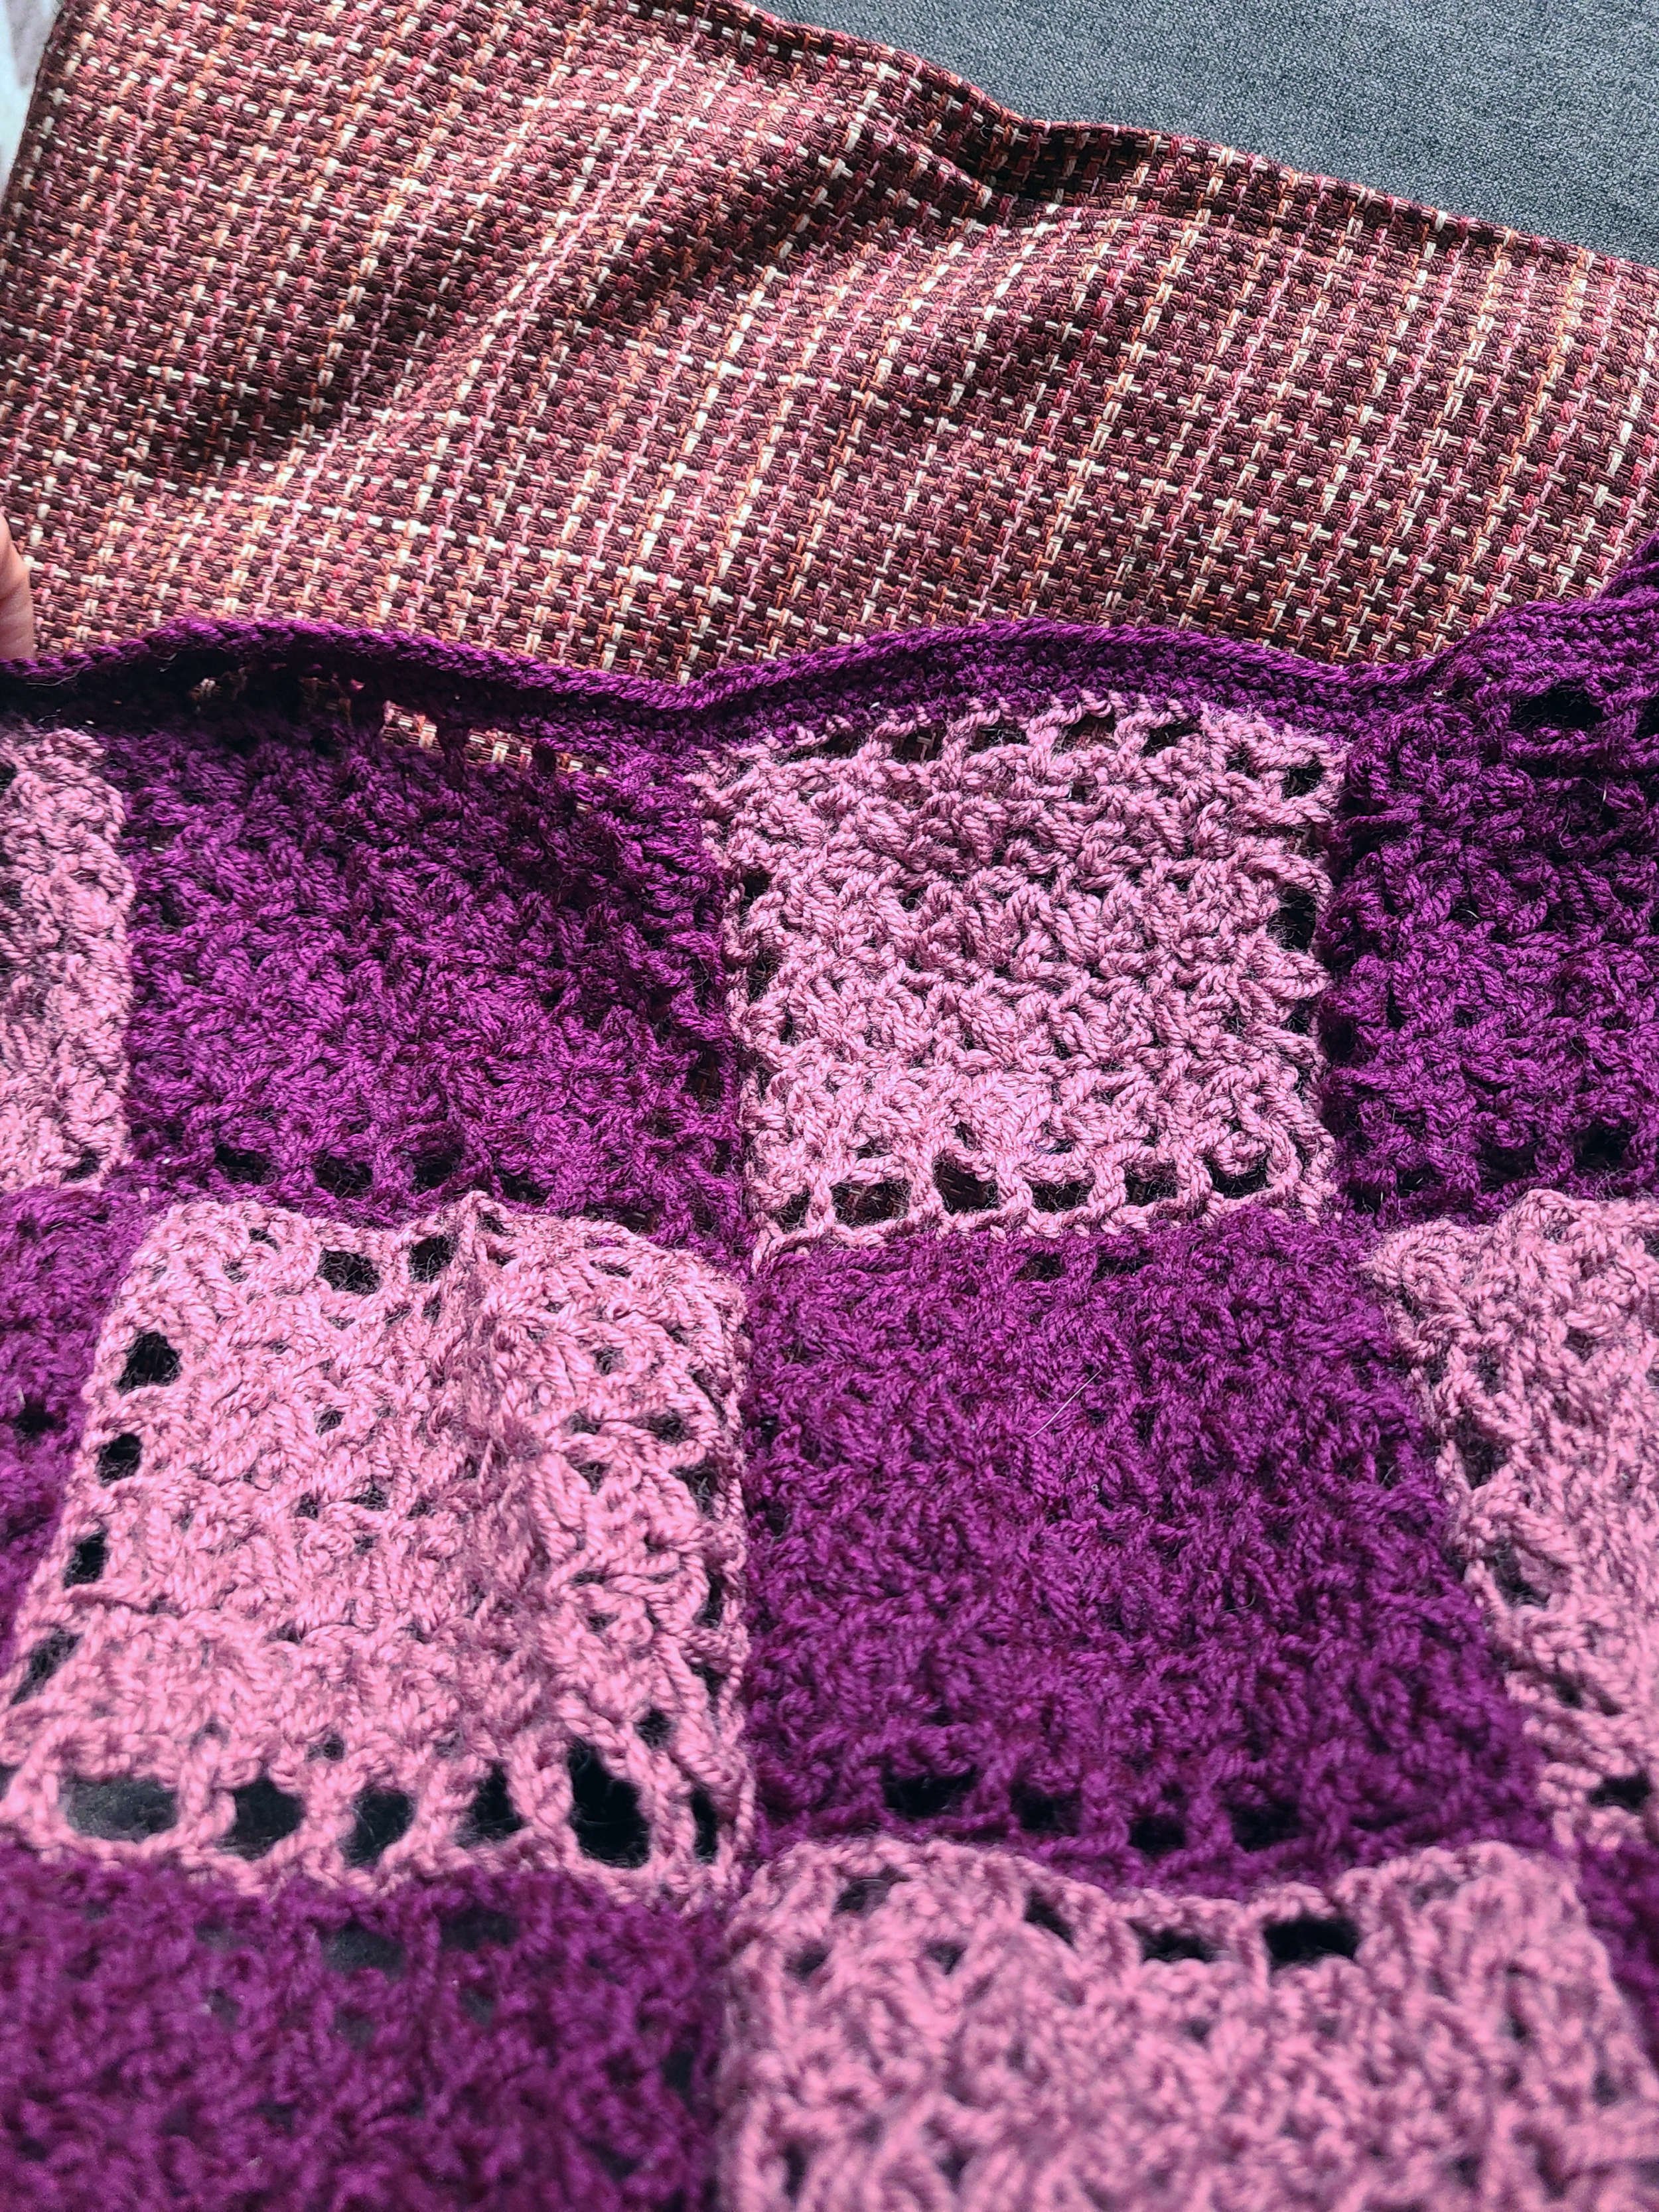
You can see here that it’s just a little wonky, especially on the edges.
Is it wonky? Absolutely. Is it way smaller than it’s supposed to be because of my yarn mixup? Yup. But I learned so much from this project – in particular, getting comfortable with both making crochet stitches consistently and learning how to read crochet so I know which hole the hook enters.
My first knitted blanket, which was also squares seamed together, was a gauge nightmare itself. Every single square was a different type of stitch and I didn’t know anything about how that would affect my gauge, nor did the pattern explain (because it was 2000 and a lot of knitting patterns still assumed you already knew all the basics when you picked them up). But I learned so much from that pattern as well because it helped me understand how different stitch patterns affect gauge.
I believe beginner crafters should tackle projects that interest them, not ones they’re “good enough” to handle. You can’t skip over your first time trying something; don’t wait to try a new project that really calls to you just because you won’t be able to do it perfectly.
I do think my next crochet afghan from the book will be one of the ones that’s not worked in pieces, but in keeping with my alternating practice, the next one is a knit afghan, specifically this one: [photo]
And yes, I checked and I definitely bought the right weight of yarn this time!
How do you handle assembling crochet (or knit) projects with lots of pieces and ends? Is there a project you’ve been eyeing but have been hesitating because it will be a “first”? Let me know in the comments!


I’m Whitney, a tech editor, graphic designer, and lifelong crafter. Join me for an exploration of my latest knitting, crochet, sewing, and upcycling projects, tips on knitting technique, editing tips for knitting designers, and more!