
Procrastination Proof Crafts: Minimalist Papercraft Trees
Procrastination Proof Crafts is a series focusing on simple seasonal crafts that can be done in one or two days, for all of us who save a ton of holiday craft ideas … and then wait too long to start them.
Not long after my Candy Cane ornament upcycle, I was working at a job with an annual winter holiday desk decorating contest. I’d been there for a few years, but that particular year I had just moved to a new desk with a full cubicle wall behind me (previously my desk had been out in the open office, with no walls) so I really wanted to make use of the space for my contest entry.
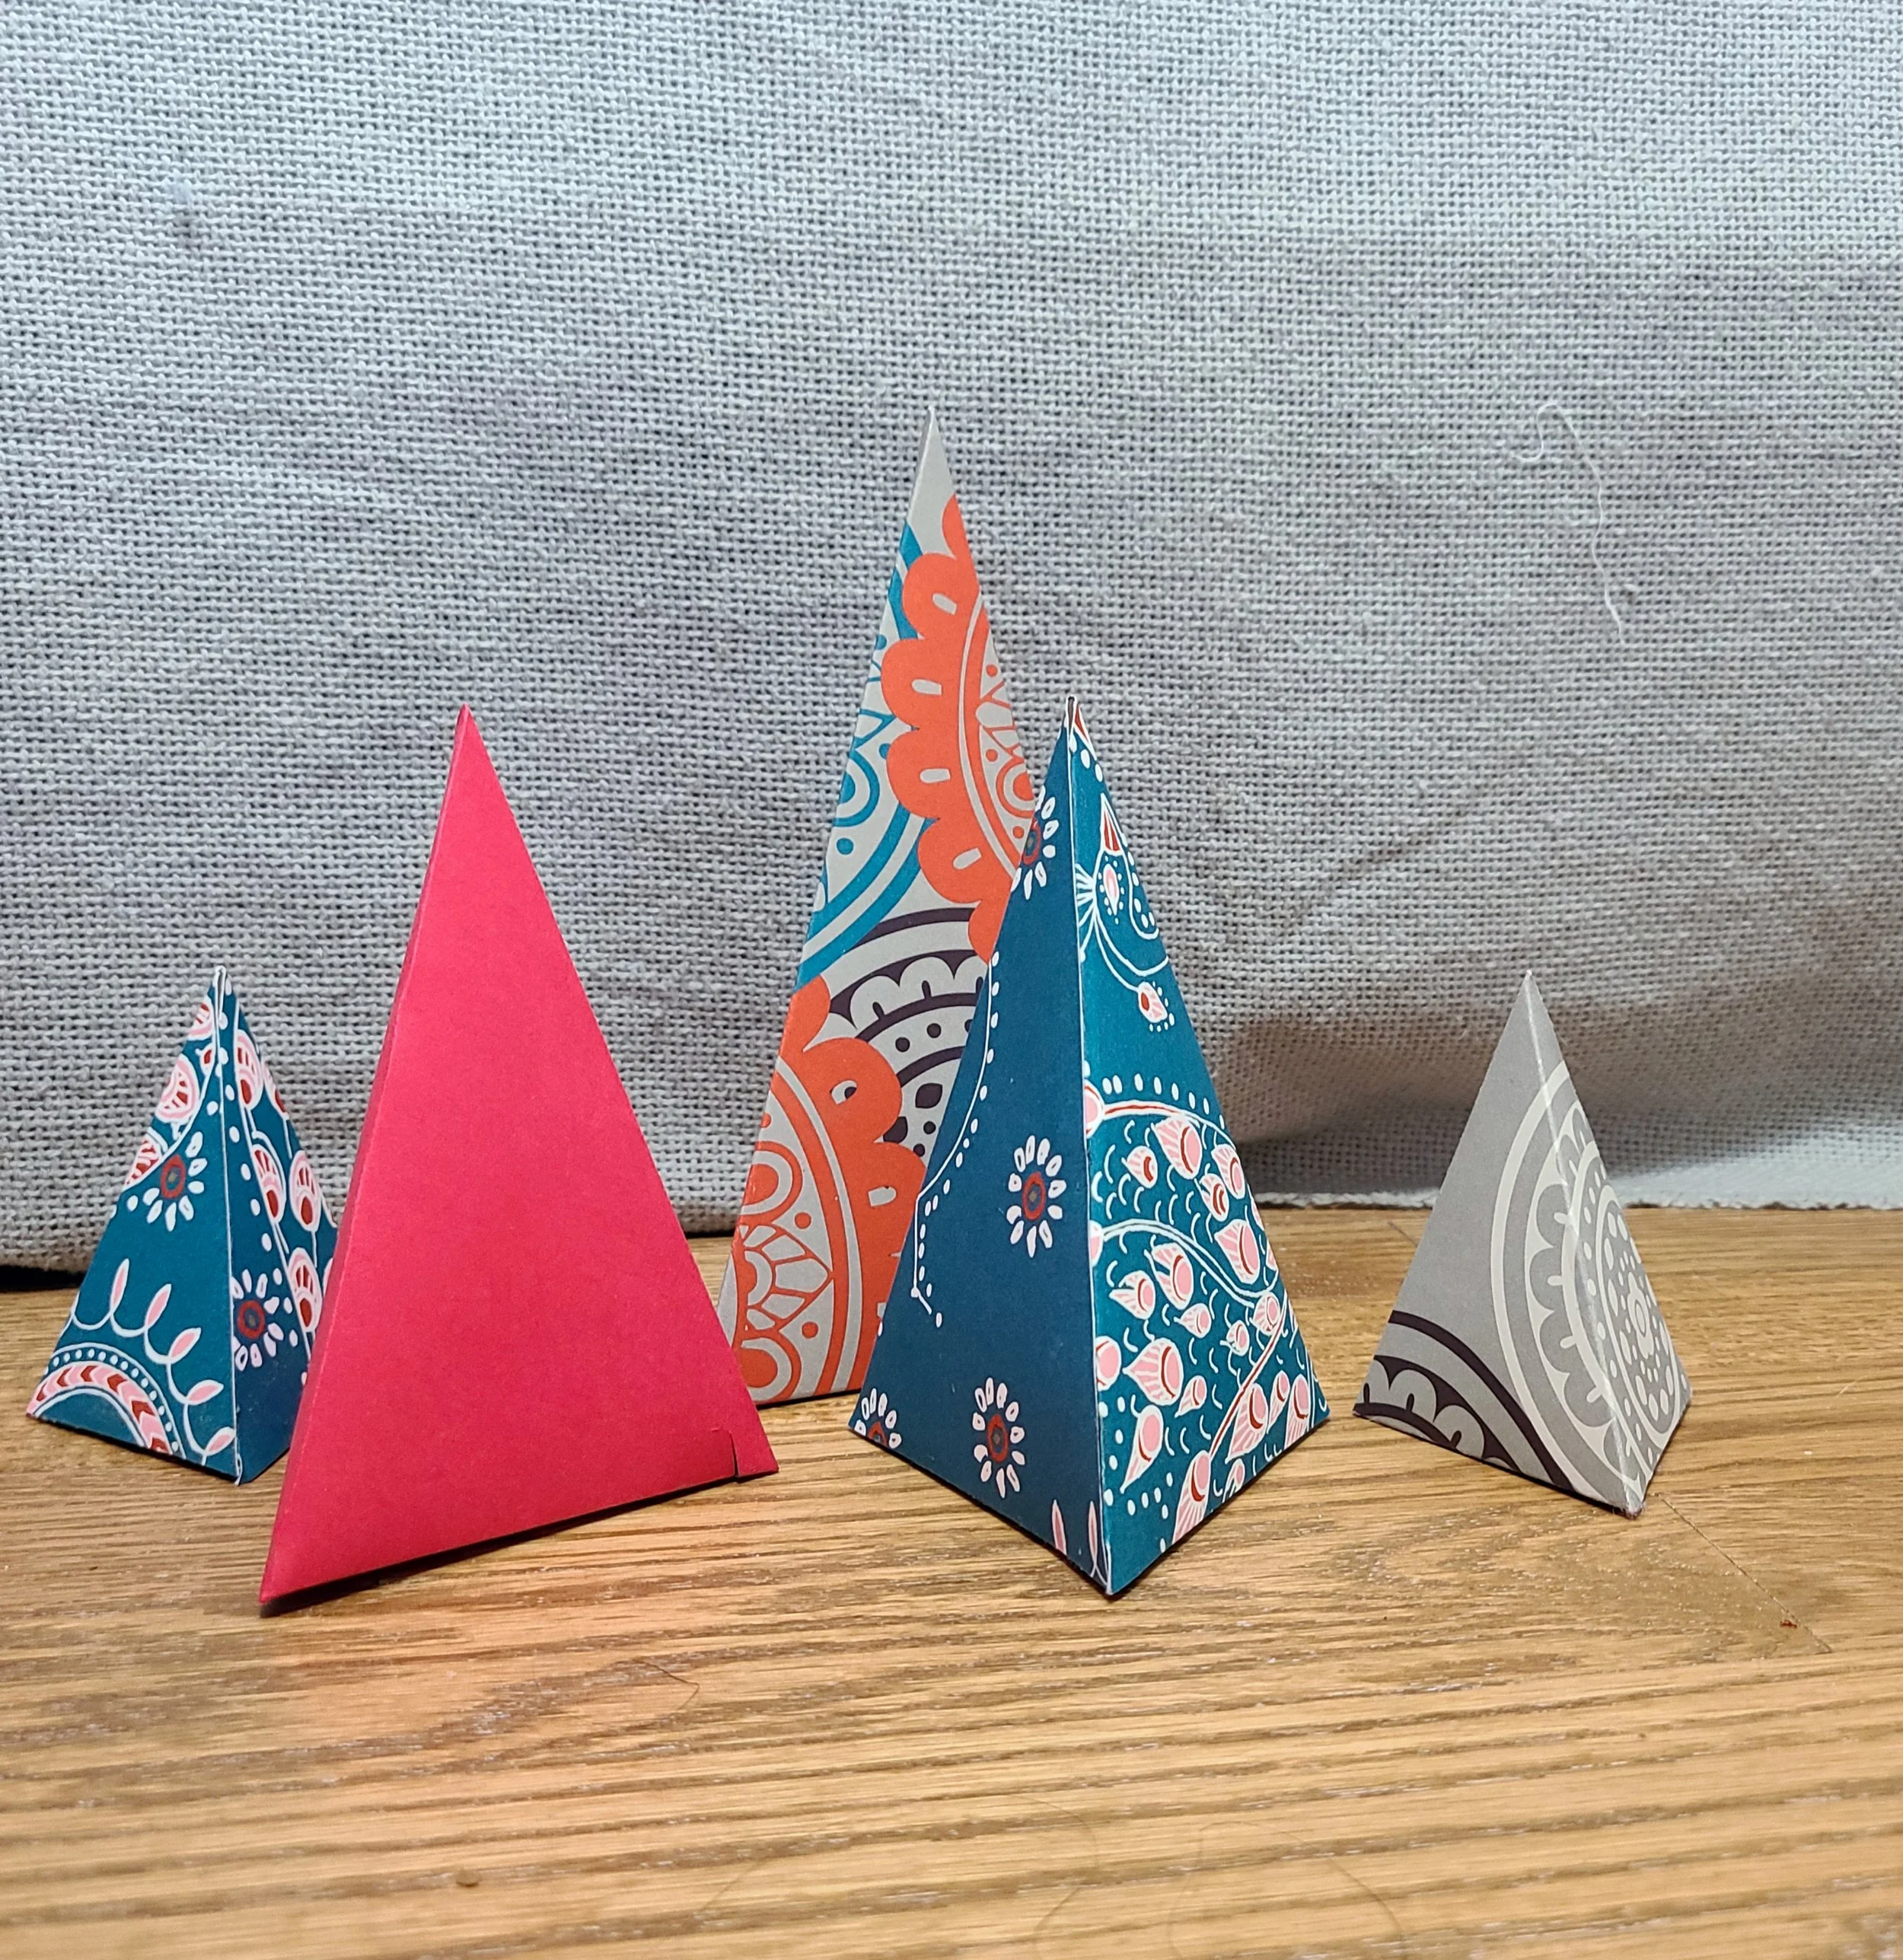
This was in the peak era for craft blogs and one blog I read regularly happened to post a free printable template for very simple, triangular “trees.” I also had some great patterned paper in my craft stash from a prior year’s calendar (a major selling point of the calendar was to repurpose it for papercrafts). I decided to use a couple coordinating patterns, along with a sheet of plain red cardstock in my stash, to make a little set of trees and add a 3-D element to my otherwise fairly flat decor.
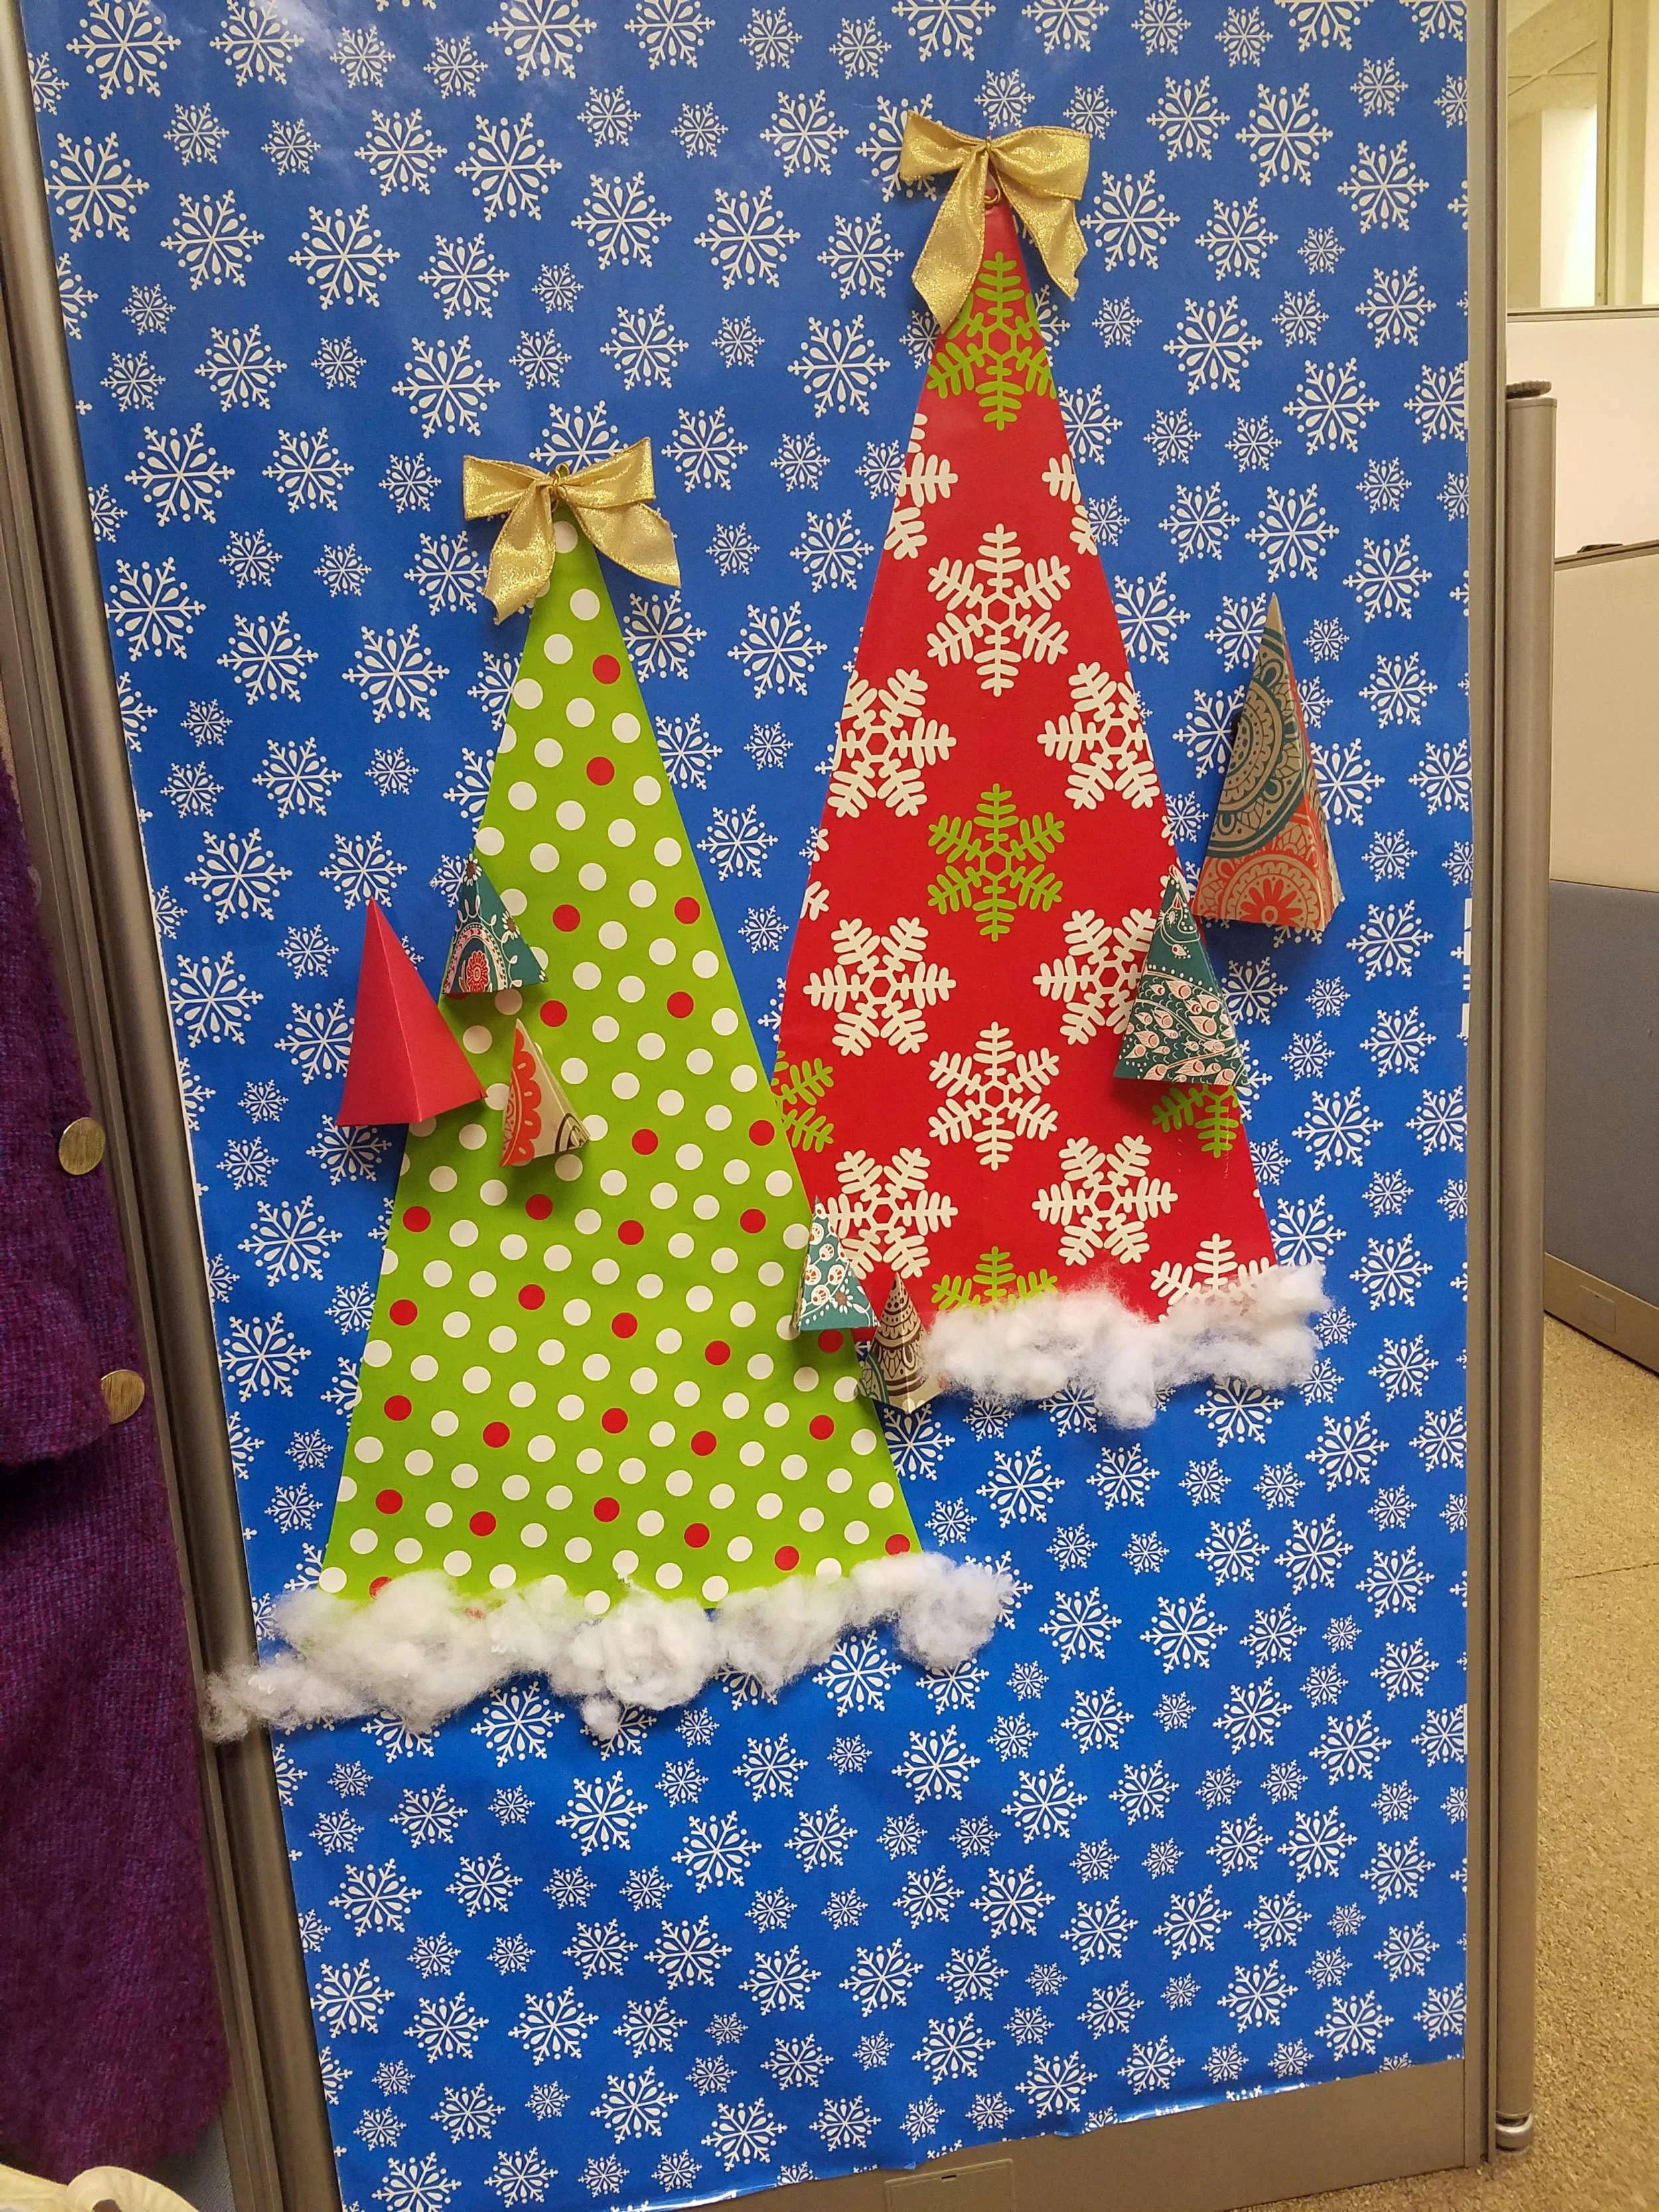
True story: this post was inspired in part by this photo popping up randomly in my photos app. The larger trees and background are wrapping paper.
I didn’t even come close to winning the contest (fair), but I loved the 3-D trees so much that I very carefully detached them from the display and brought them home, where they’ve been part of my holiday décor ever since. I usually put them on a display shelf in our living room and rotate out the everyday knickknacks we keep there.
I did try to find the original blog post (or failing that, a similar style tree project), however, it seems like the simple triangle tree craft has been lost to time and the whims of the internet. However, I did save my original paper templates, so I have reproduced the template, and it’s now living on my newsletter exclusives page (see below for how to get access). But they are pretty easy to make:
Cut out the template – you can either print on regular paper and then trace the template on fancy paper or print directly on the wrong side of your fancy paper if it fits in your printer (the latter is what I did in the example photos)
Fold and crease all the lines (a bone folder or pencil helps with this).
Fold up the bottom (the smallest triangle with the two tabs) and glue the tab furthest from the open side down first.
Put glue on the two remaining tabs, press the open side over them, and pinch carefully at the corners to get the glue to hold.
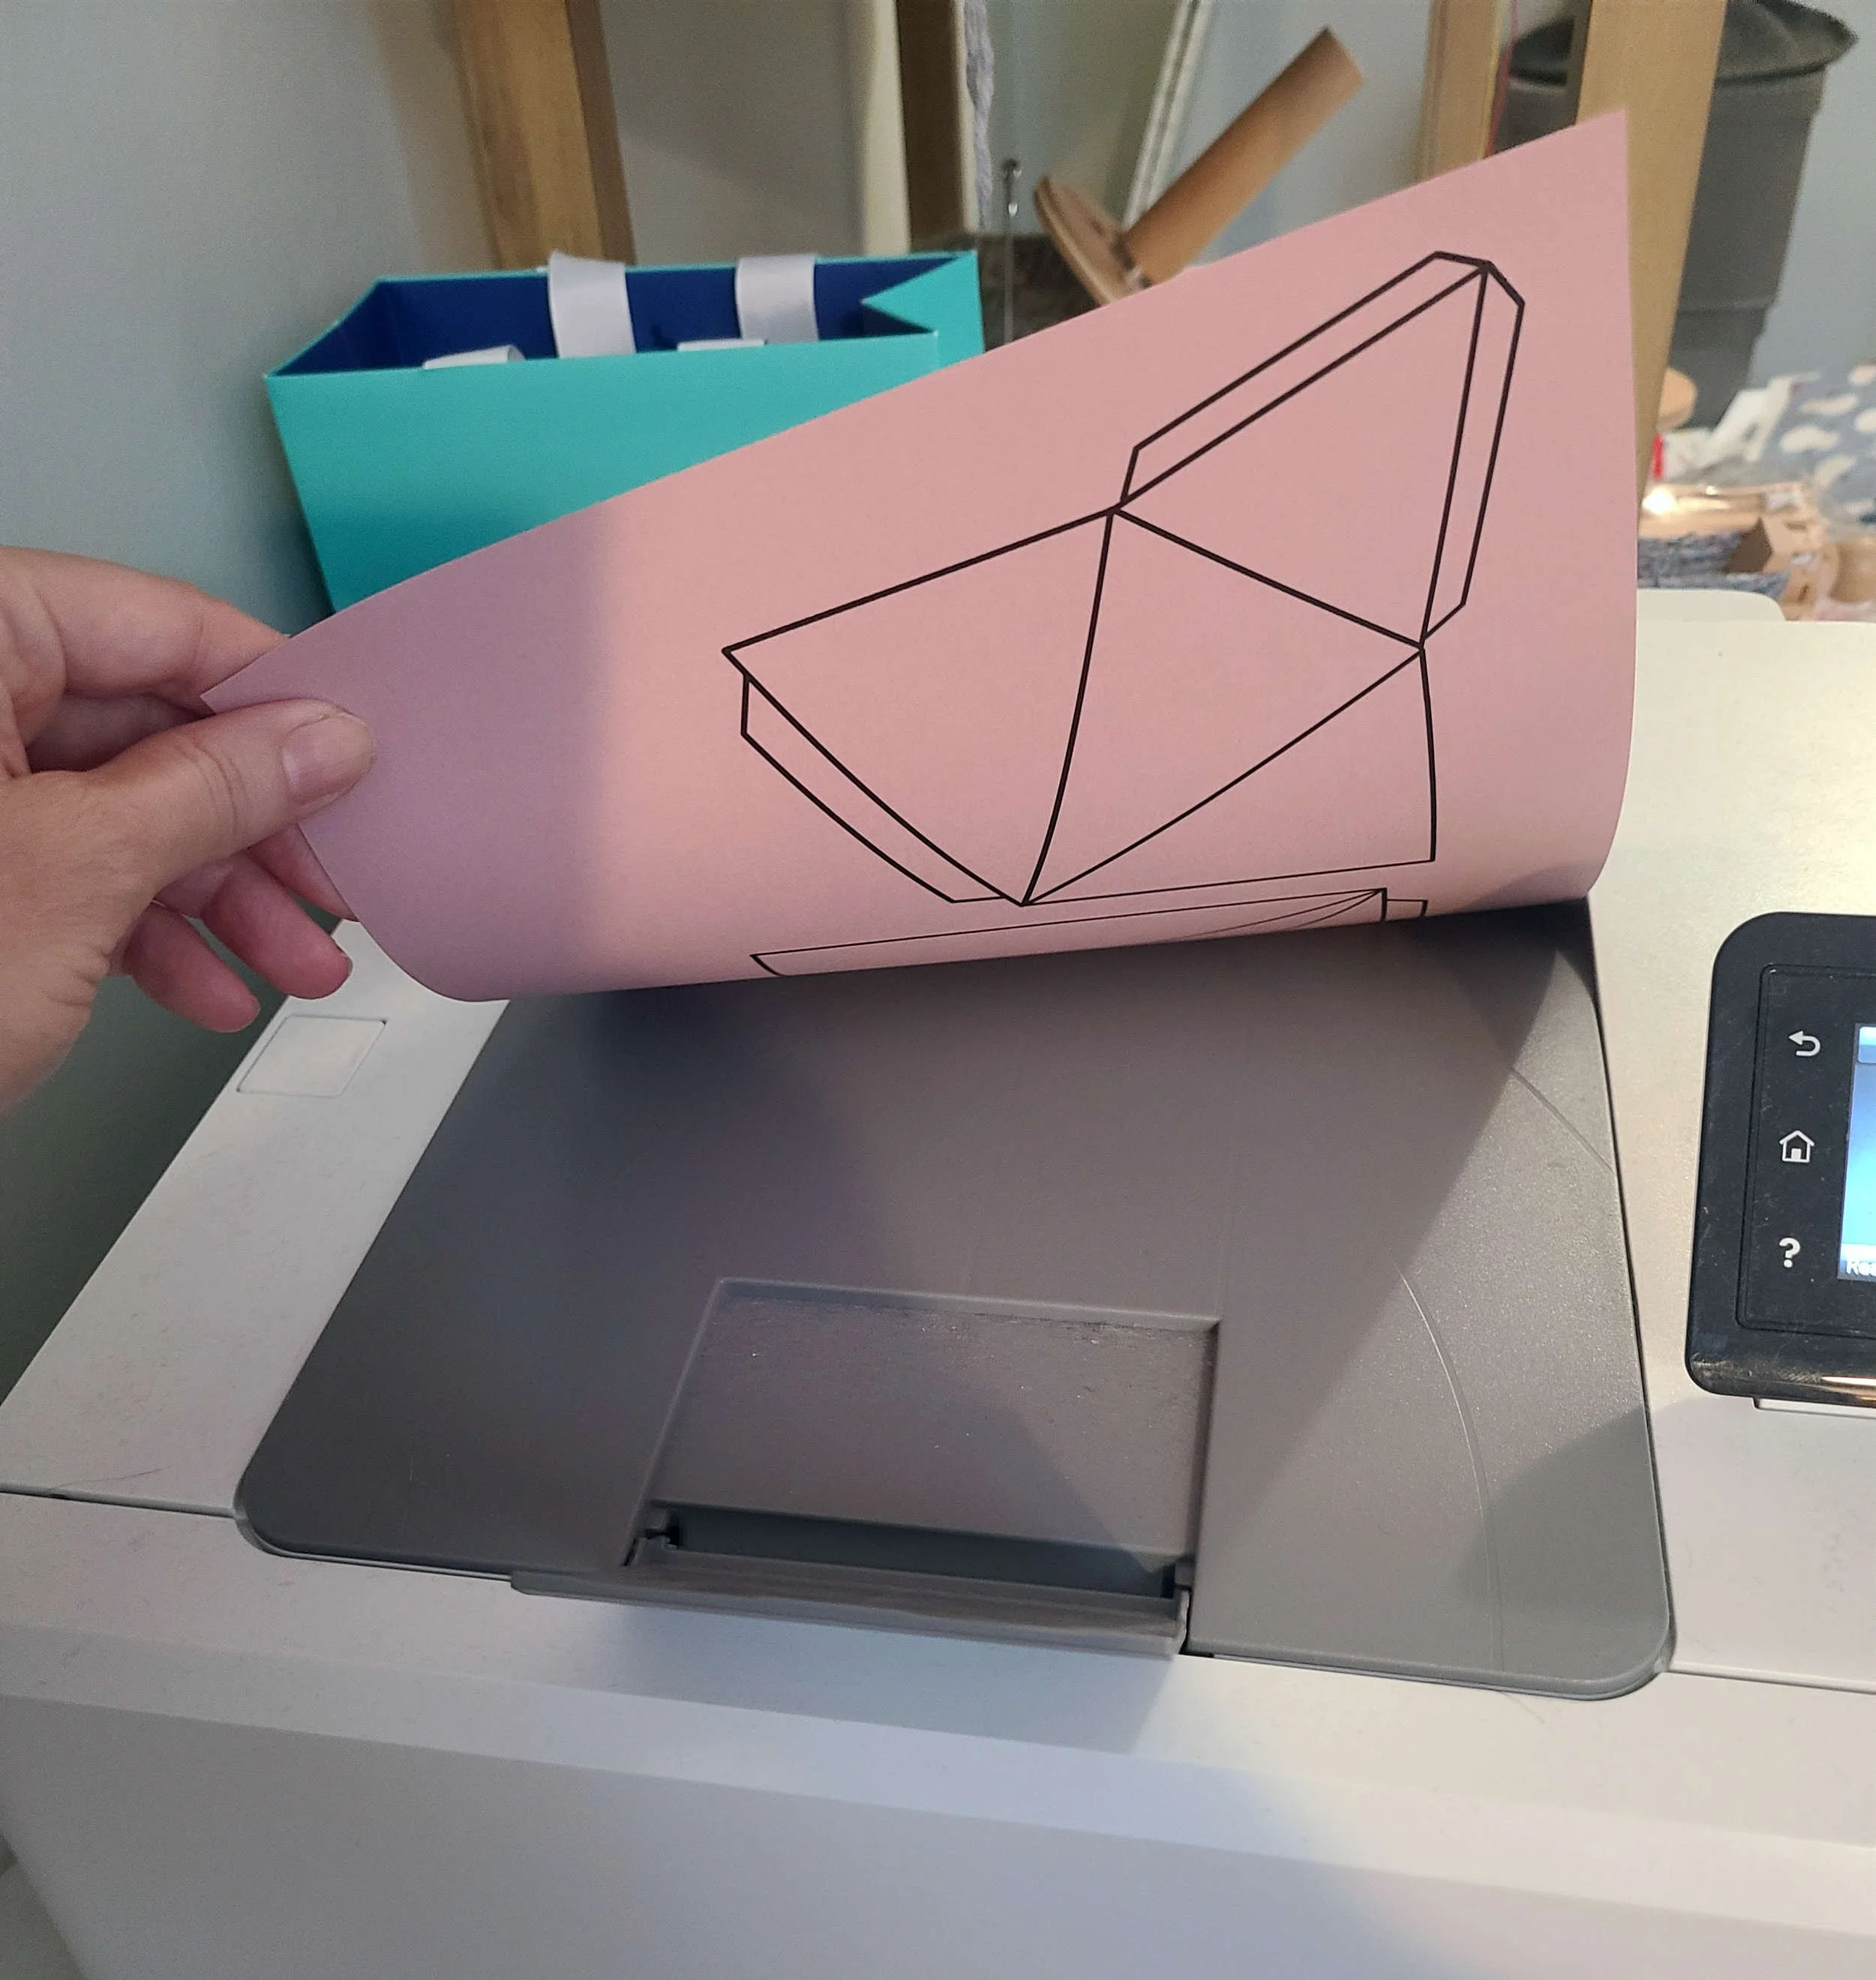
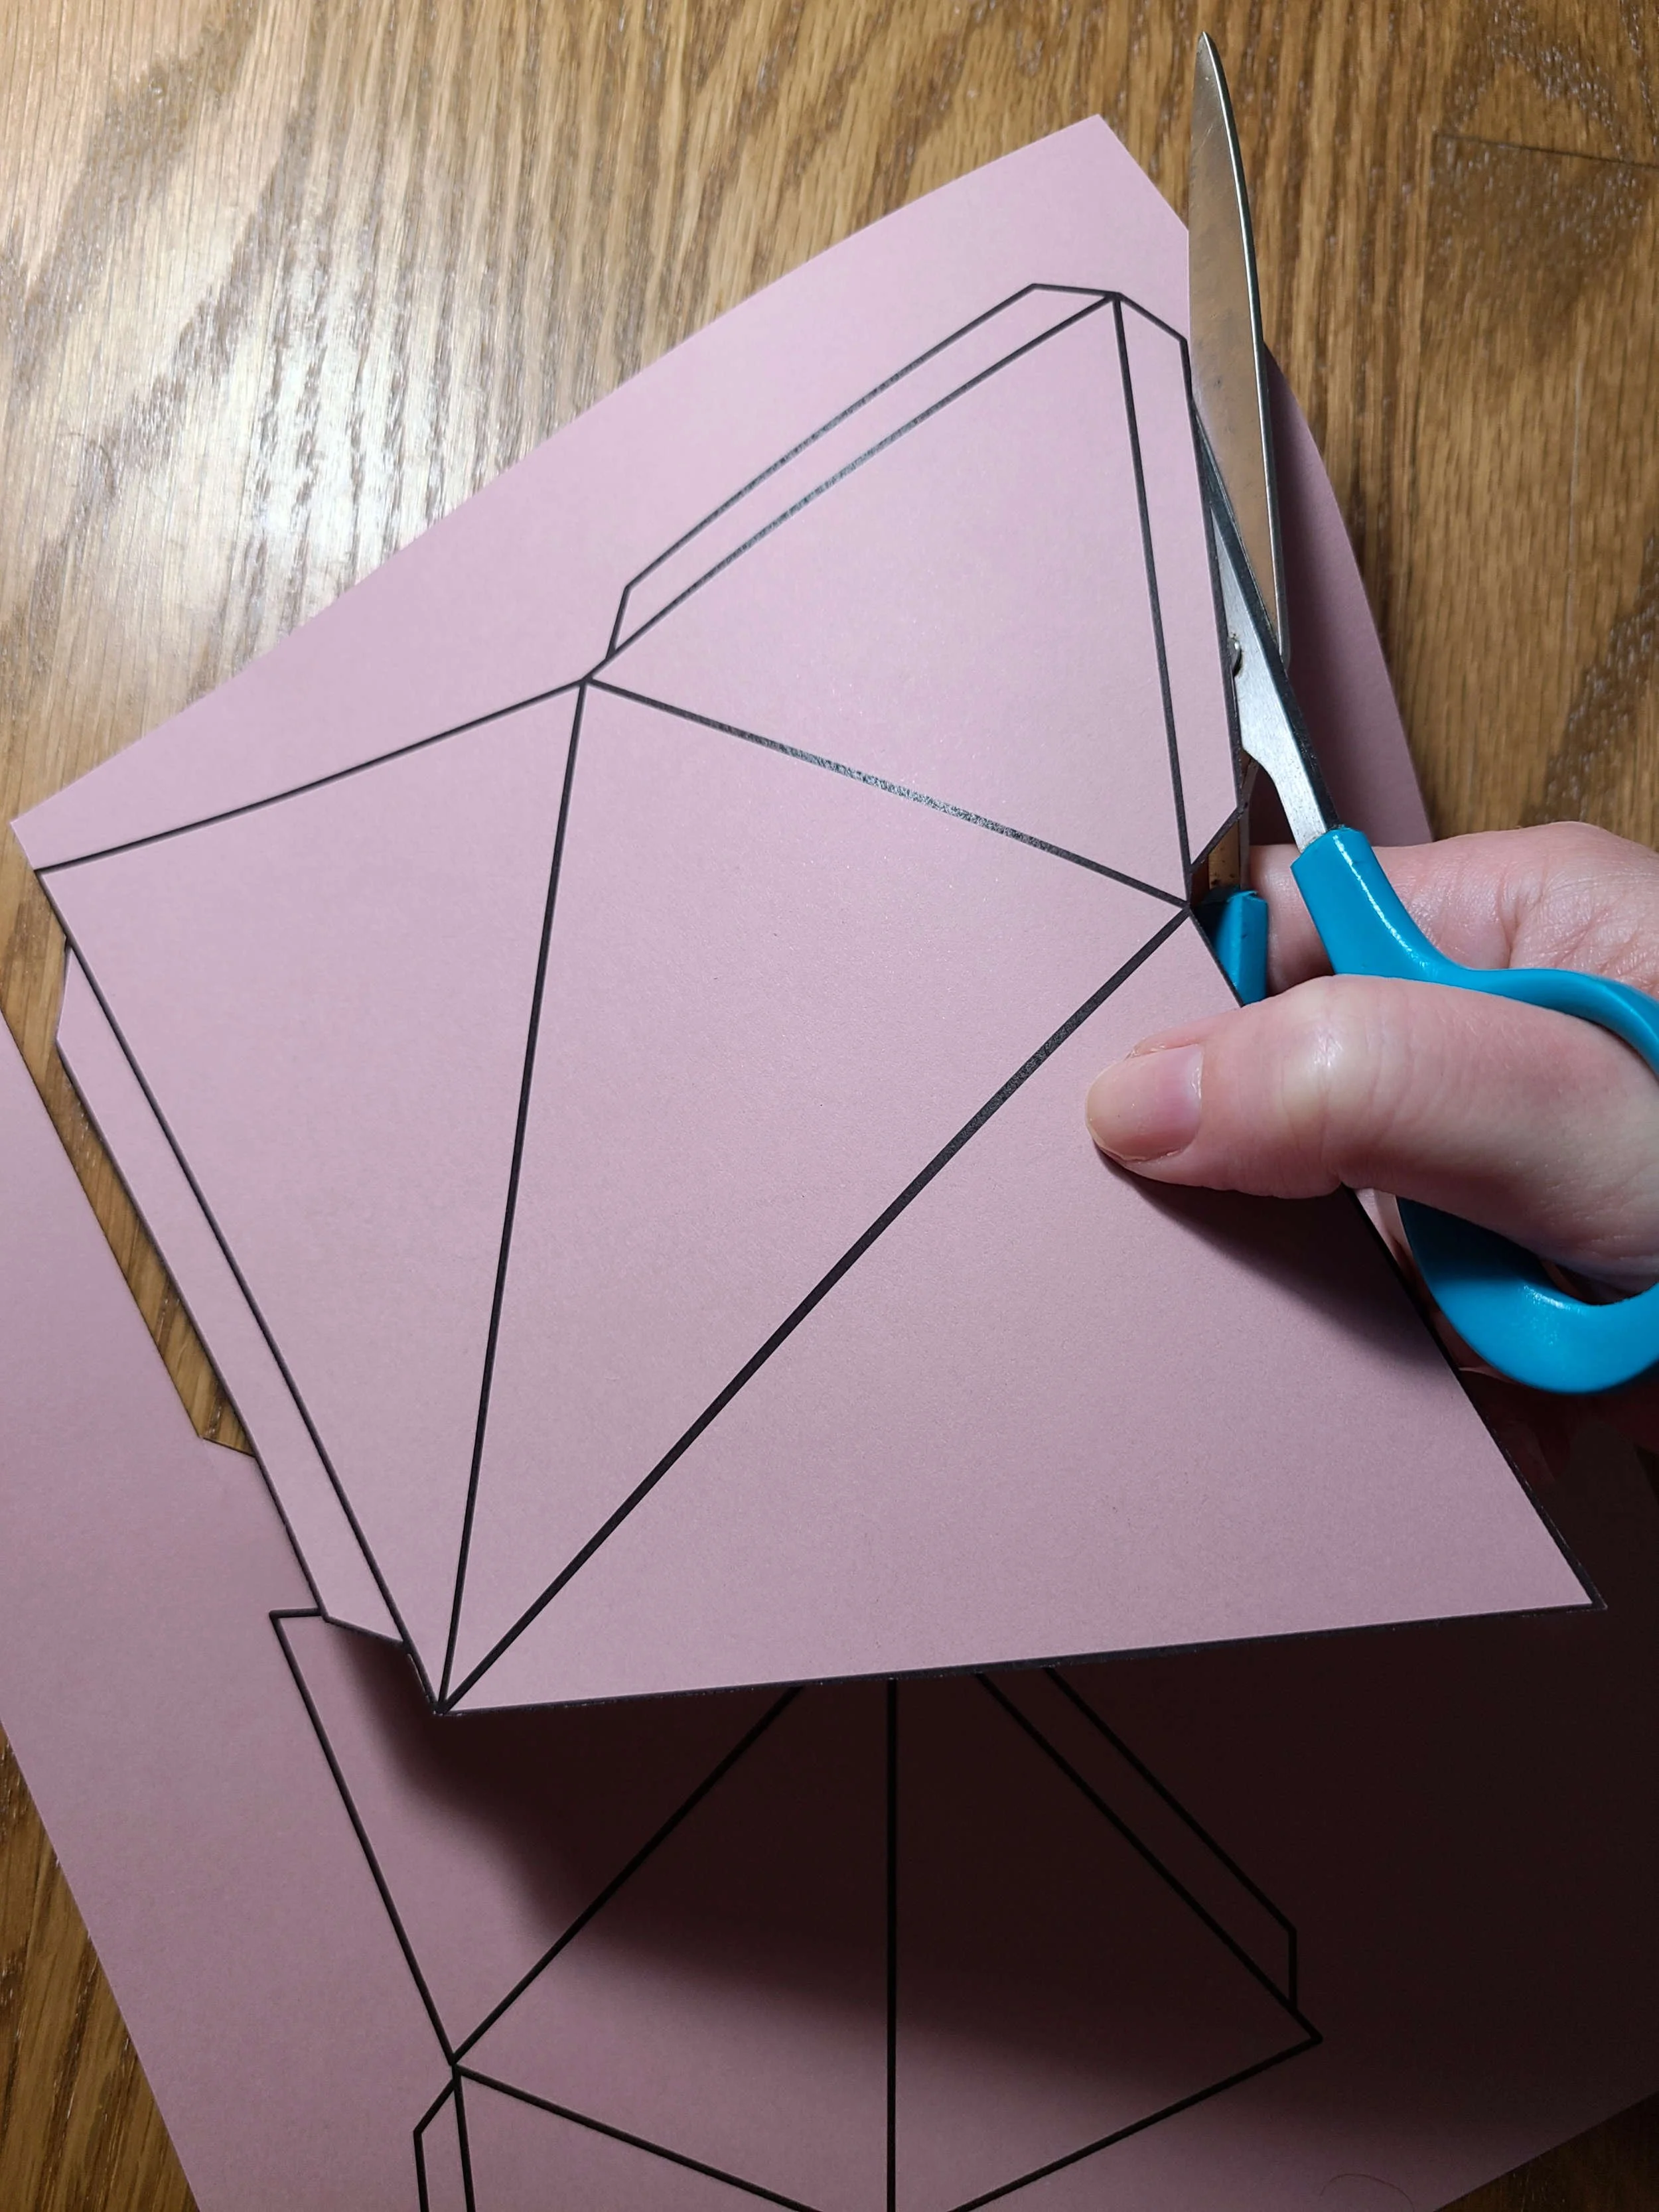
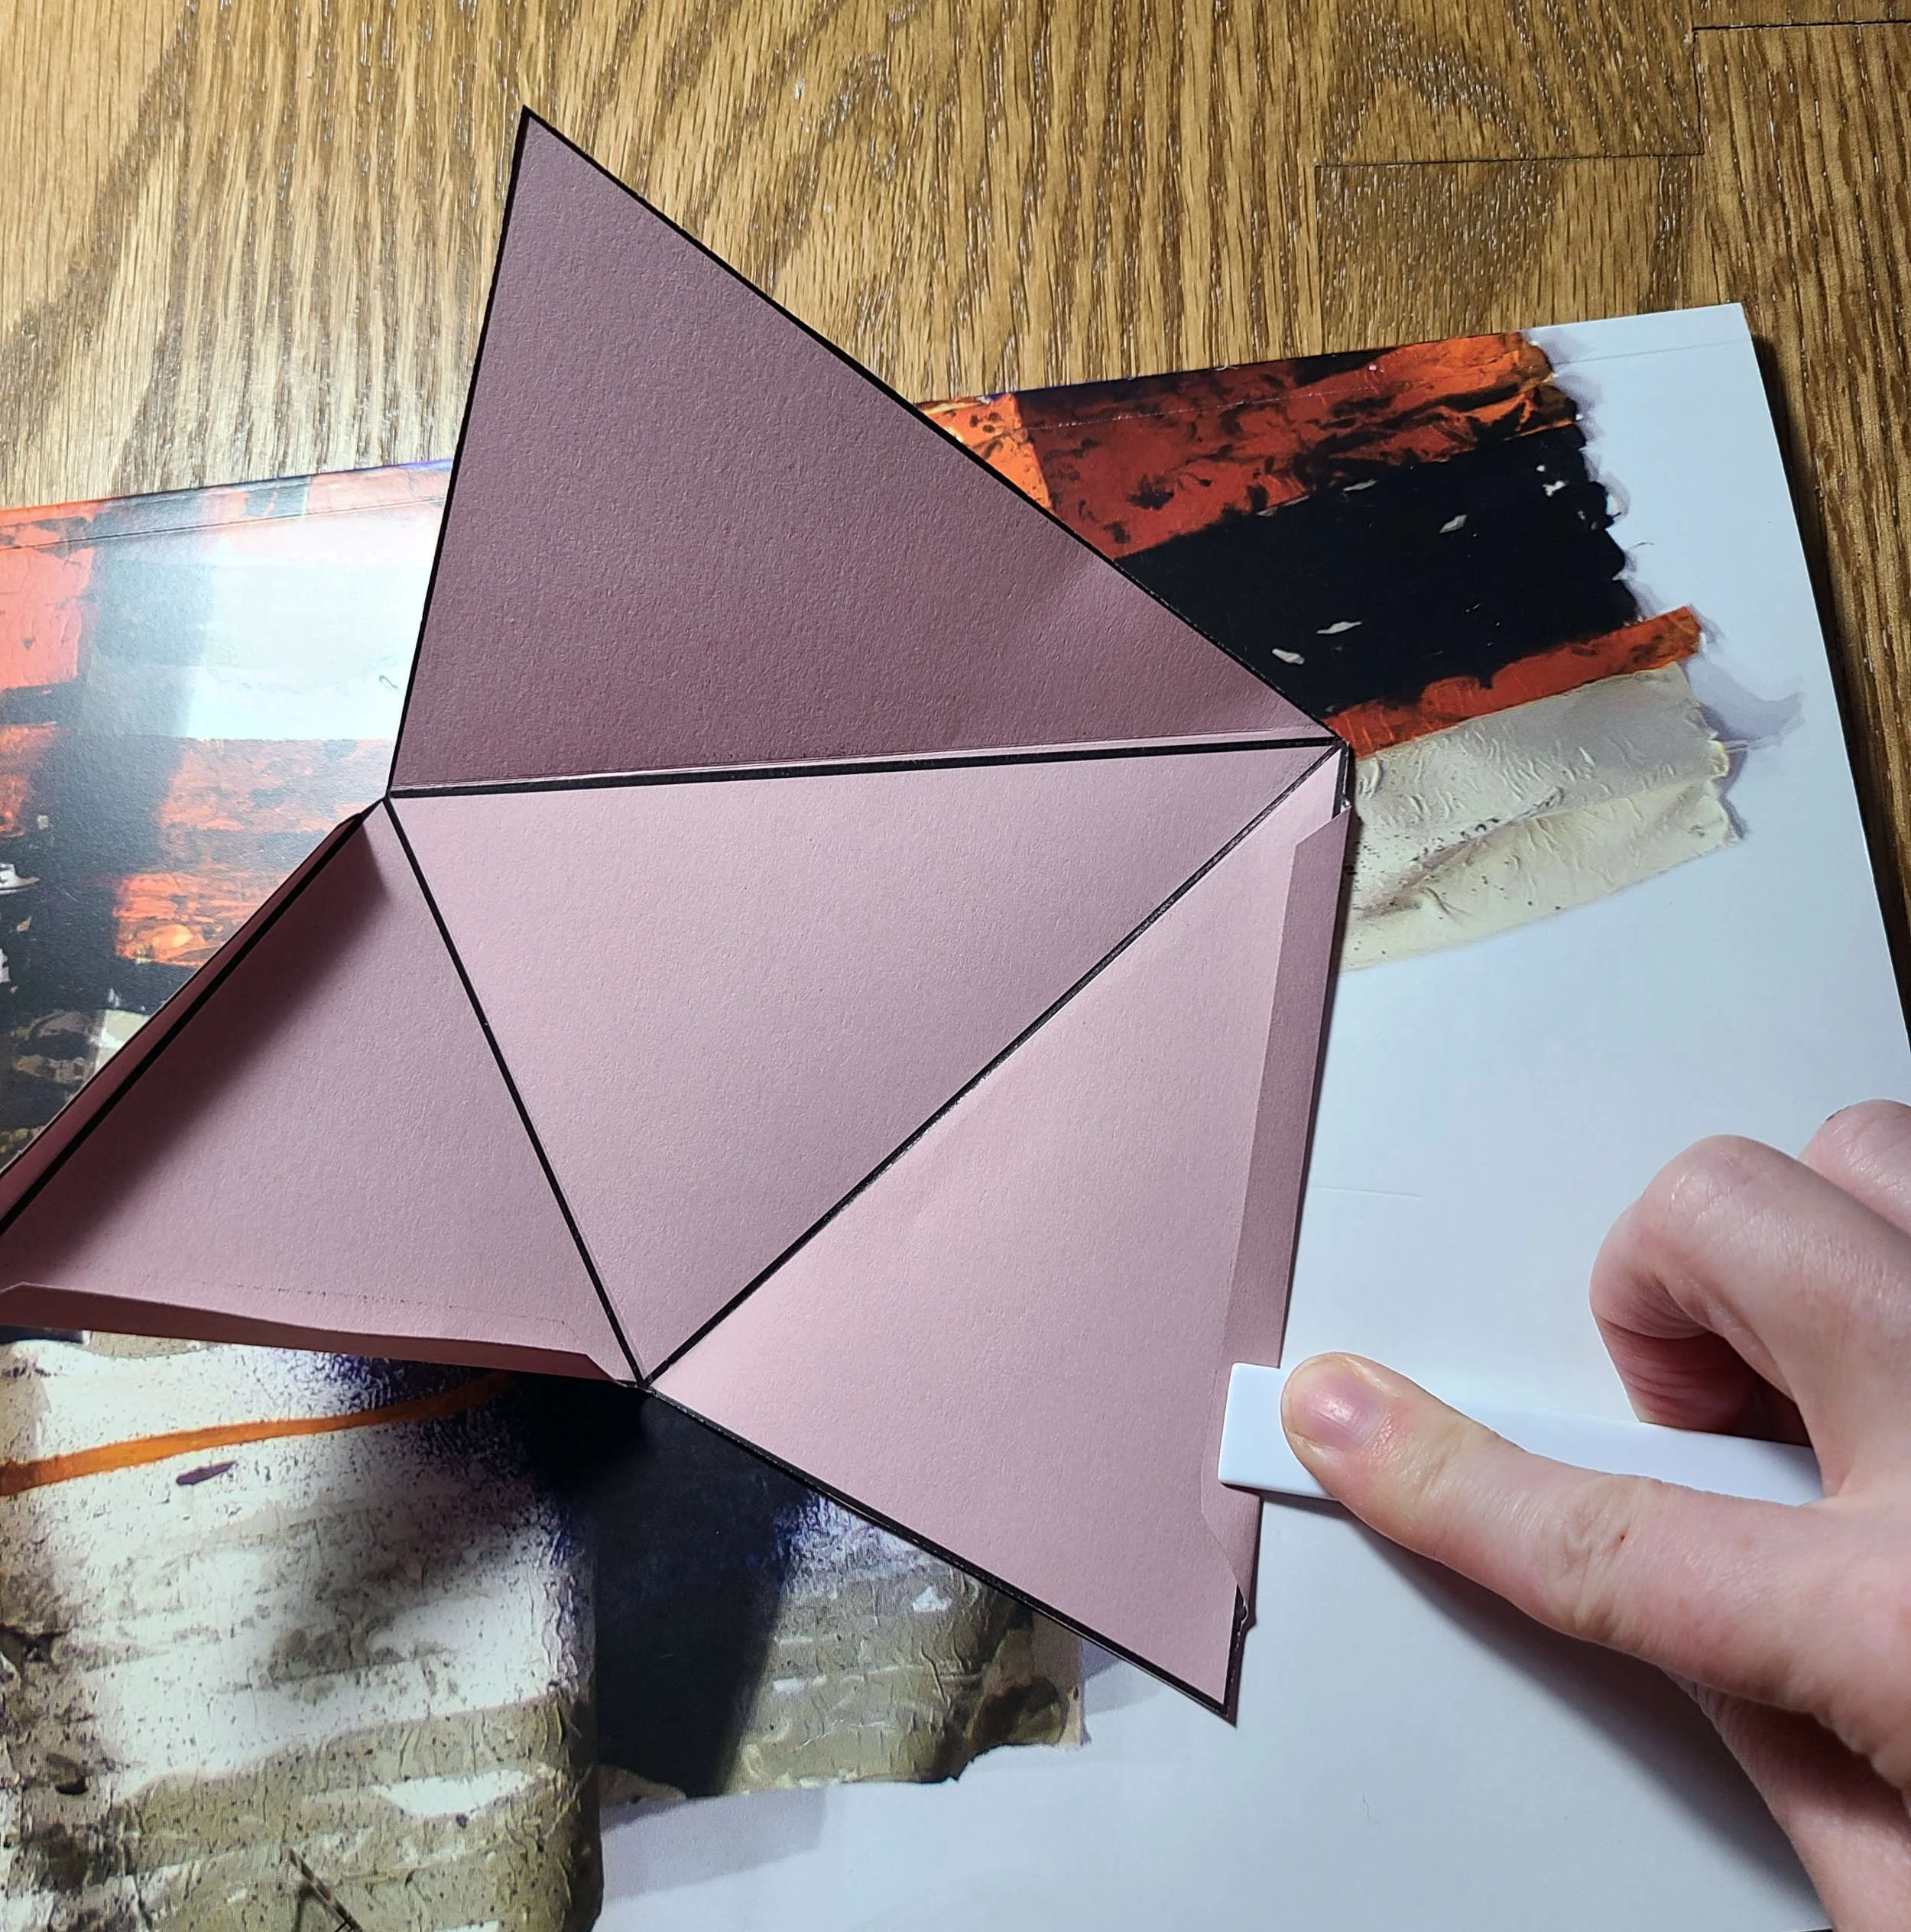
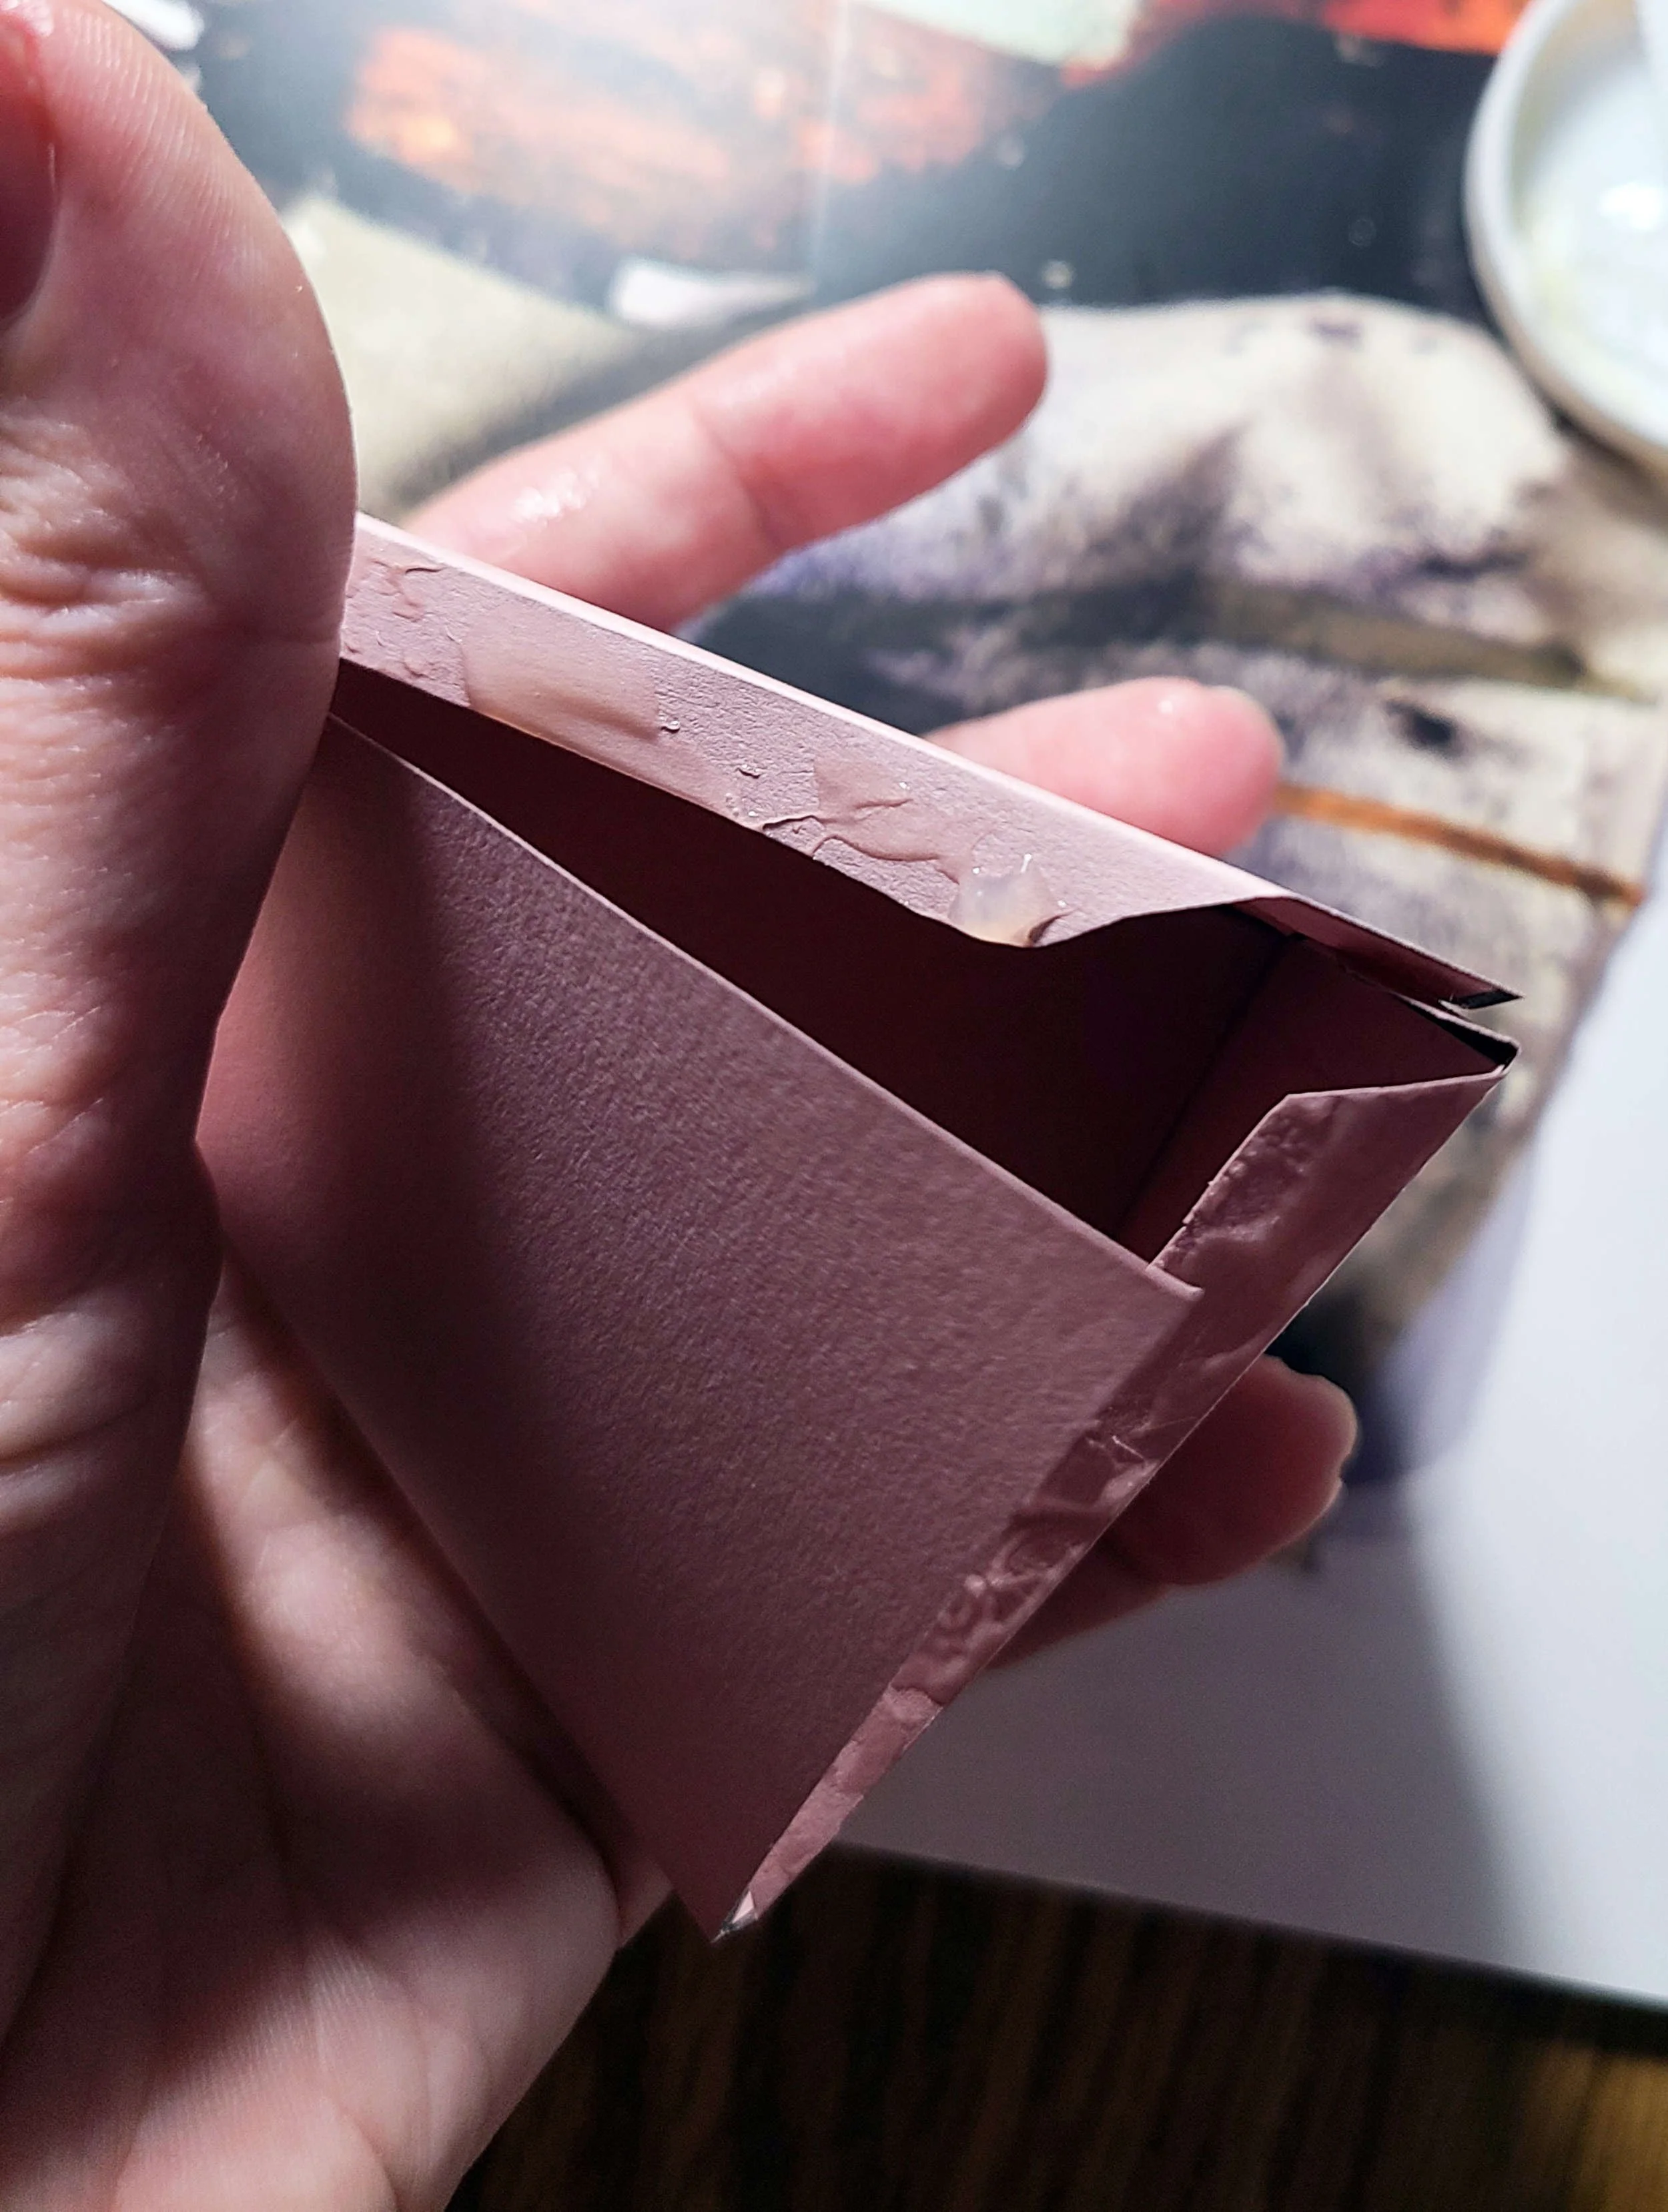
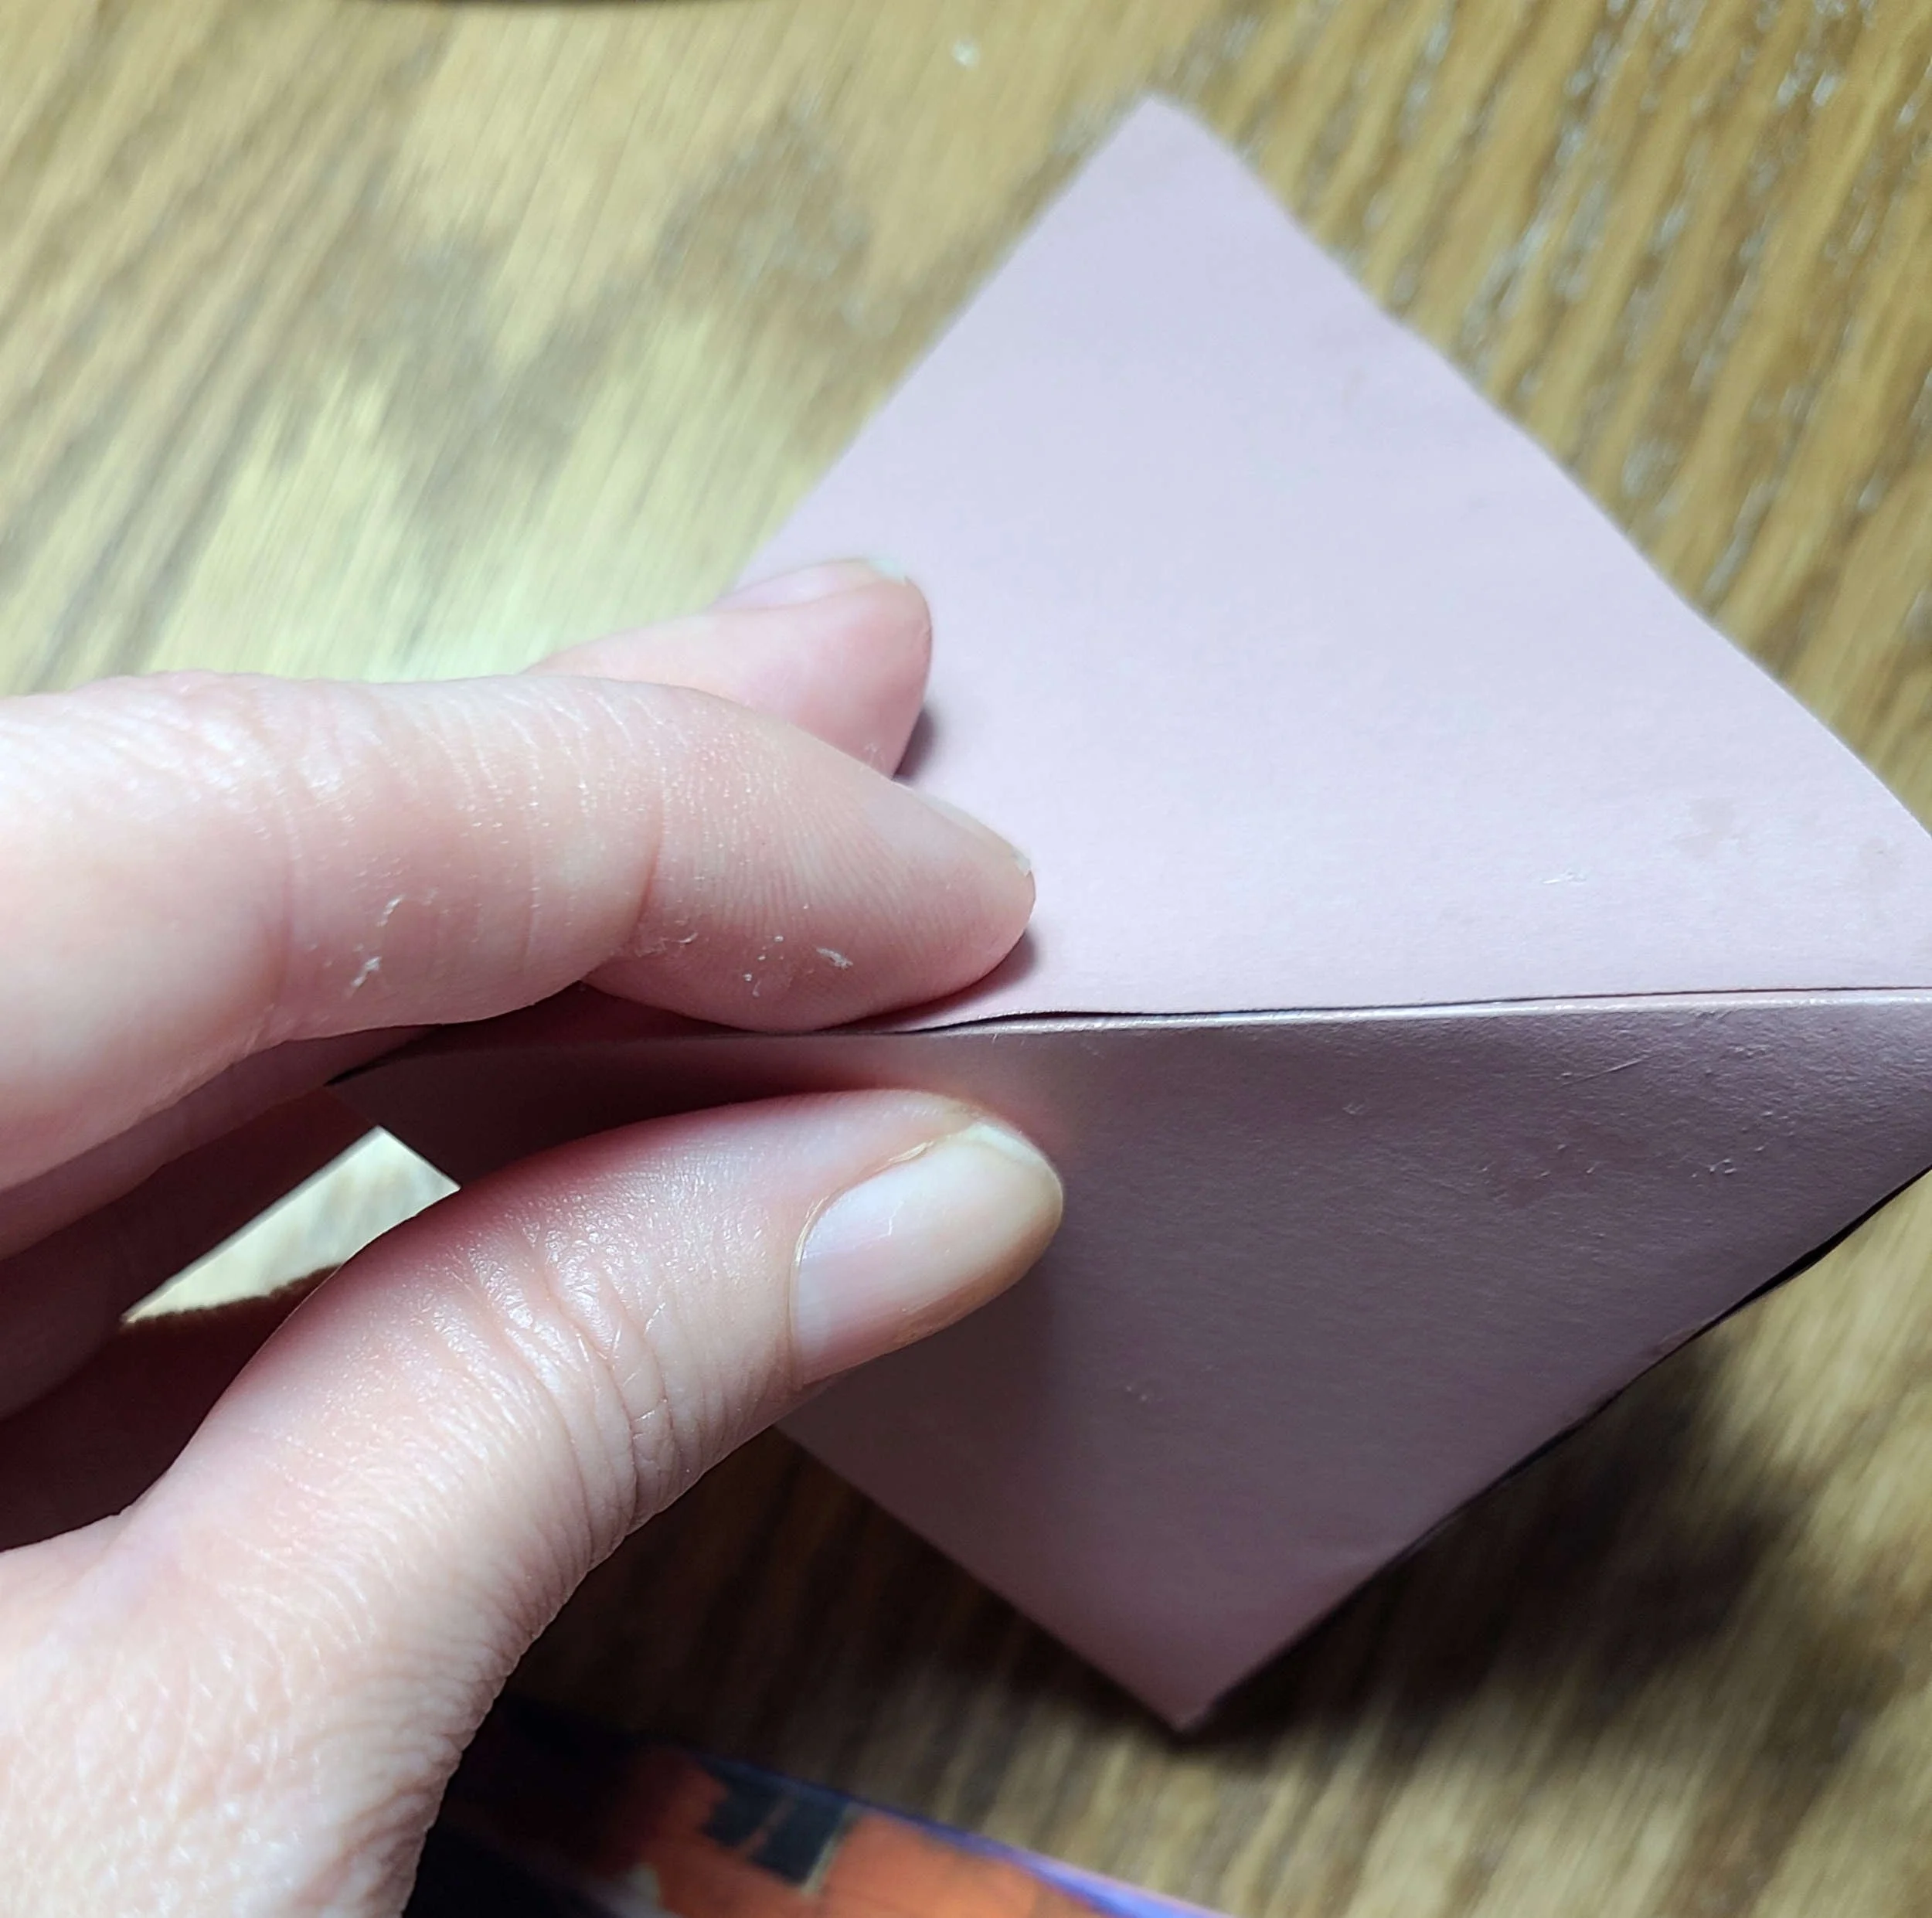
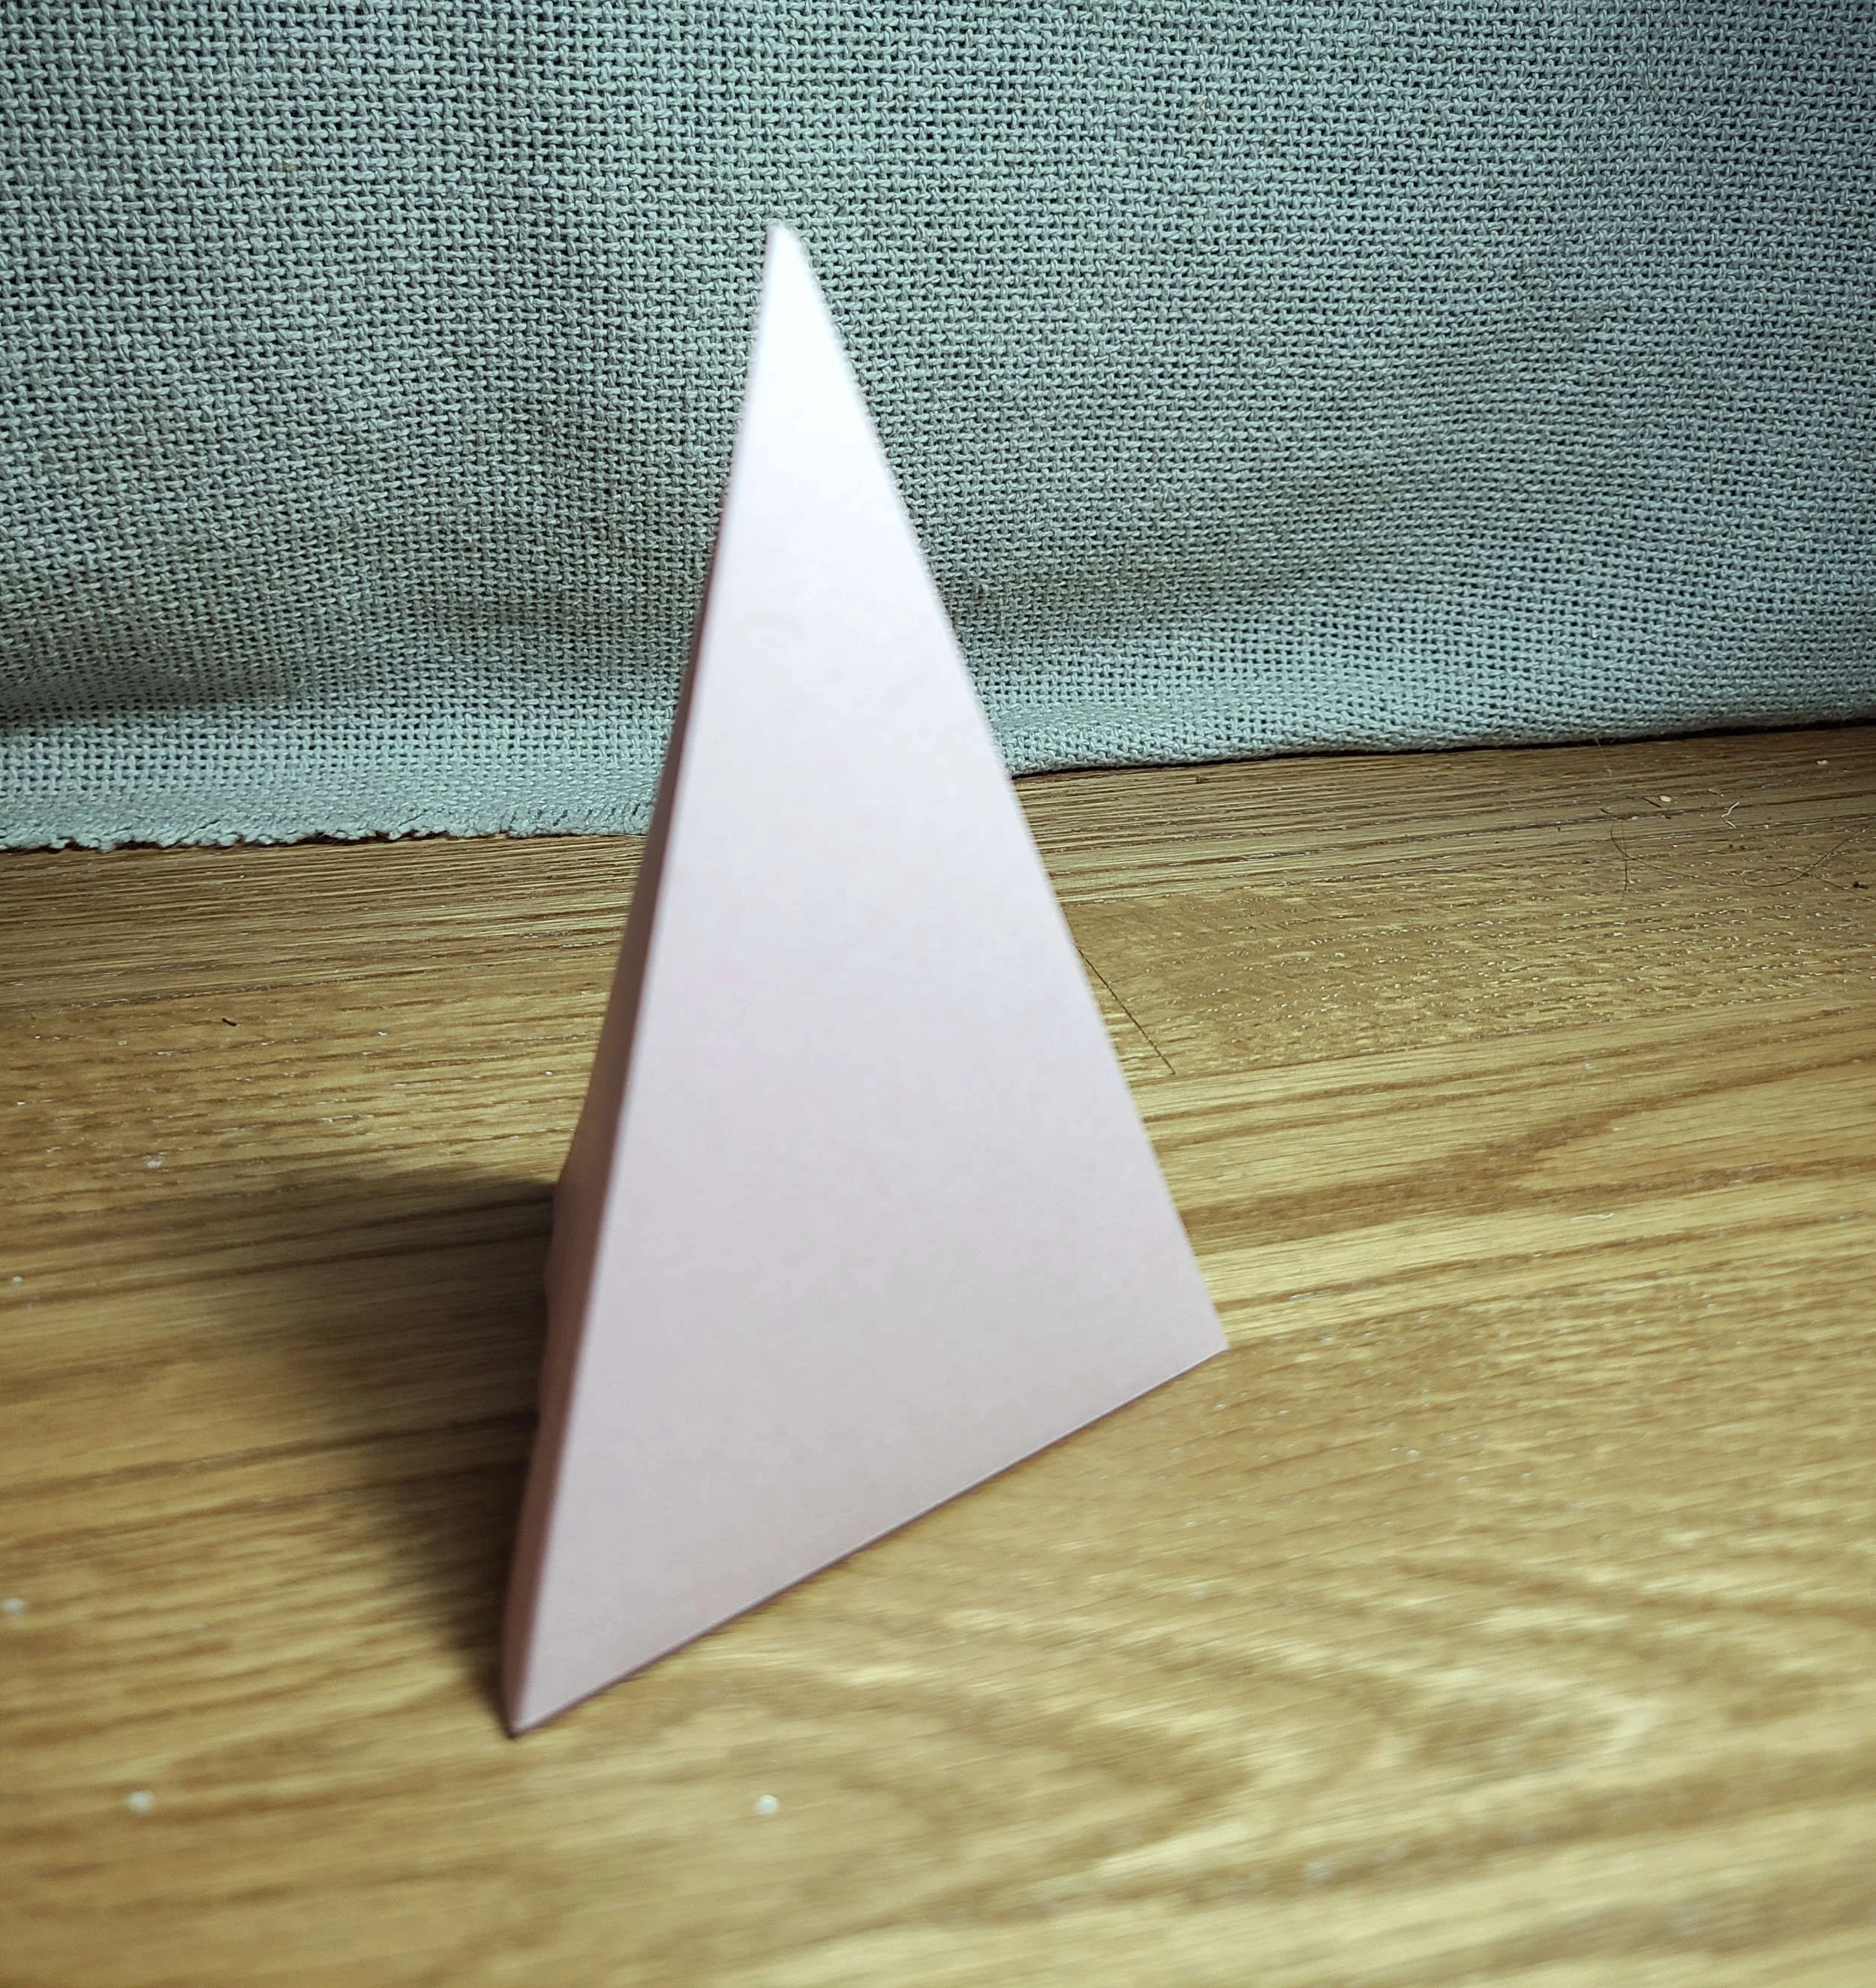
If you’d like to use the reproduction templates to make your own minimalist trees (along with slightly more detailed instructions), these are available as a free download for my newsletter subscribers on the newsletter exclusives page! Current subscribers can find this link at the bottom of any of my email newsletters. If you are not yet on my newsletter list, click here to sign up! Once you’ve confirmed your subscription, you will receive a welcome message with a link to the newsletter exclusives page.
I hope you enjoyed this year’s Holiday Craft Summer series and that it gave you some holiday décor inspiration! If you liked this post, be sure to check out all my previous holiday crafting posts, including the rest of the Procrastination Proof Craft series and holiday ideas beyond Christmas.
I’m Whitney, a tech editor, graphic designer, and lifelong crafter. Join me for an exploration of my latest knitting, crochet, sewing, and upcycling projects, tips on knitting technique, editing tips for knitting designers, and more!