
My Fiber Festival Booth DIYs
I’ve now vended at my first two fiber festivals and I have learned a lot! As I mentioned in my newsletter, by far my favorite part of vending in person is getting to see people react to my artwork, particularly the crafter’s inside jokes on most of my products.
My second favorite part is that in prepping to vend at these shows, I’ve done a few simple DIY projects to improve my display that have worked out really well. Early on in my development of the stationery shop, I found this diy from a fellow cardmaker that helped me develop the packaging for my greeting cards; I like the idea of continuing to pay it forward by putting my own DIYs out there for others to adapt. Many of these simple DIYs could work for science fair displays, weddings or other big celebrations, in addition to craft fairs.
The Multipurpose Sign
I started thinking about possible signage as soon as I was accepted to my first fiber festival. I’ve been to enough fiber festivals and craft shows to know that there are a lot of different ways to do a banner sign for your booth. Because I’m also usually going to be vending in smaller booth sizes – my first fiber show “booth” was actually one six-foot table – I also wanted a sign that could work in different types of setups. It occurred to me that a sign that was double the height of a normal banner sign could be either draped across a table as a table runner or folded in half over a frame to make a raised sign.
Because I love designing Spoonflower tea towels, I knew their Linen Cotton Canvas fabric was sturdy enough to hold up to the wear and tear of show setup and takedown. So I designed myself a banner that would fit the 54×36 inch size of a yard of Linen Cotton Canvas, with my logo on the lower half and the rest of the banner a yarn-centric pattern that I originally developed for my social media templates.
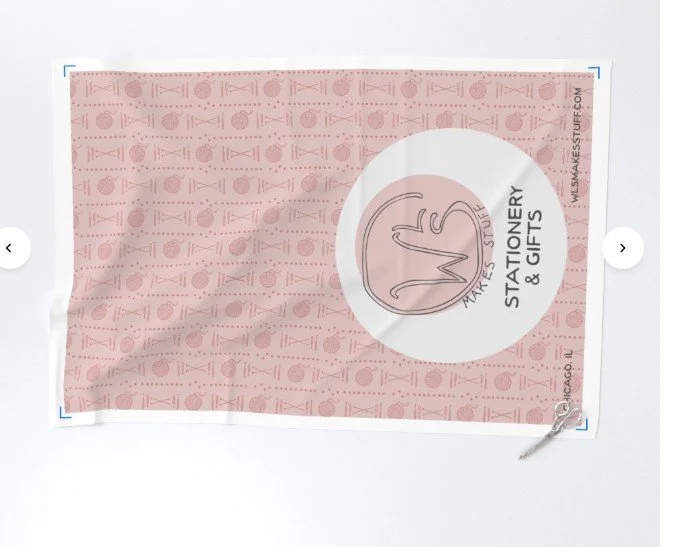
How the fabric appeared on Spoonflower’s virtual mockup.
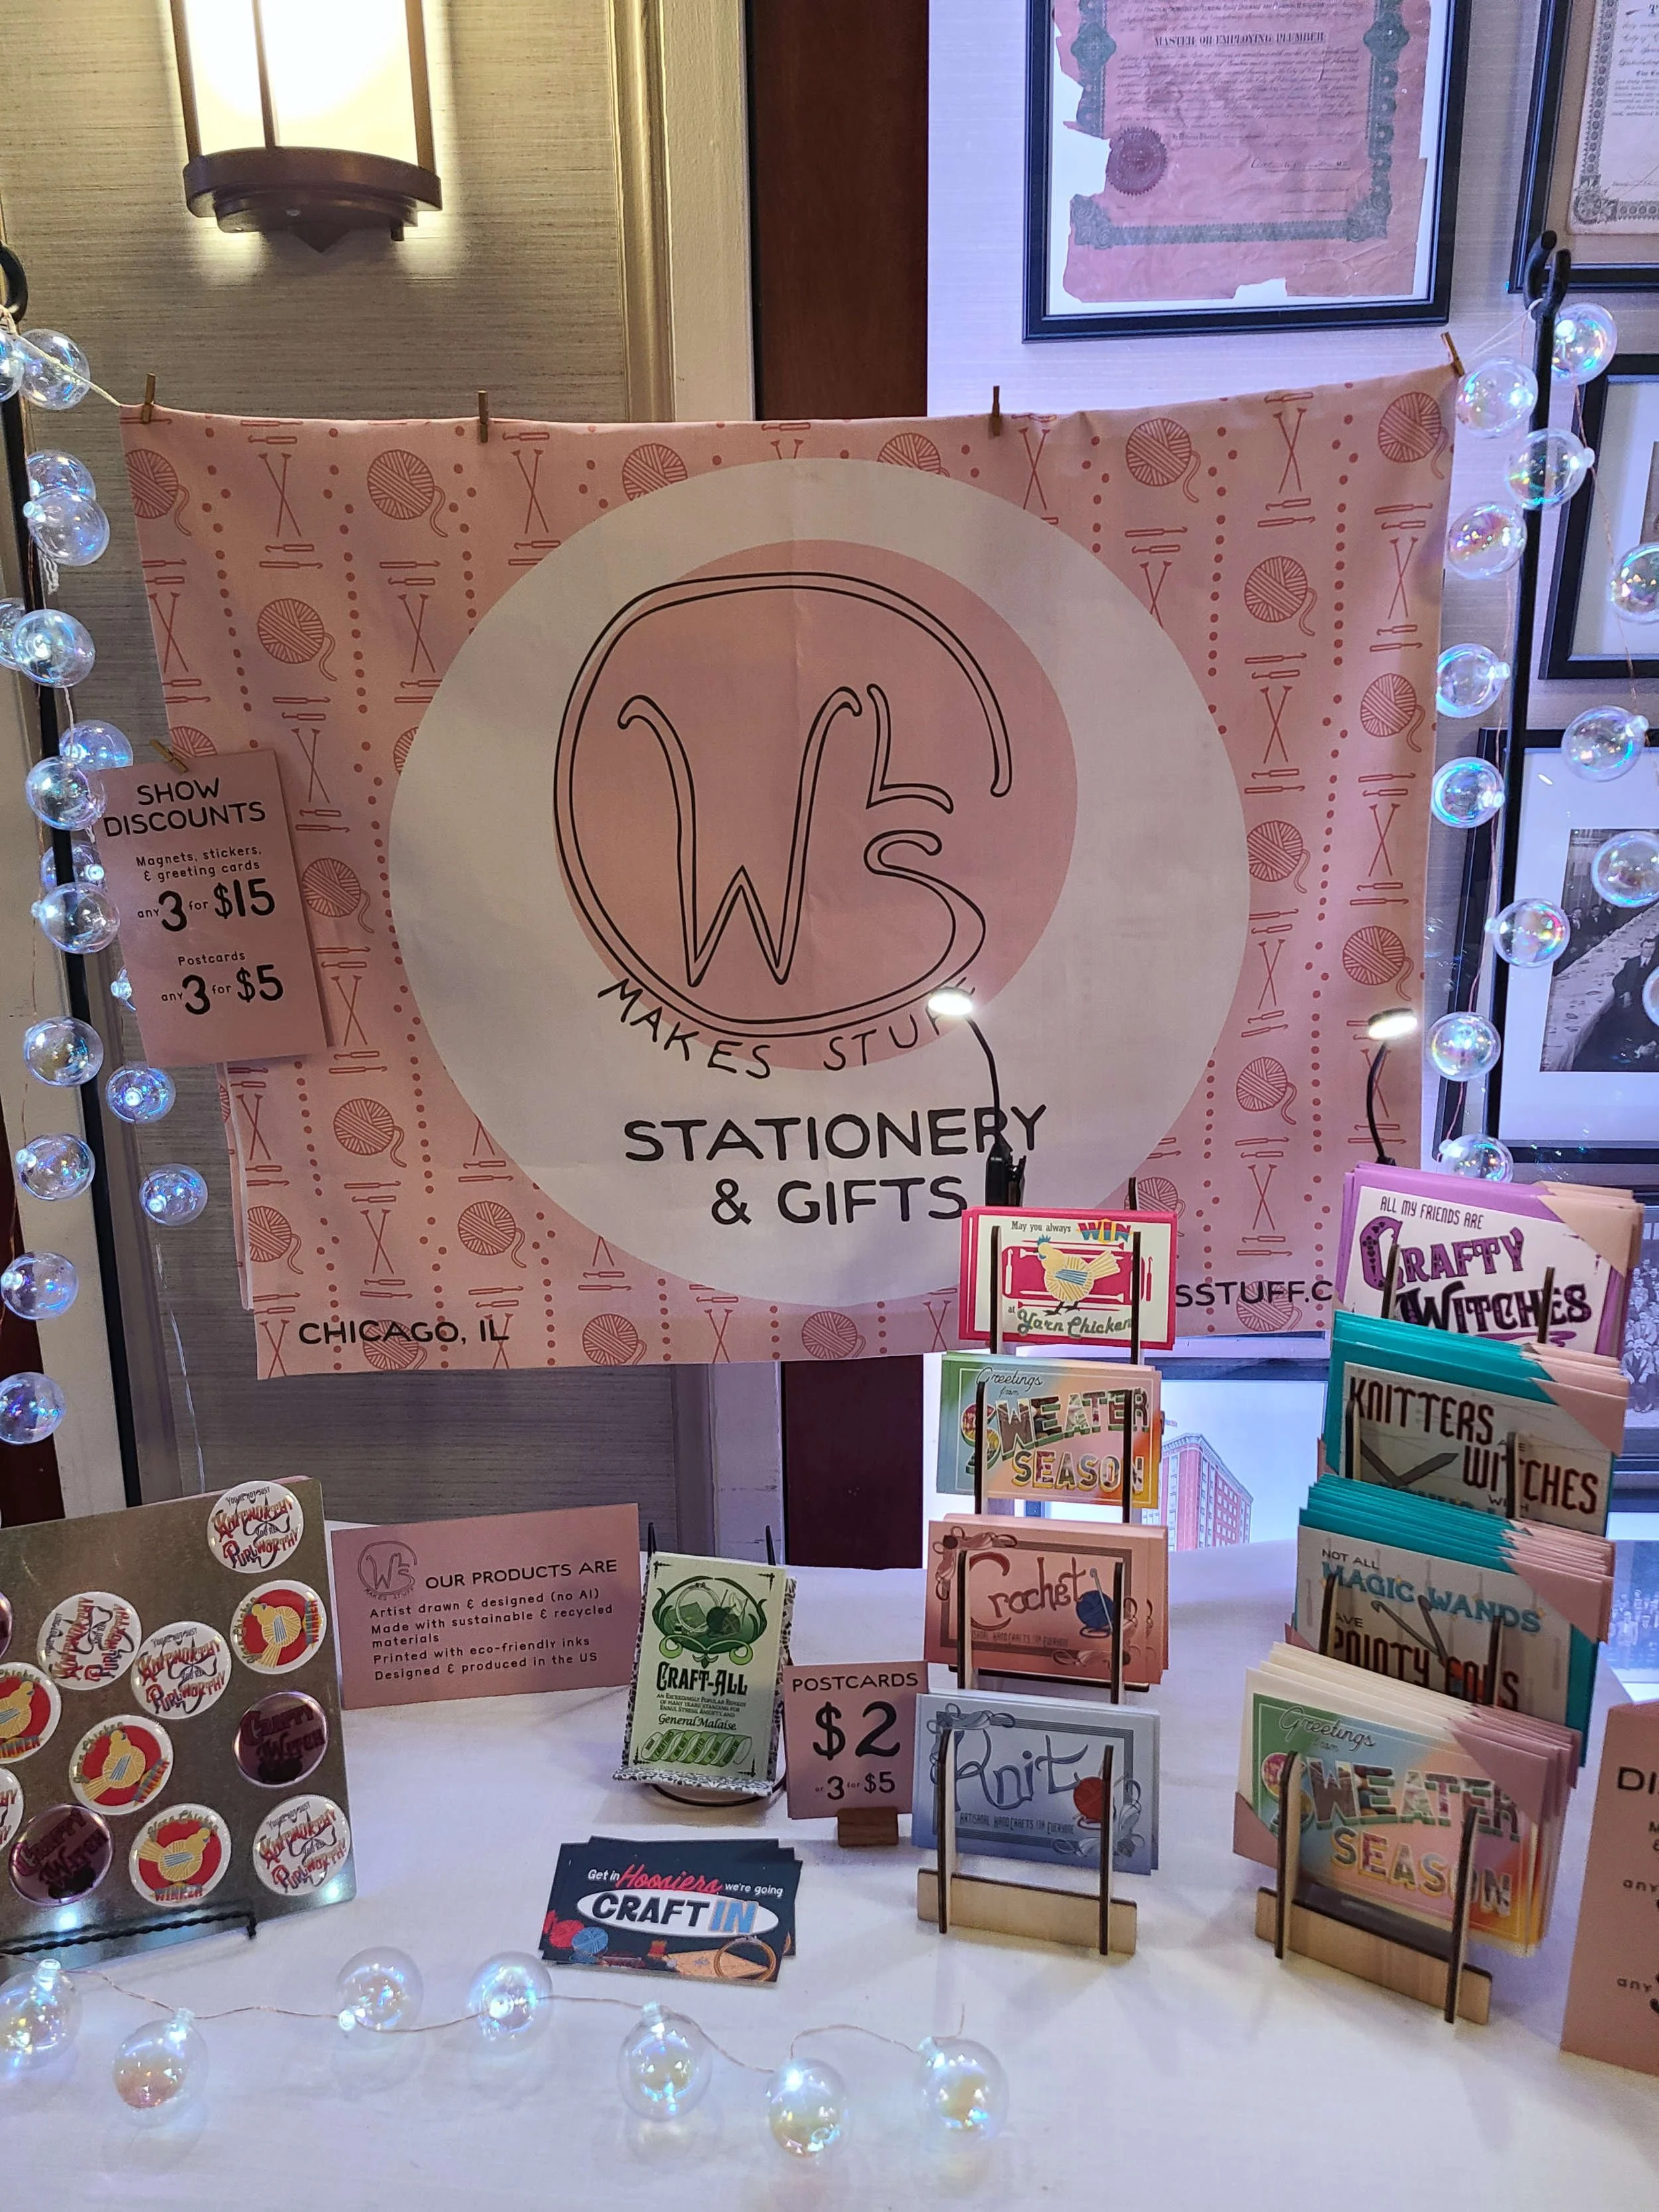
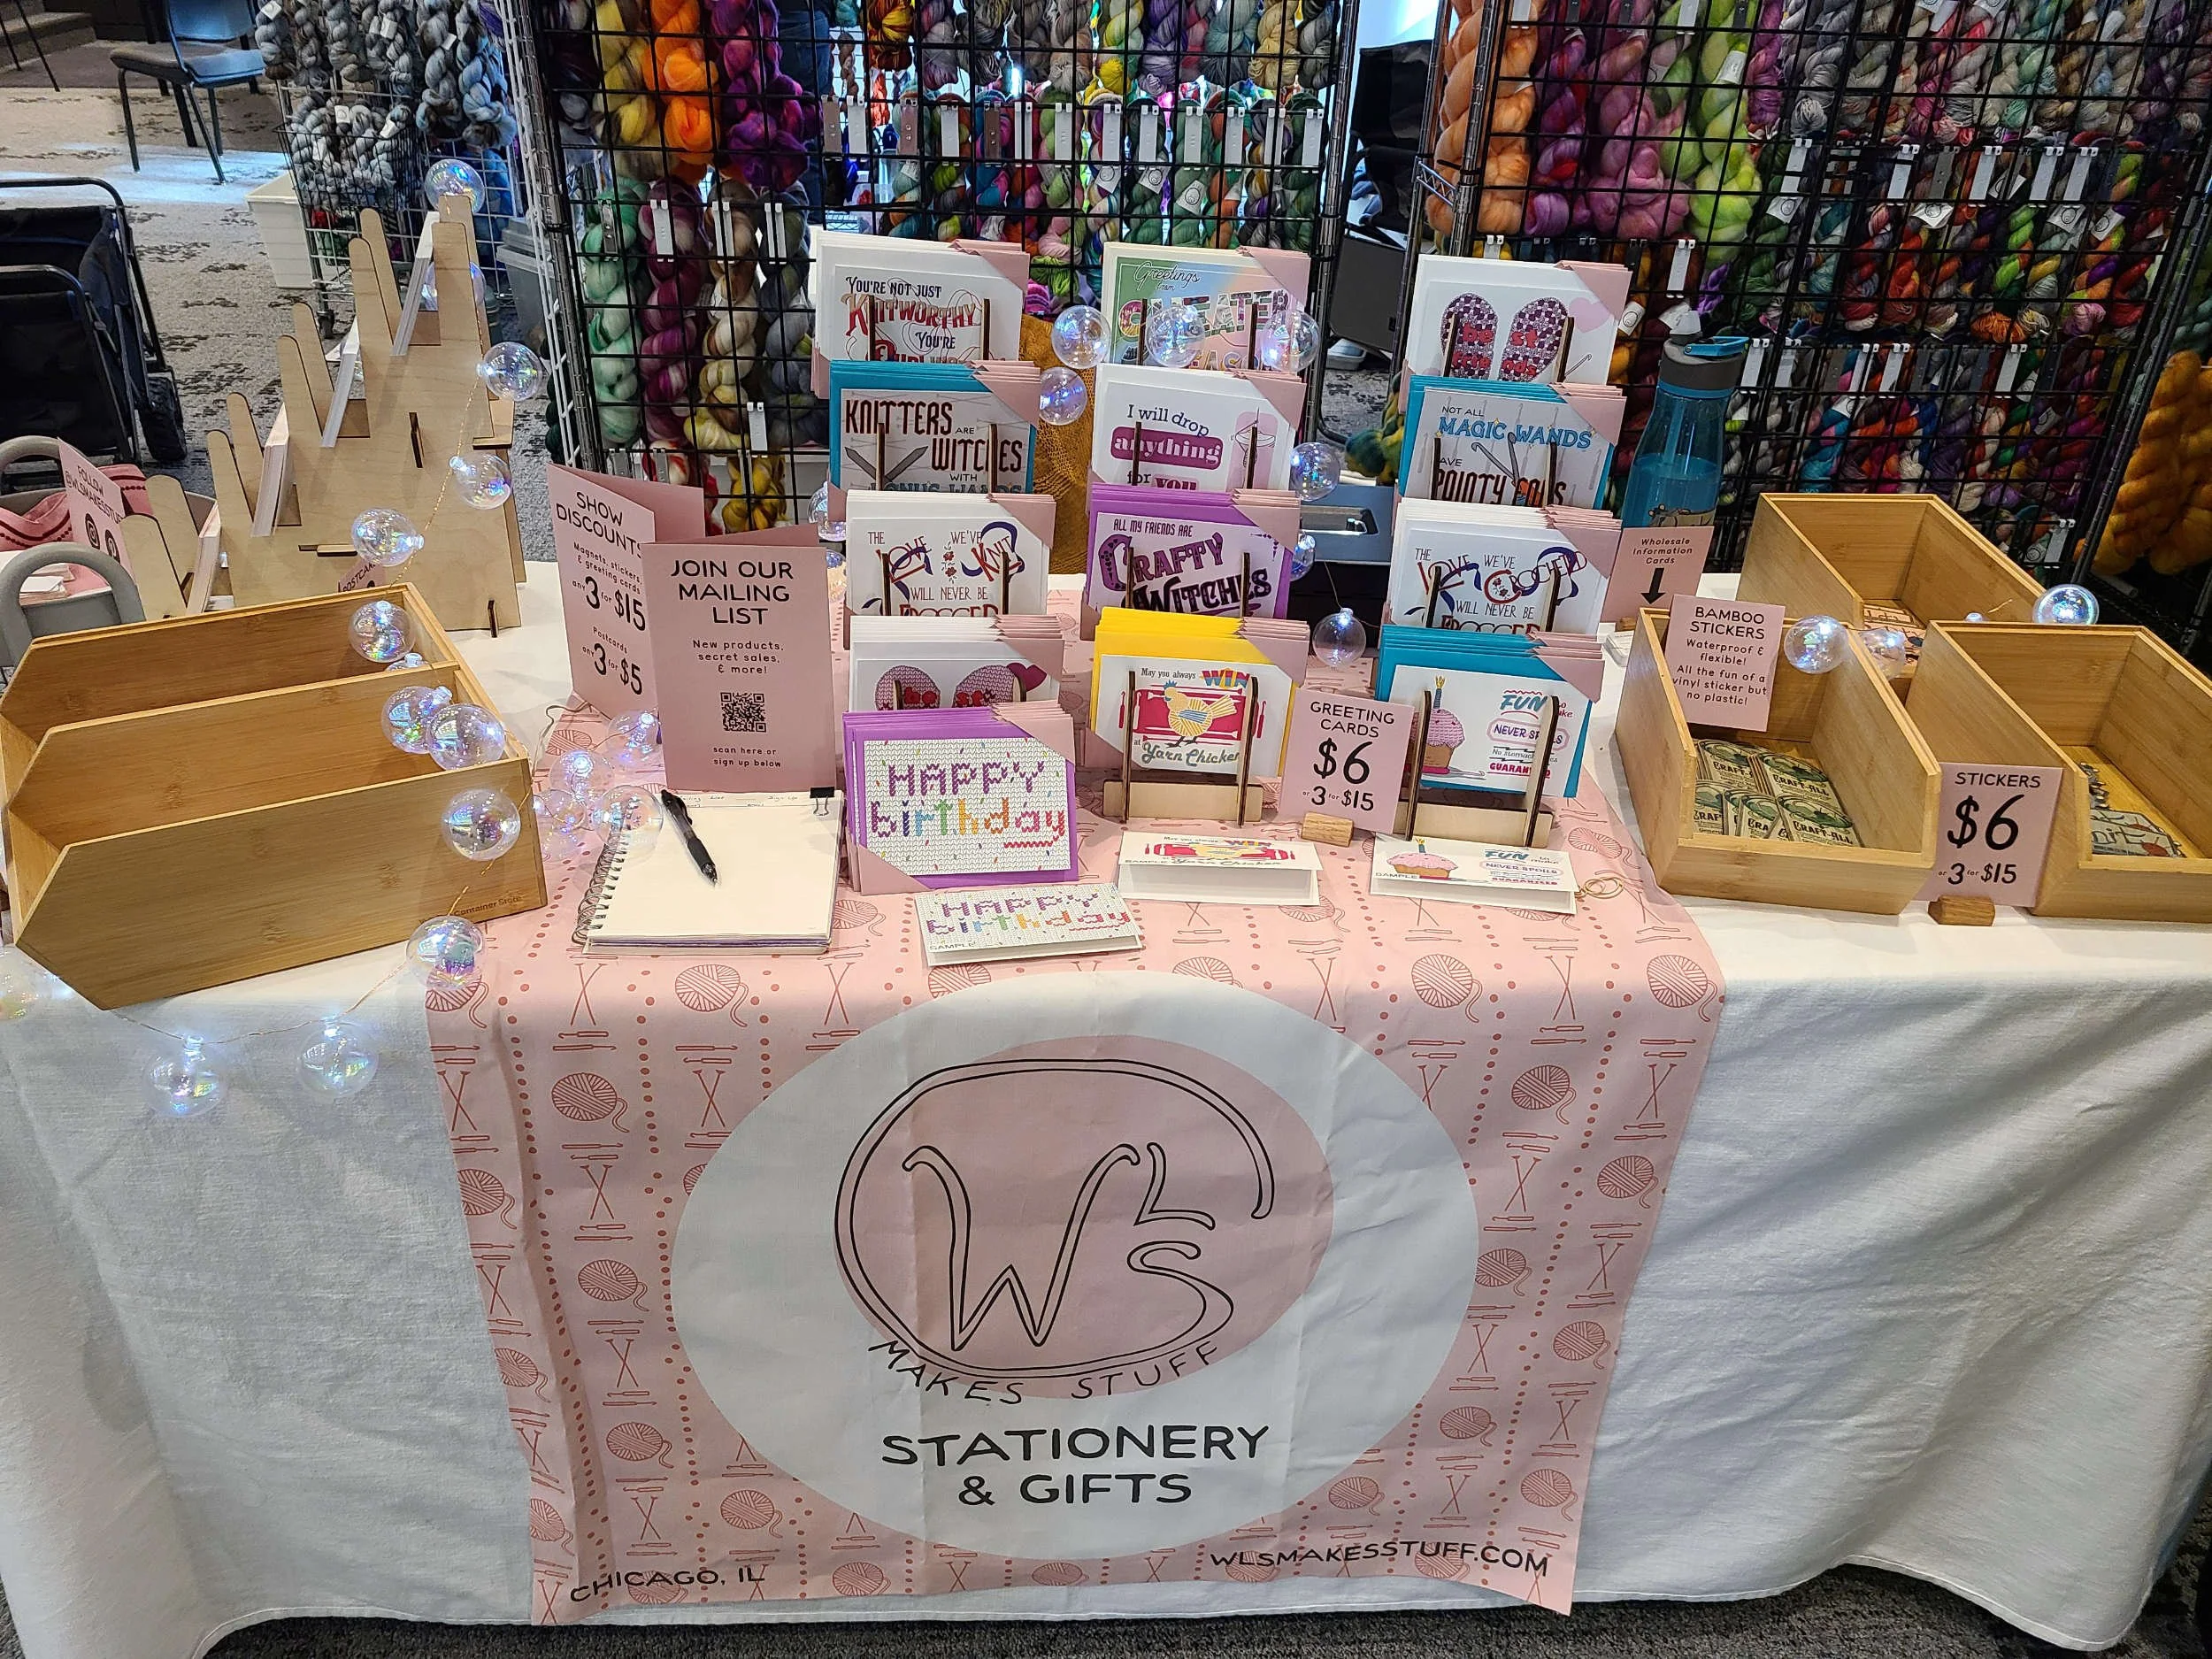
When the fabric arrived, I hemmed it with fusible hemming tape (I may go back and sew it down properly at some point, but I didn’t want to risk a sewing machine malfunction with my first show only weeks away). In my two shows so far I’ve used both the table runner option and the hanging sign option and I think both worked great! The sign poles are deck rail hanging poles we already had; they have a clamp on the bottom that we attached to the back of the table. These have a fixed height and made from very heavy steel, so I’m looking for options for future booths that are both lighter and can be adjusted.
The Easel Seats
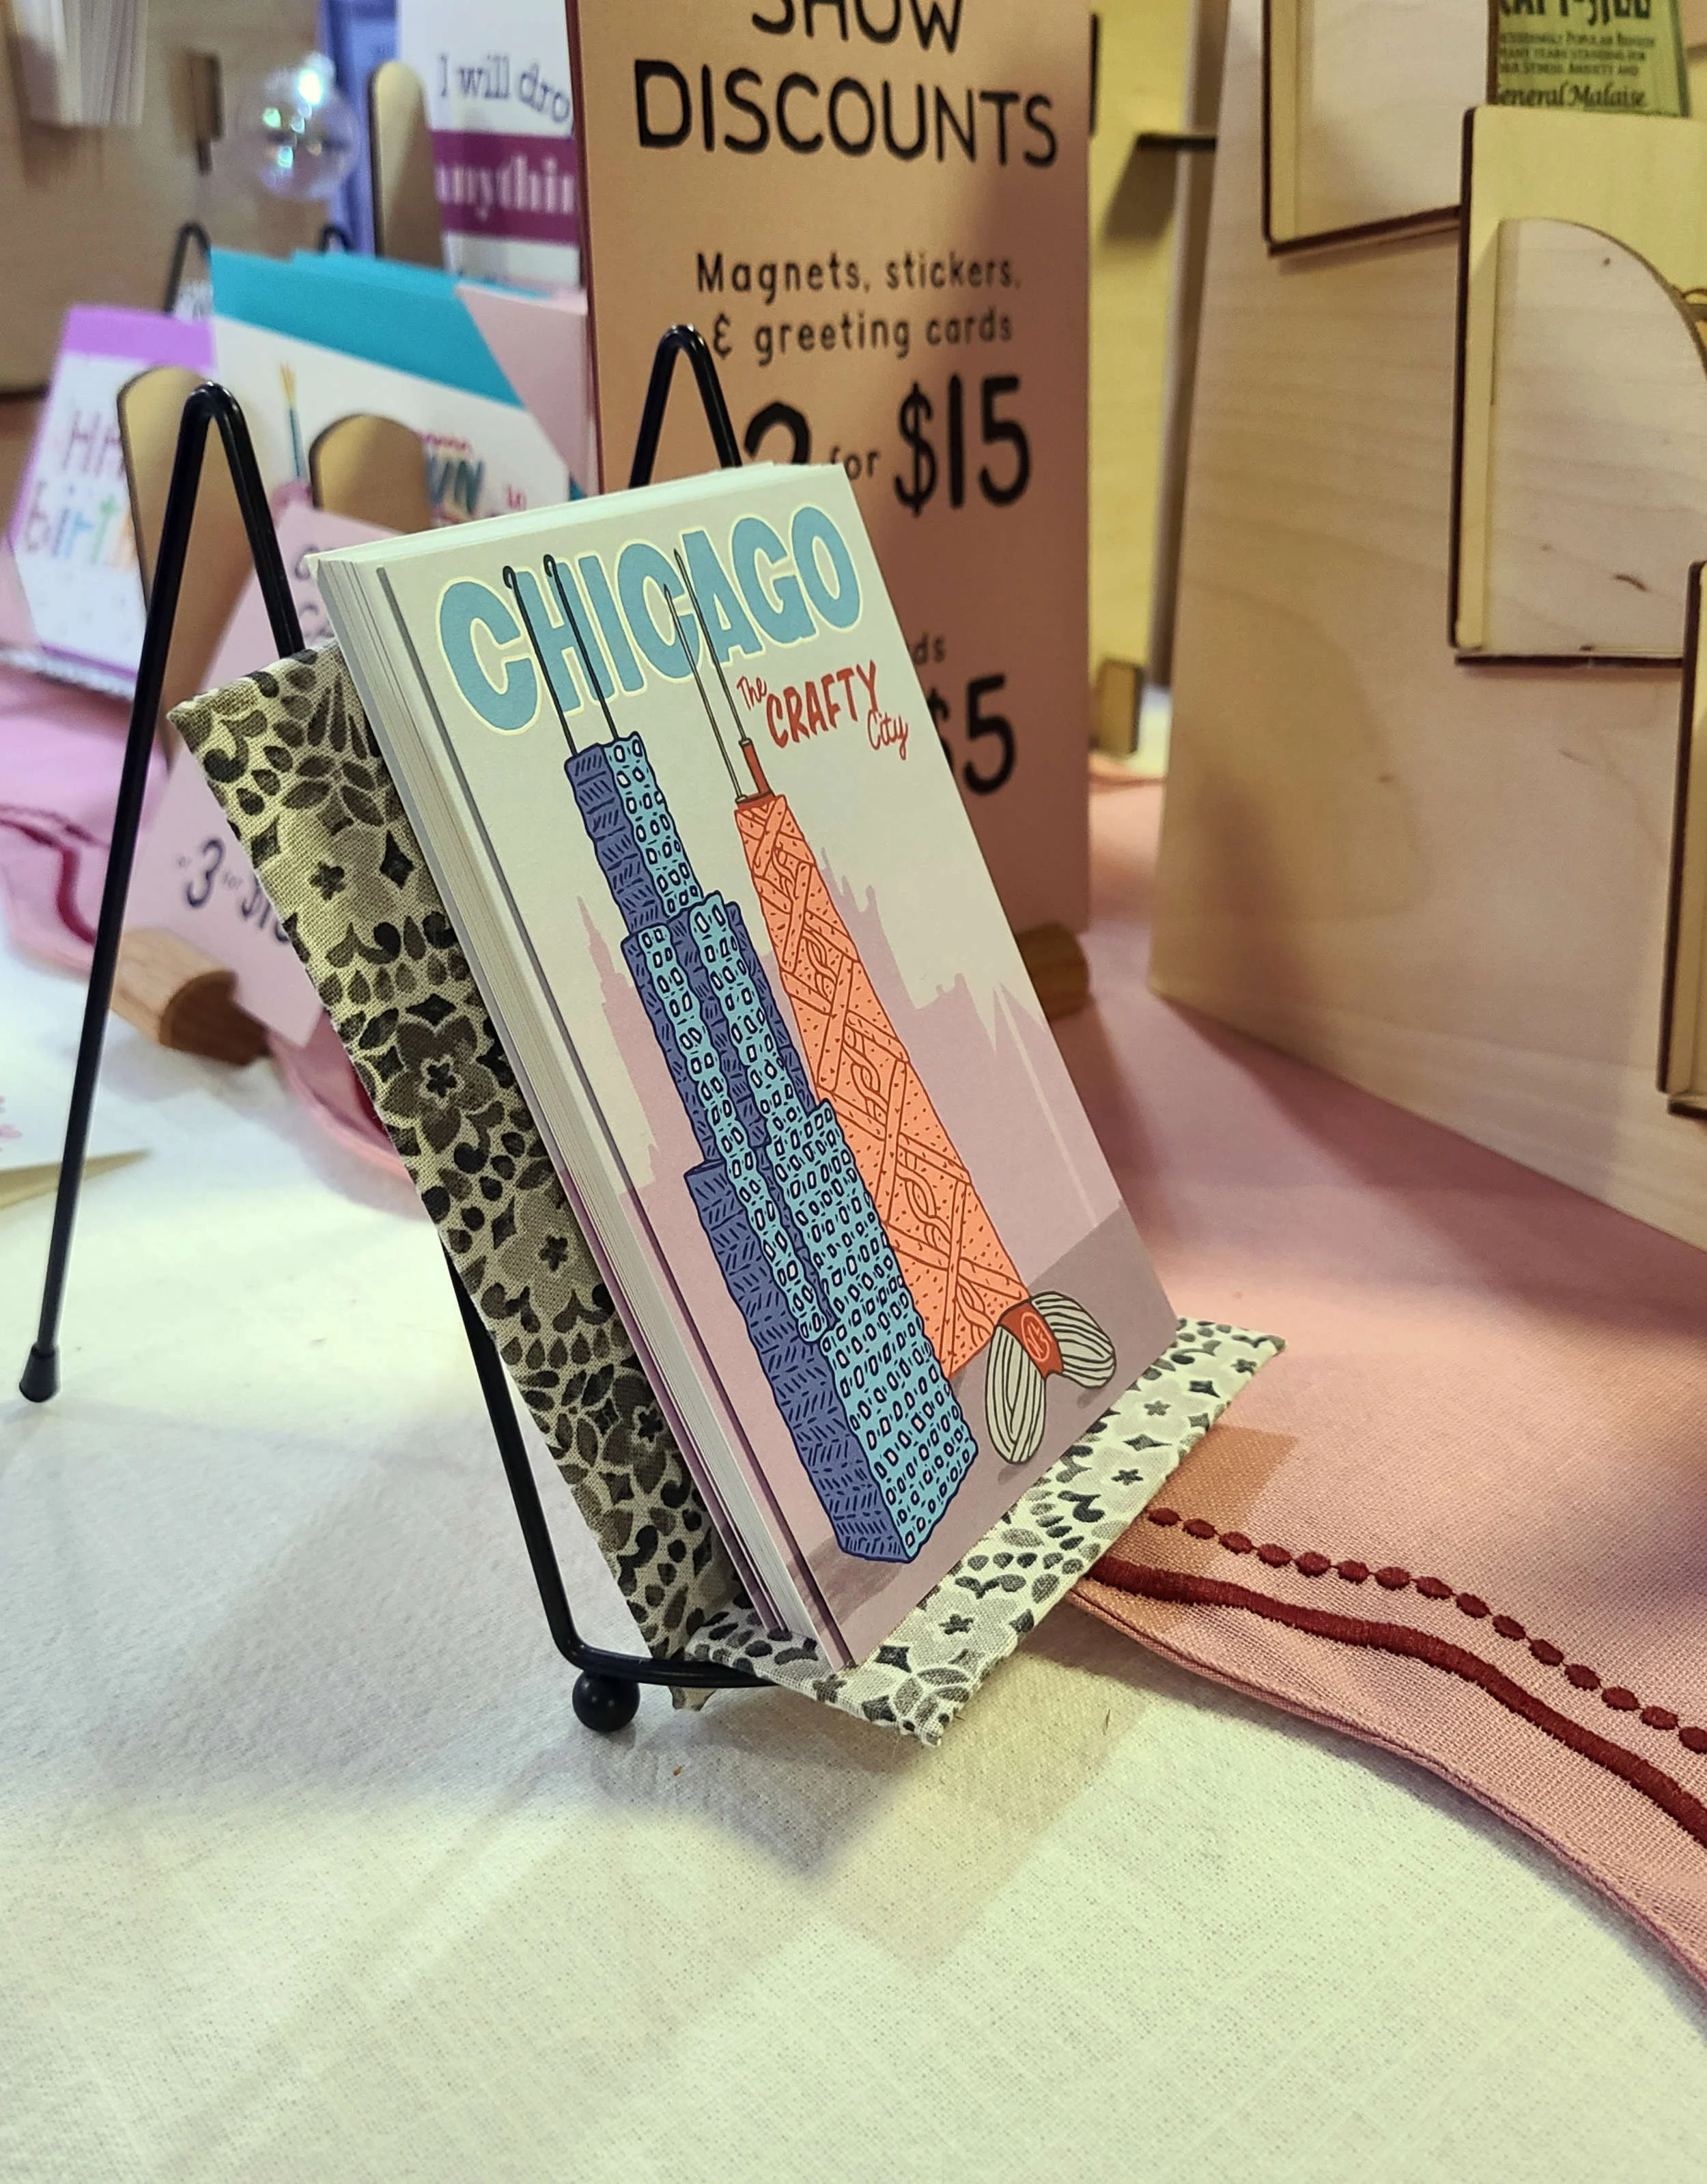
I have 4 laser cut wood card stands (purchased from this Etsy seller), which is enough to display 16 different items. But I have 18 total greeting card and postcard designs, which means I’m 3 slots short. Additionally, the vertical postcard designs are just a little too narrow to sit in the card display stand. Going into my second show (where the show exclusive design was also vertical), I wanted a better way to display both of my vertical postcards and that 13th greeting card (I usually have one stand for postcards and 3 for greeting cards).
In my closet of random craft supplies, I have a bunch of table top easels, the kind on which you can put picture frames that don’t have their own built in standing foot. One of these would have worked okay for the greeting card, but I worried about the wire frame denting the envelopes if they sat for an entire two day show. Plus, these were still too wide for the vertical postcards. So I decided to use my available craft supply stash to make some “seats” that would solve both problems.
I grabbed some thin but sturdy cardboard, a fat quarter of quilting cotton in a pleasant gray pattern, some ribbon and some felt. For each seat I cut a larger rectangle for the back and a smaller rectangle for the base out of the cardboard (using a stack of vertical postcards to make sure the rectangles were big enough to work for them), and then equivalent rectangles out of the fabric with about a half inch seam allowance. I wrapped the fabric tightly around the front of each rectangle and taped the edges down with masking tape on the back. Then I connected one large rectangle and one small rectangle each with two pieces of ribbon, also taped down on the backs.
I then covered the ugly tape mess with a felt backing attached by using the fusible hem tape again to stick the corners of the felt to the edges of the fabric. The idea in using the felt was not only to make it look neater, but to use a material that wouldn’t be as slippery against the metal frames or fray if it moved back and forth as people picked up cards to look at them.
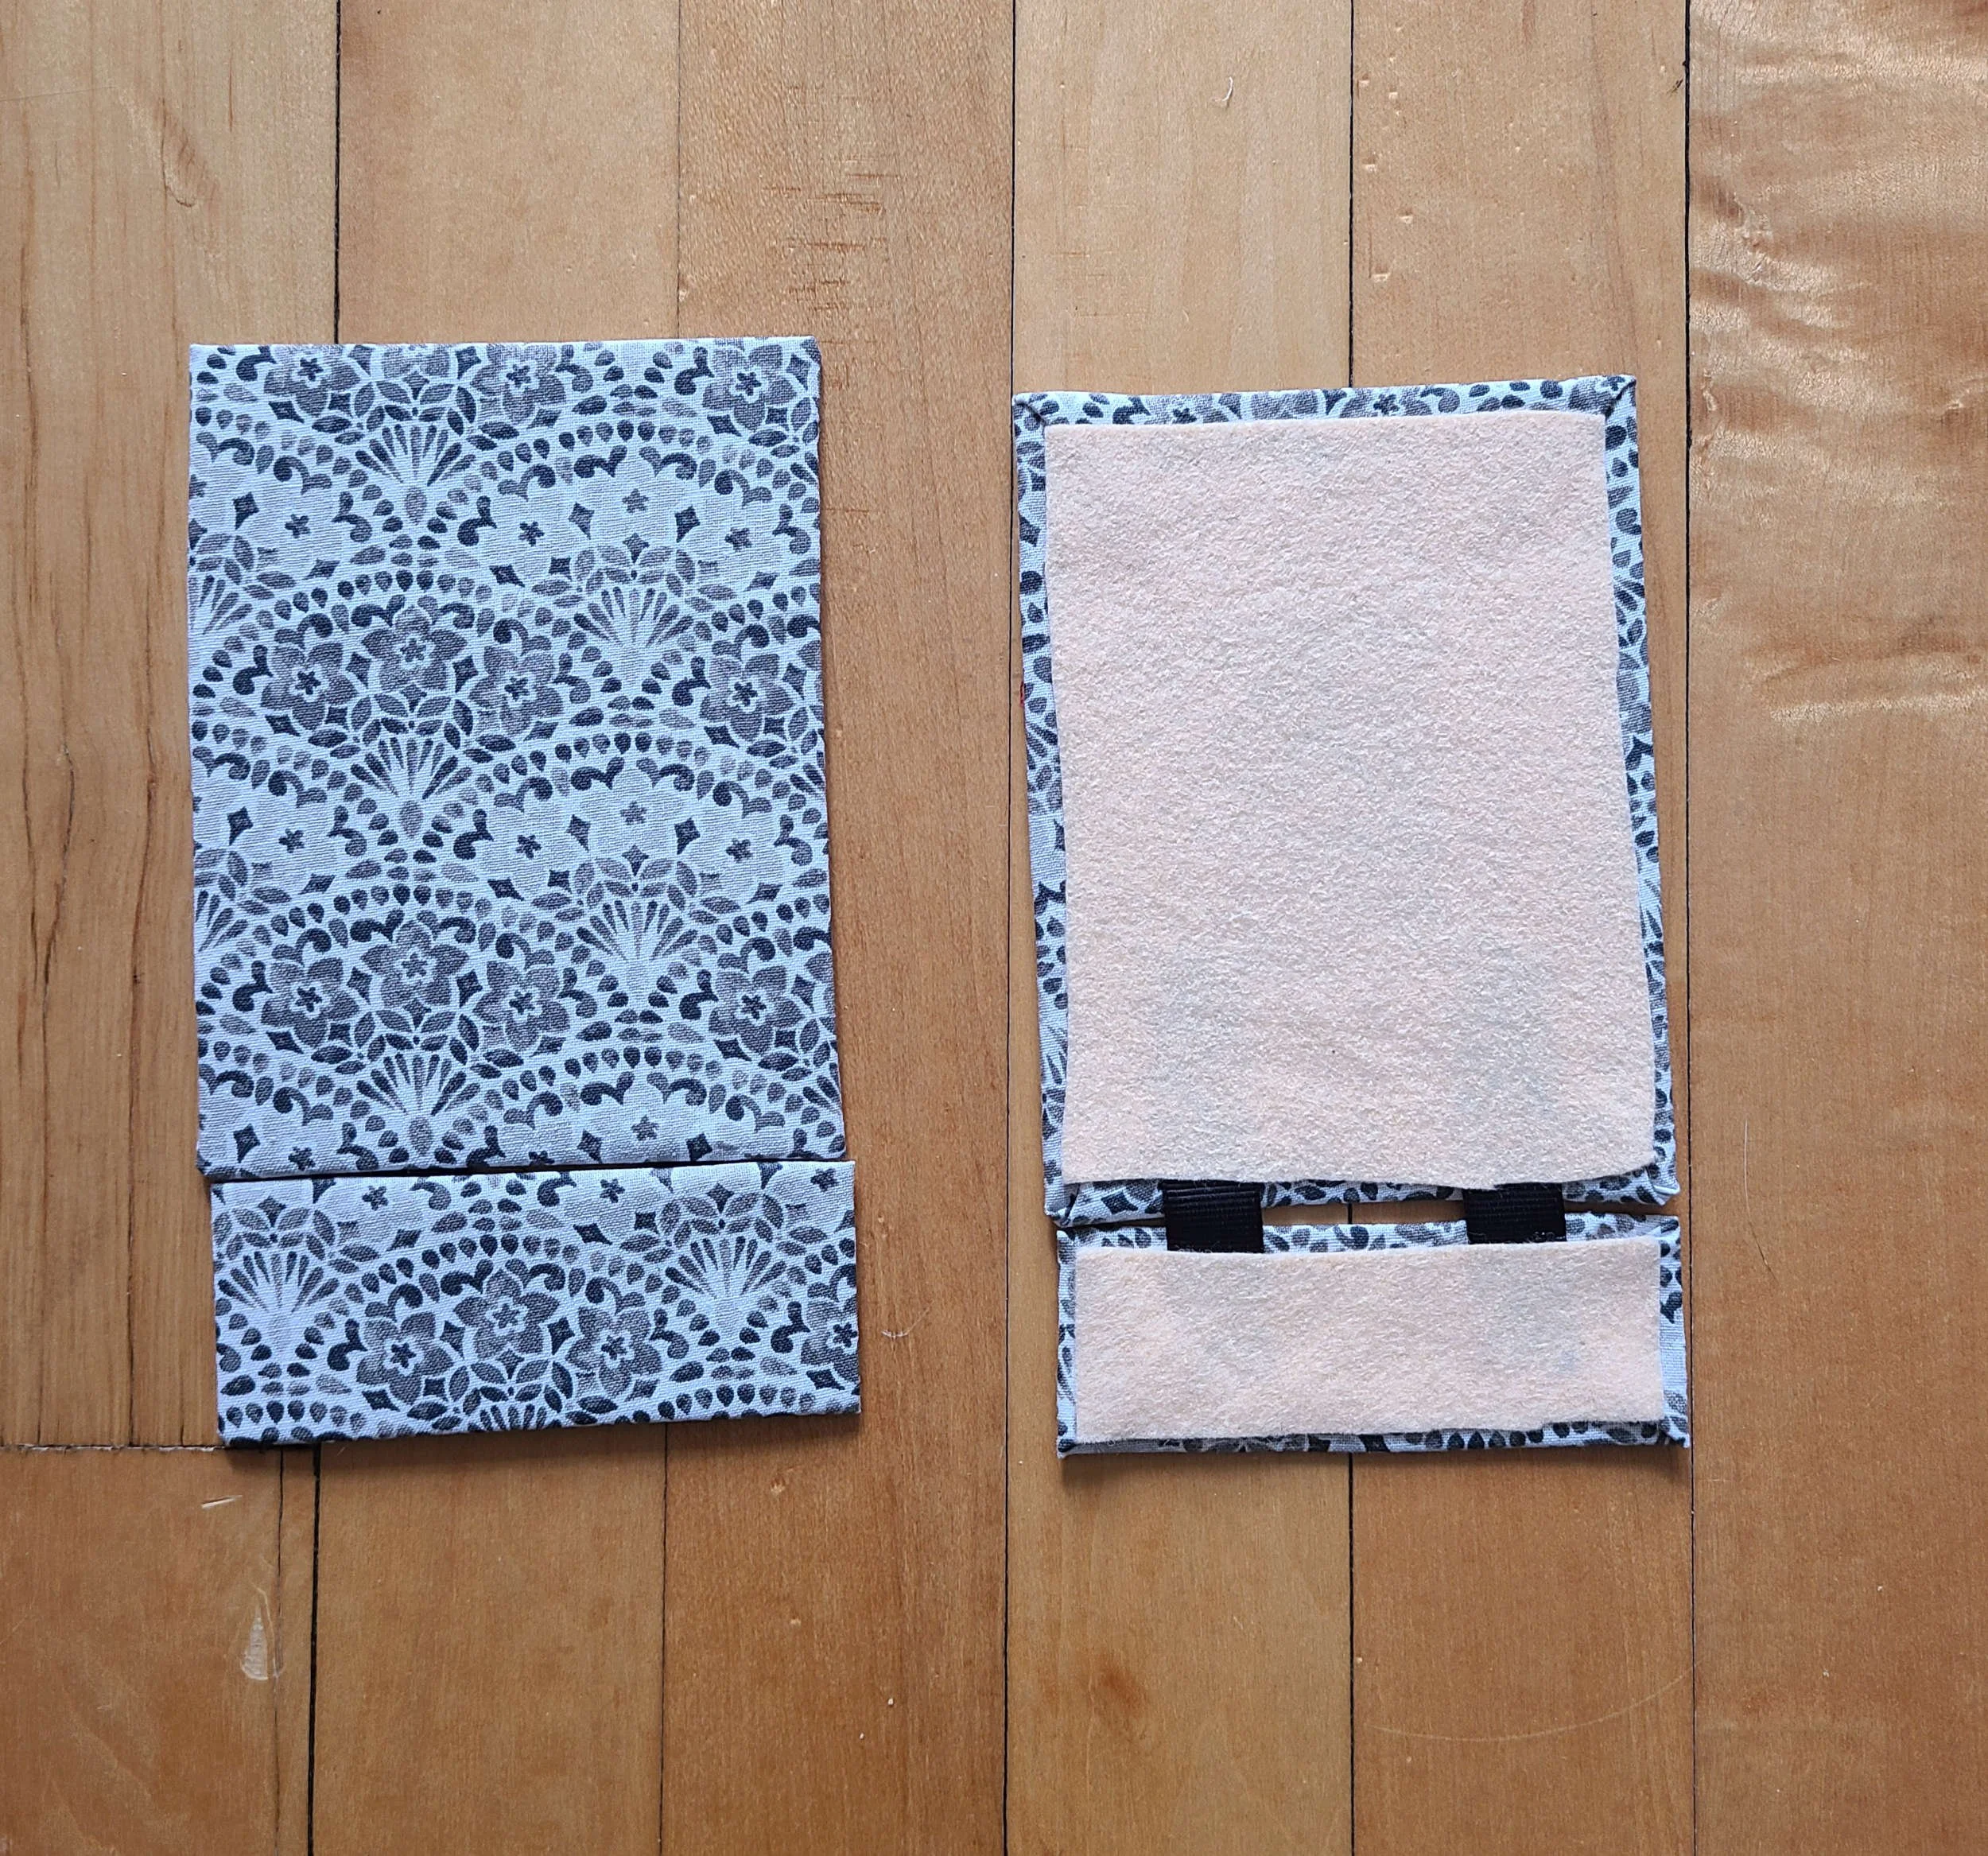
Front on the left and back on the right.
I apologize for not having photos of my actual construction process; it didn’t occur to me at the time that this might be a blog post!
I really love the way these turned out, and they worked perfectly. In fact, the three items I had on those easels were three of my biggest sellers at my second show so they may have actually helped sales! If I decide to build my own custom card display at some point, I may adapt some of the construction I used here. This could also be repurposed with different size rectangles to make a business card holder, hold programs for a wedding, or any occasion where you have a stack of papers you want people to pick up.
The Crochet Bunting
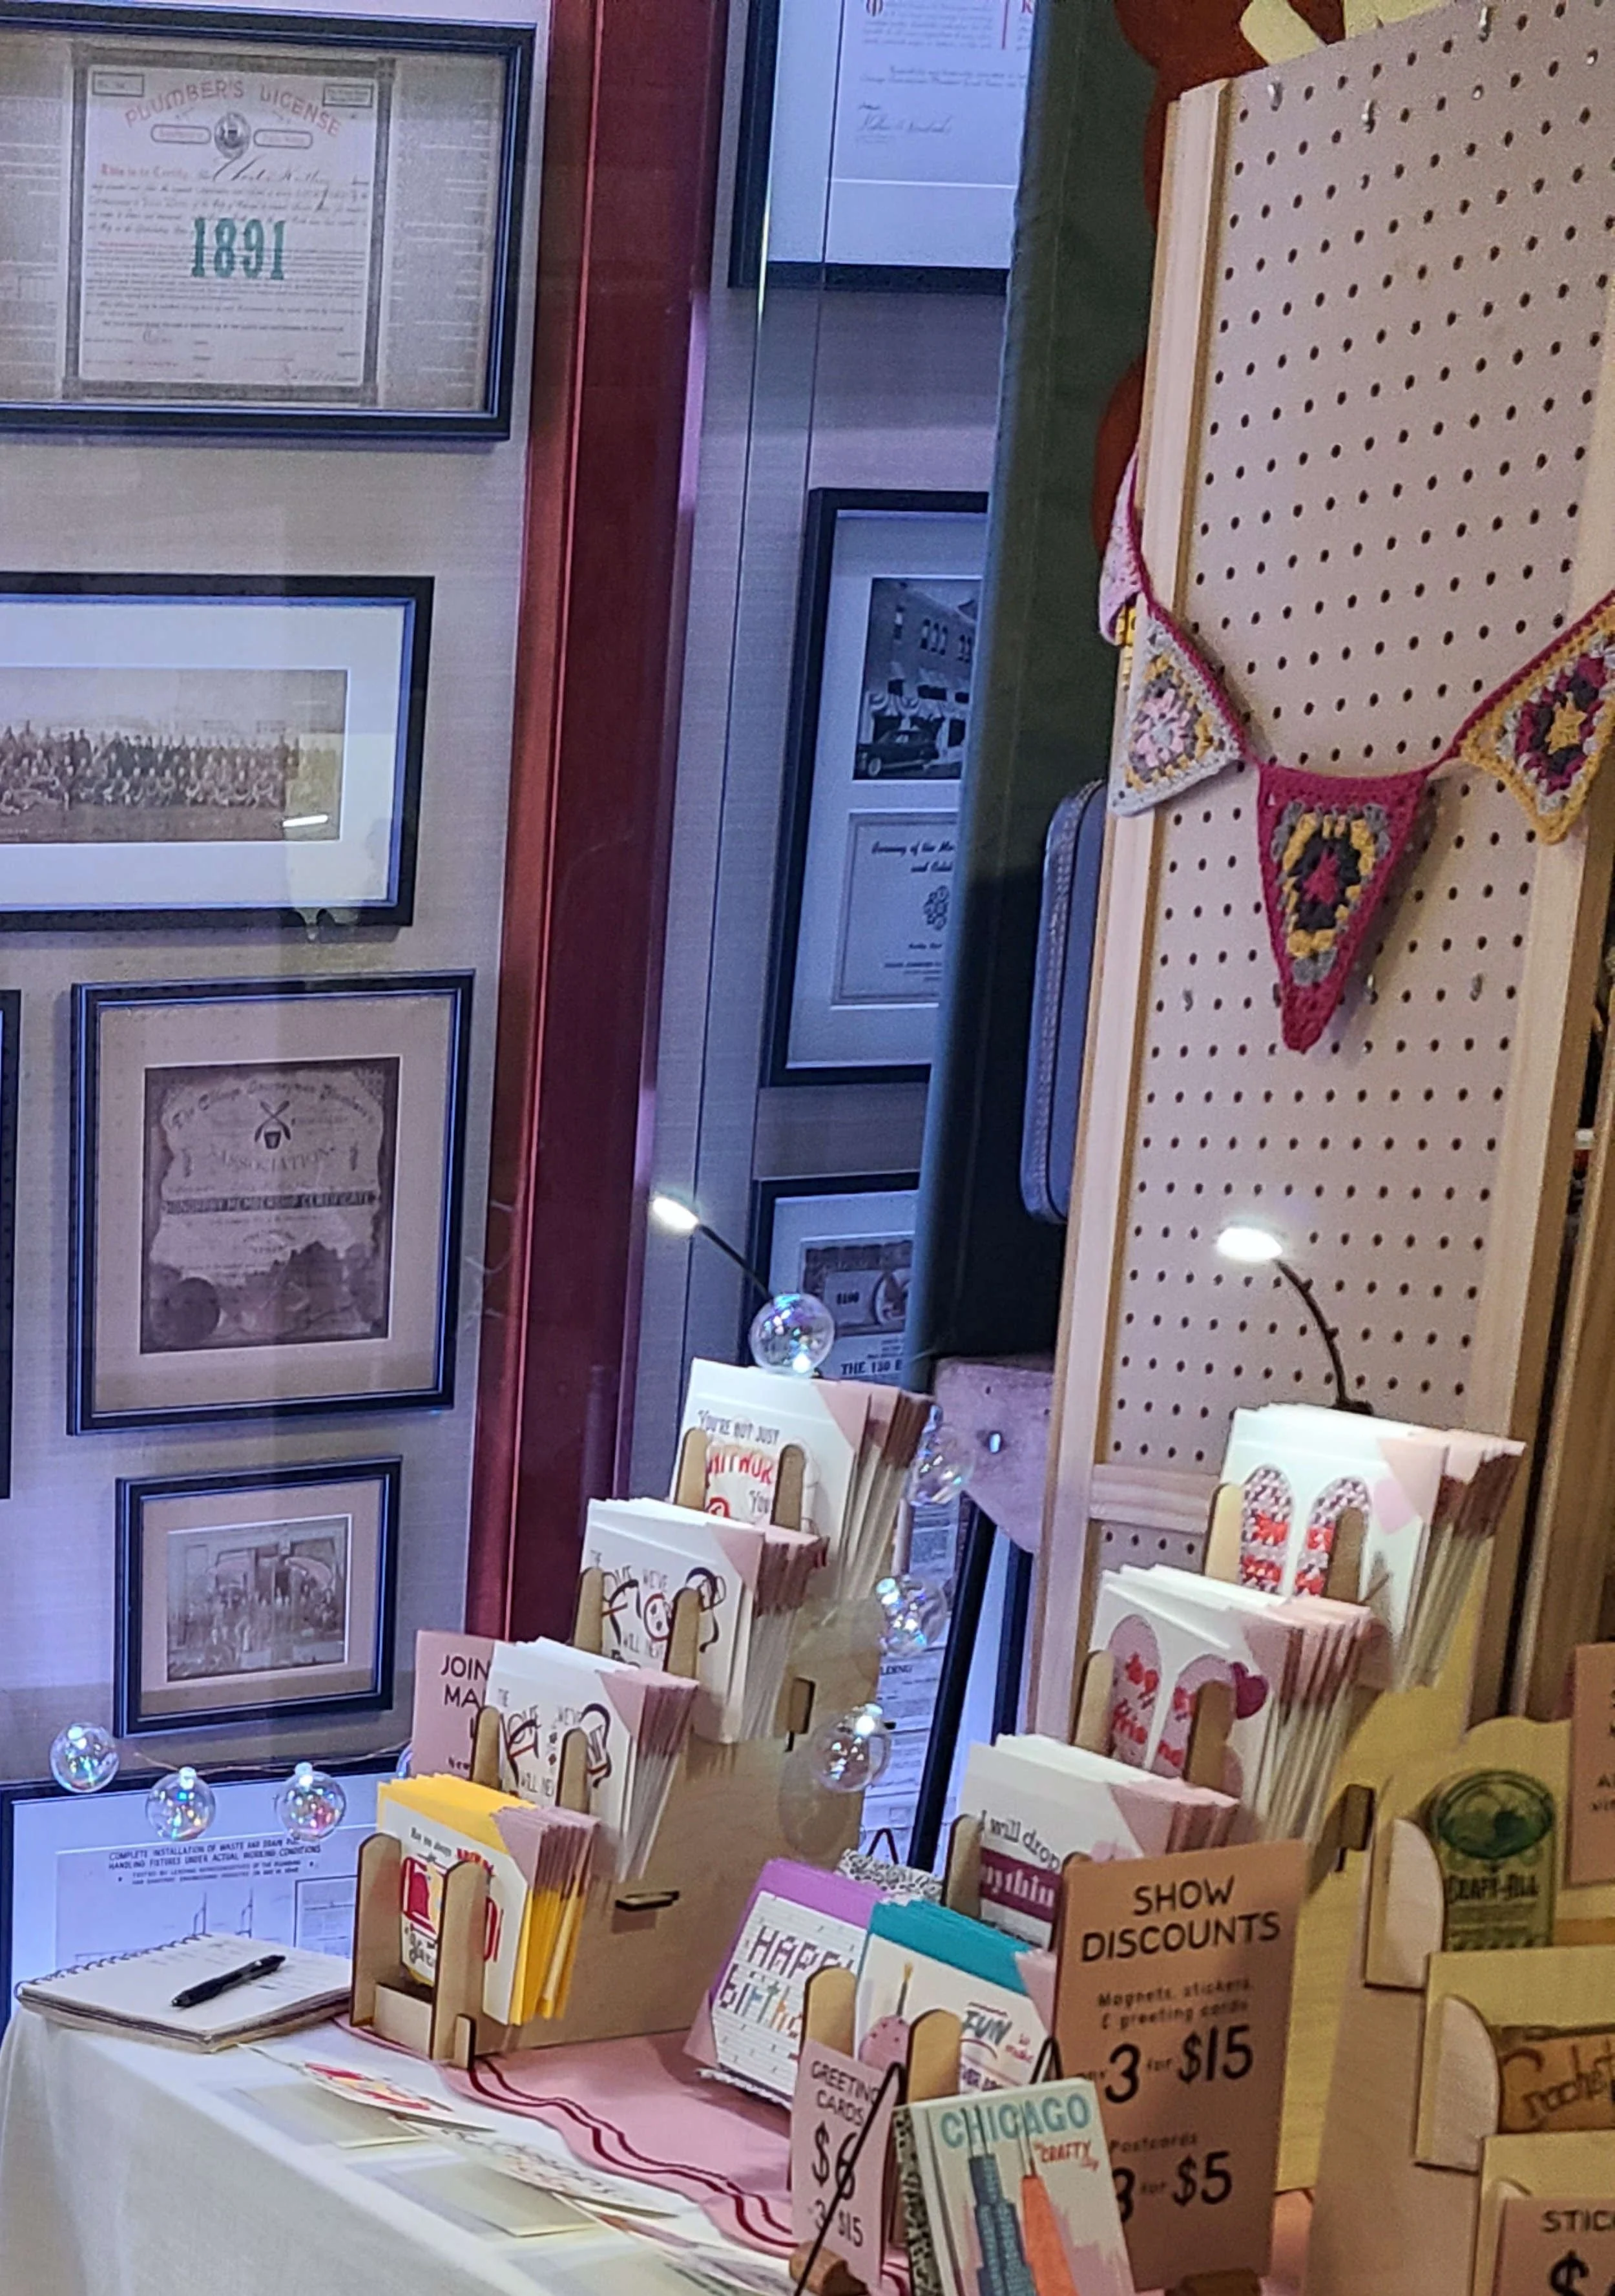
I forgot to get a good photo of the bunting at work! Hanging space graciously offered by my booth neighbor, to whom the pegboard belongs.
I had a lot of people comment on the crochet bunting I made to decorate the booth at my second show; I won’t spend a lot of time on it because the pattern is not mine, but I basically used this free pattern from Granny Joy. My triangles came out different sizes because I accidentally worked one of the triangles wrong (doing the dc2togs throughout where the pattern calls for just dc) and then liked the idea of having varied sizes, so I intentionally made a few more. I do love the way it came out! Being new to crochet, this seemed like a fairly basic idea to me, so I was surprised how many people commented that they hadn’t seen granny square triangles before. Even buying 50g mini balls of cotton yarn, I have a lot left over, so I may make some more in the future or do some kind of knitted striped bunting to go with it.

Here’s a closeup of the triangles before I connected them.
I hope you enjoyed these quick display focused DIYs! If you happen to make one of these for your own show booth, a wedding display, or any other purpose, please let me know!

I’m Whitney, a tech editor, graphic designer, and lifelong crafter. Join me for an exploration of my latest knitting, crochet, sewing, and upcycling projects, tips on knitting technique, editing tips for knitting designers, and more!